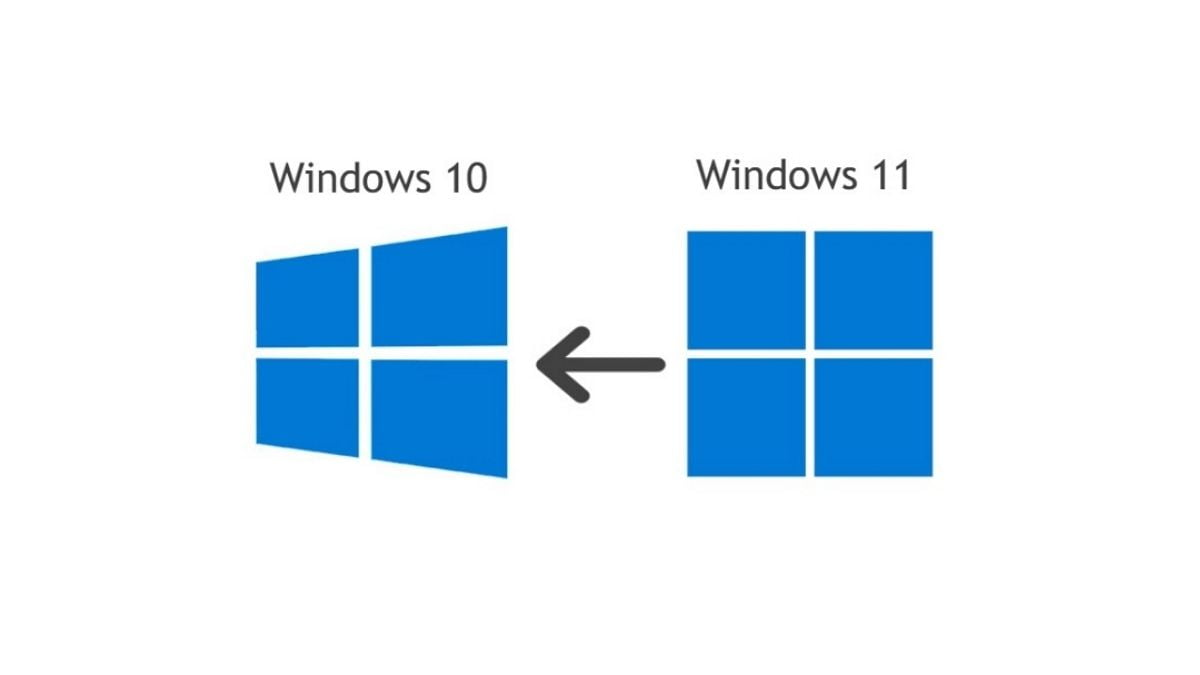
If you are running Windows 11 Dev preview then there is no way to switch back to the Windows 11 stable version. For that, you have to downgrade your PC from Windows 11 to Windows 10 stable build. Then only you can upgrade to Windows 11 for free to the stable build. Or, if you’ve upgraded your PC to Windows 11 and want to go back to Windows 10, then follow this guide.
Here we will discuss how you can downgrade from Windows 11 to Windows 10. And I will also show you how you can check Windows 11 free upgrade after you have downgraded your computer, in case you want to upgrade to Windows 11 in the future.
How to Downgrade From Windows 11 to Windows 10
To downgrade your Windows 11 to Windows 10, you need to download a tool called Windows 10 Installation Media. Using this tool you can downgrade to Windows 10 stable build.
Before proceeding, it is important to create a backup of your computer in case something goes wrong and you need to revert to the previous installation. Additionally, creating a file backup on OneDrive or another cloud storage or external drive is a good idea, as this process will delete all data on the device.
Here are the steps you can follow to safely downgrade to Windows 10 from Windows 11:
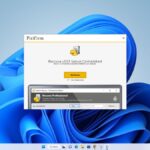
1. Visit the Windows 10 download page and download the Windows 10 installation media tool. For that, click on the Download Tool Now button.

2. After the download has been completed, open the Windows 10 installation media.
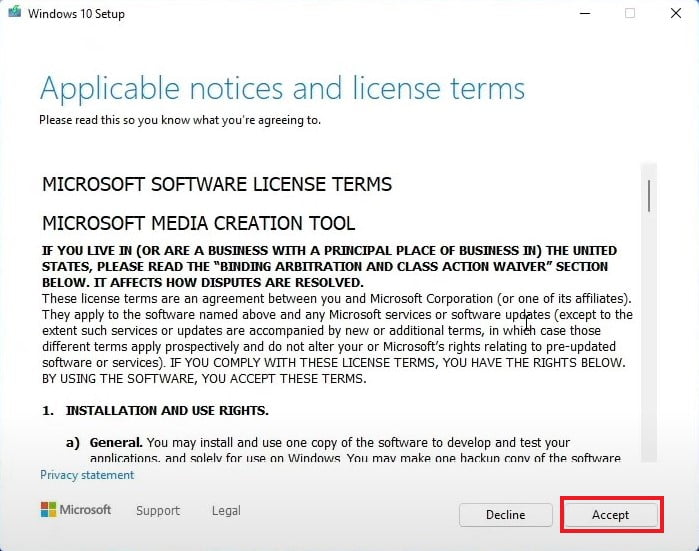
3. Now, read and accept the license agreement to download and install Windows 10 on your PC.
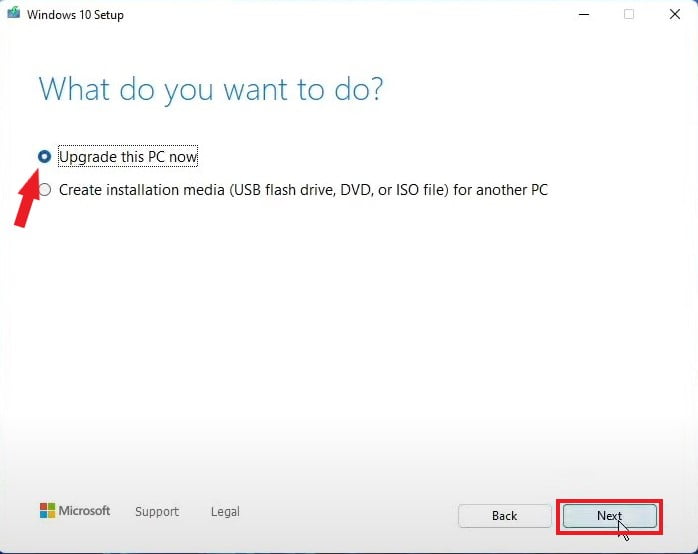
4. On the next window choose Upgrade this PC now and click the Next button. It will download all the required files for Windows 10.
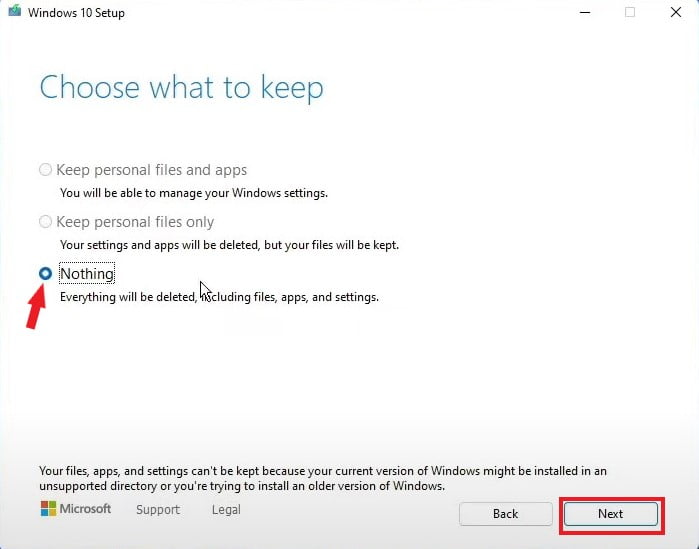
5. After that, accept the license agreement and choose what you want to keep.
6. Choose the Nothing option and then click on the Next button., As we are going to downgrade to Windows 10. However, don’t worry it will not delete all your data, it will only delete all the files that are present in the C drive as Windows can be installed on the C drive only.
7. Confirm your selection and click on the Yes button.
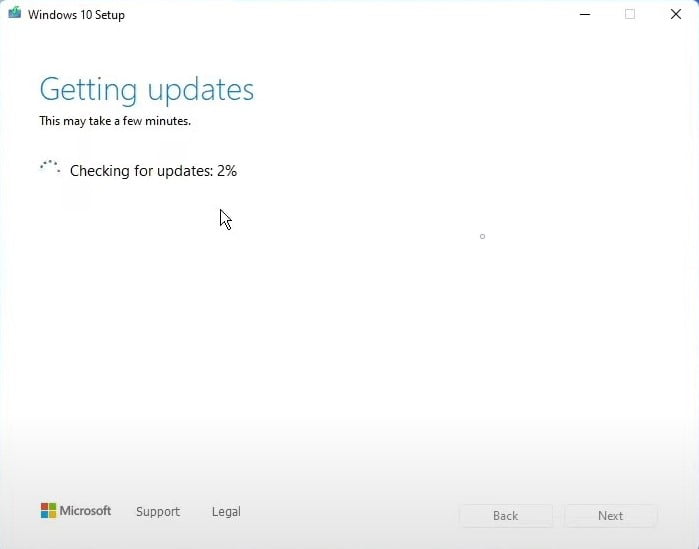
8. Now it will take some time to download Windows 10 files.
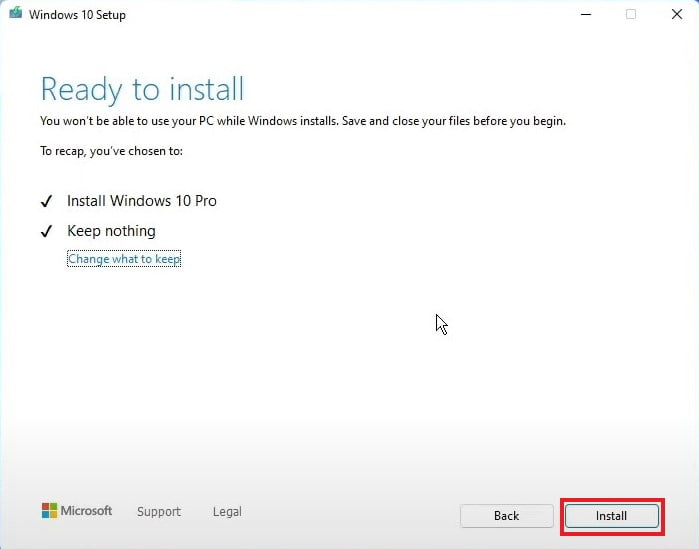
9. After your Windows 10 installation is ready to install, simply click on the Install button and wait for the installation process to complete. It will take some time to install Windows 10.
Note: Do not turn off the computer during the installation process. It might affect your system.
10. After that, Windows will reboot, and you’ll encounter the standard Windows 10 installation process, similar to installing Windows 10 on a new PC with no operating system. Just follow the on-screen instructions to set up the device. Alternatively, you can follow the steps below.
How to Setup Windows OS from OOBE
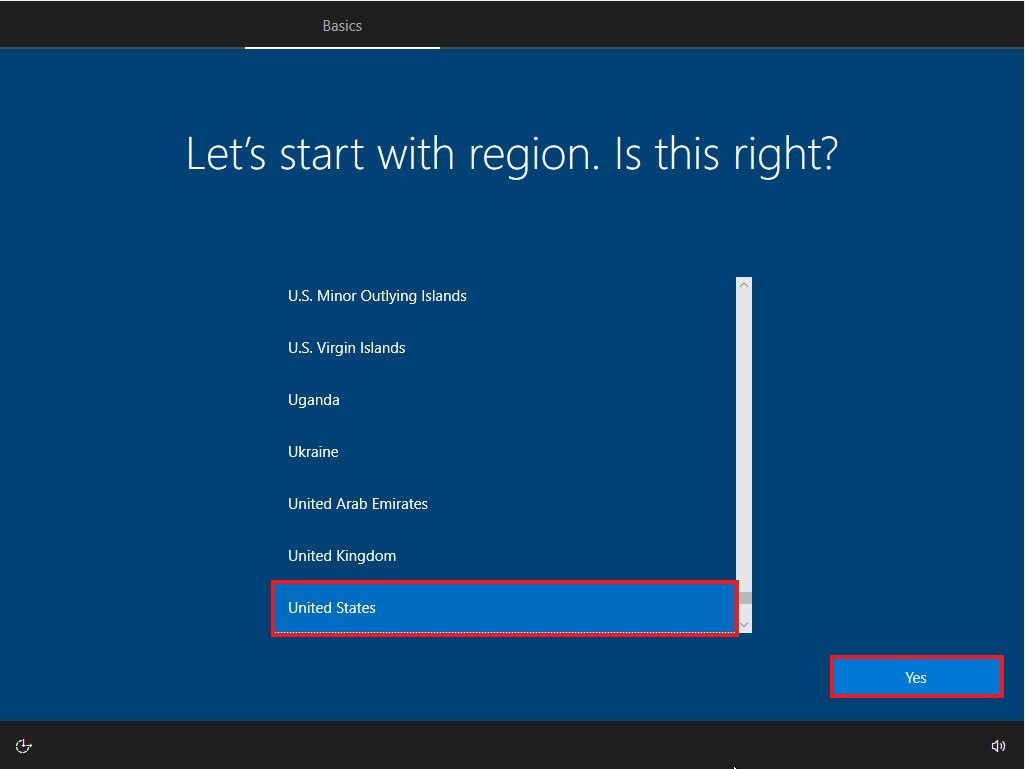
On the boot screen, you will encounter the first page of the out-of-the-box experience (OOBE) setup process.
Here are the steps you can follow to set up your device:
1. Select your region setting and click on the Yes button to continue.
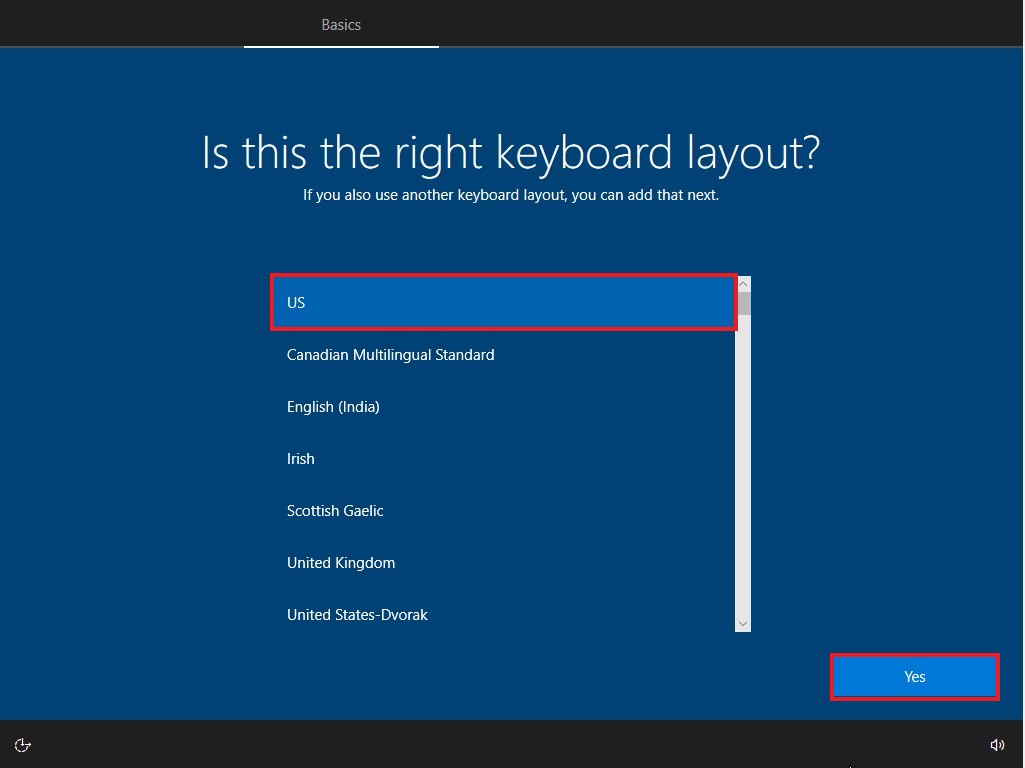
2. Select your keyboard layout setting and then click on the Yes button.
3. After that, you will also get a screen to select a secondary keyboard layout. You can simply, click on the Skip button.
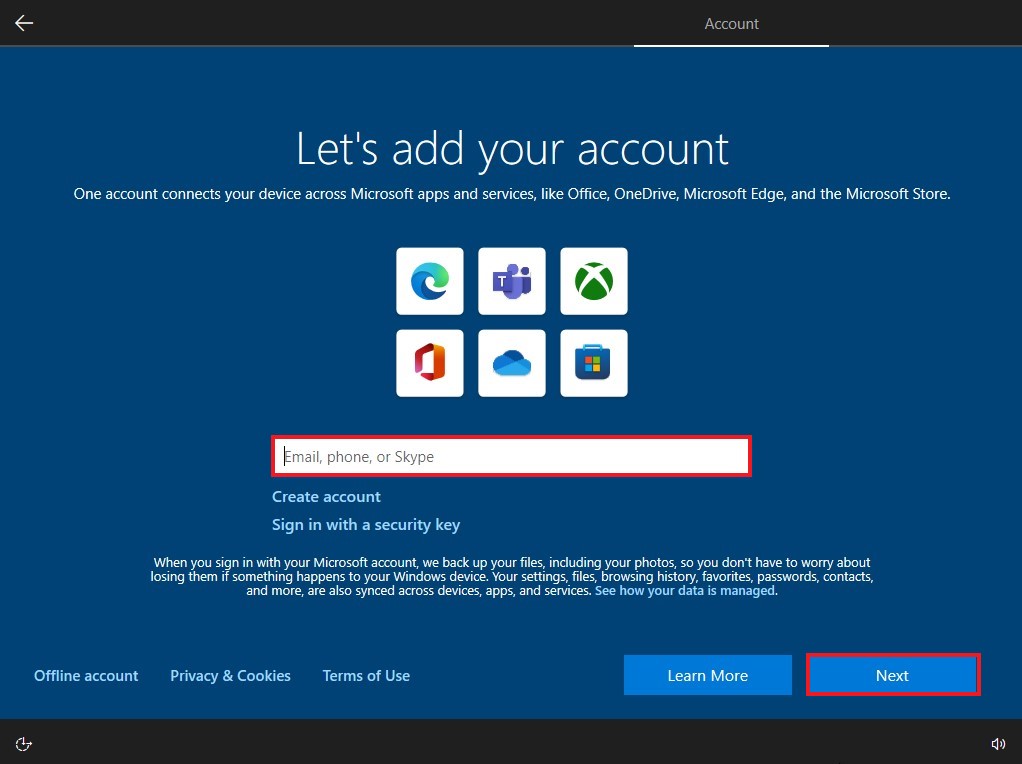
Note: The computer will automatically connect to the network if it is using an Ethernet connection. However, if you have a wireless connection, you will need to set it up manually and provide the WiFi security key. So that you can set up your Microsoft account, if you don’t have one, you can create it. To do so, please follow our guide on creating a new Microsoft account.
4. If you get an option to select; “How you would like to set up?” Select the Set up for personal use option and click on the Next button.
5. After that, confirm your Microsoft account credentials and password.
6. Then, click on the Next button. If you wish, you can also opt for an offline account, by clicking on the Offline Account option.
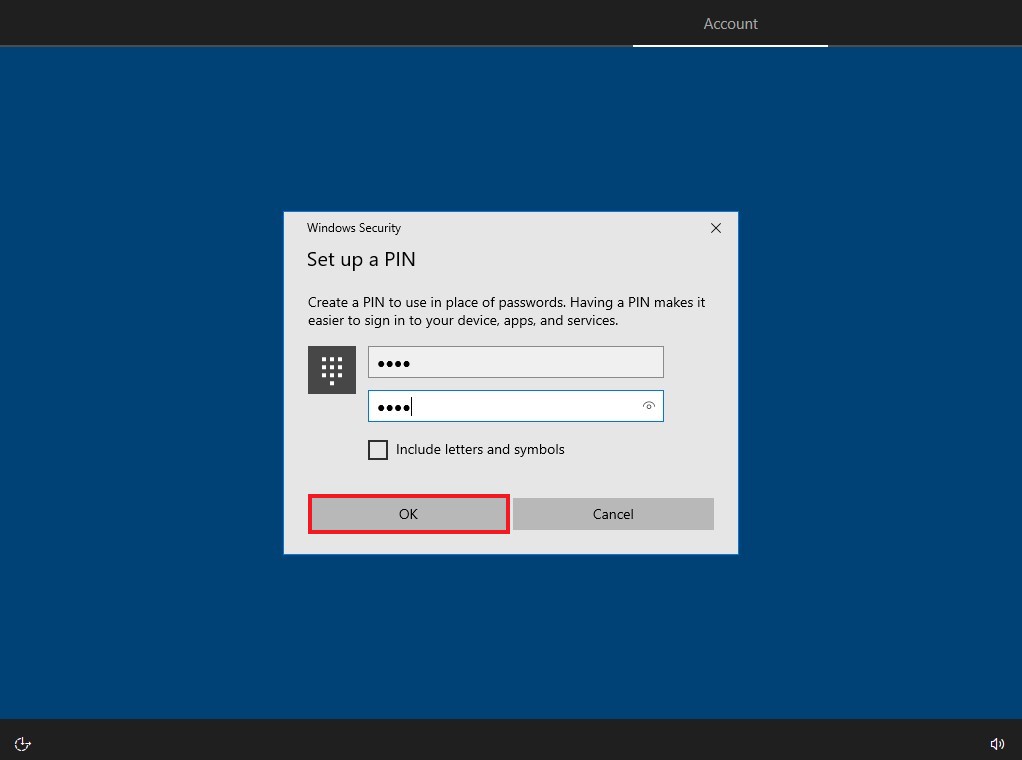
7. After that, click the Create a PIN button to set up your PIN.
8. Then, click on the OK button.
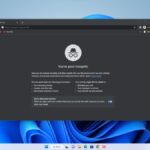
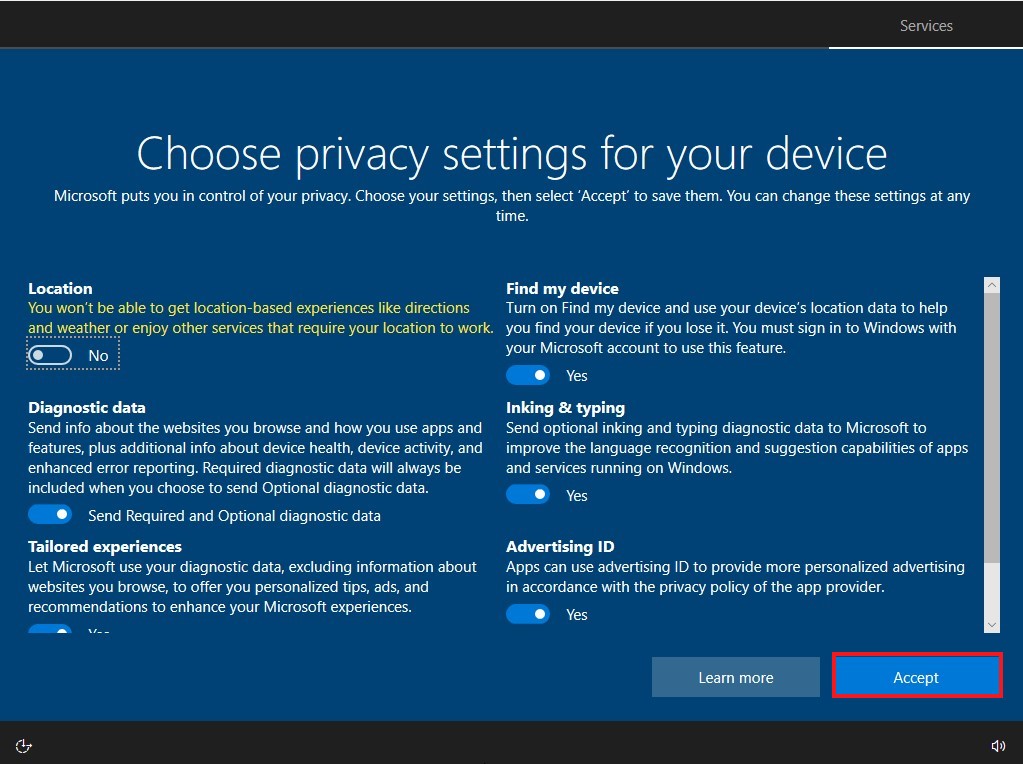
9. Now, confirm the privacy settings that best suit your needs and click the Accept button. It is not necessary to choose all the privacy settings as you can turn off location settings.
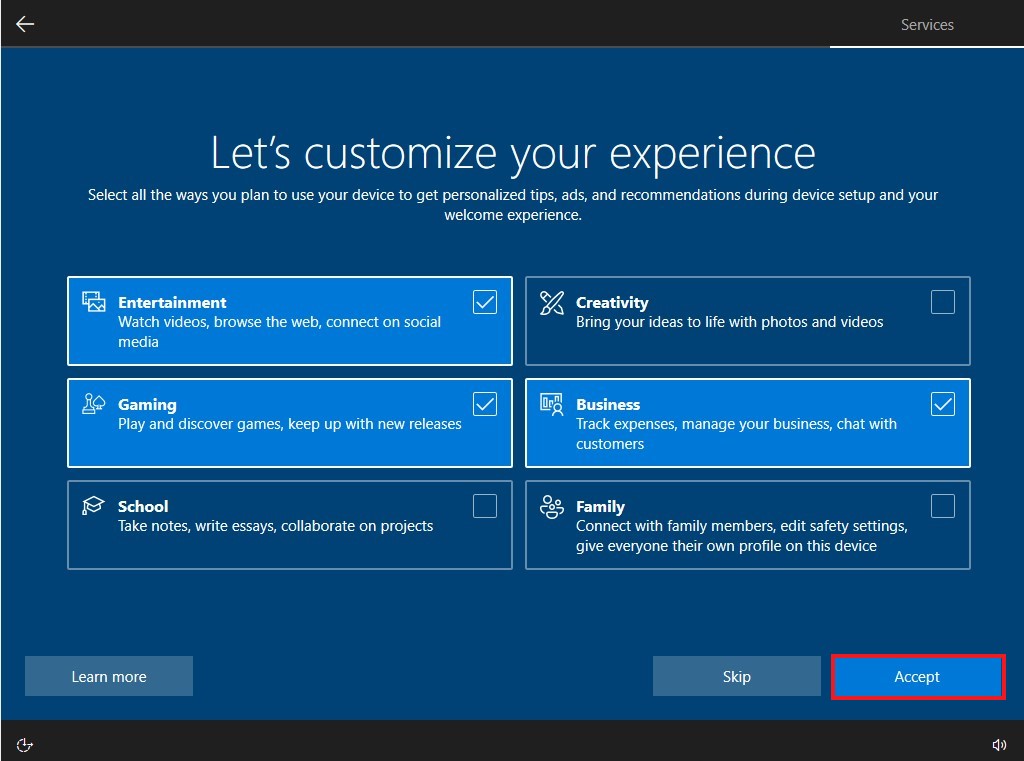
10. On the Customize your device page, you can choose to select one or more ways to use the device, to allow the setup to suggest tools and service customization during this experience; this is an optional step, and you can choose to skip it if desired.
11. Then click the Accept button to continue. Or, you can click on the Skip button.
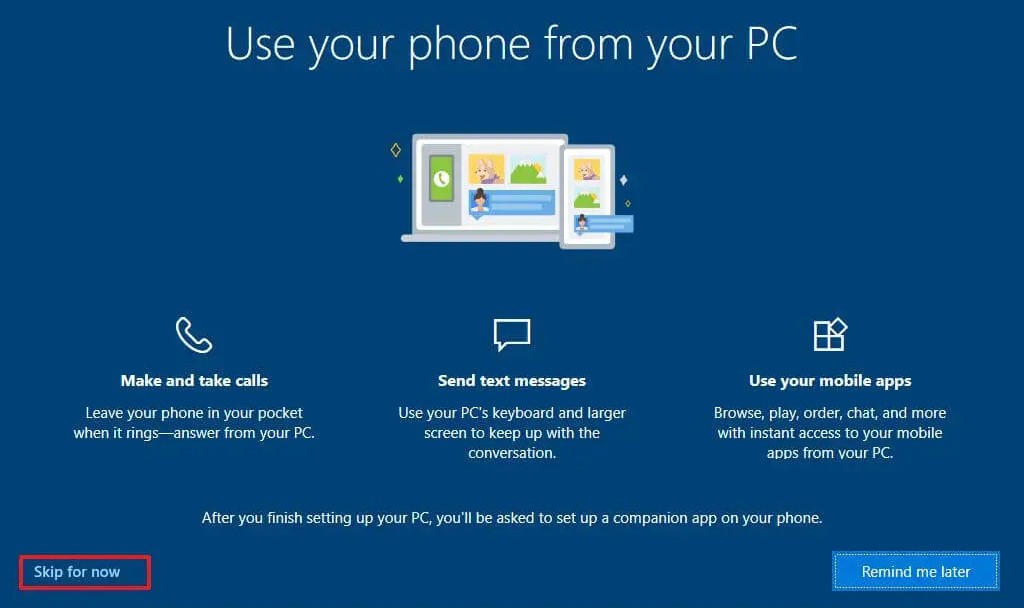
12. On the next page, you will get the option to link your phone to your PC. If you prefer to skip this step for now, you can click the Skip for now button. Remember, you can always do this later from the Settings app.
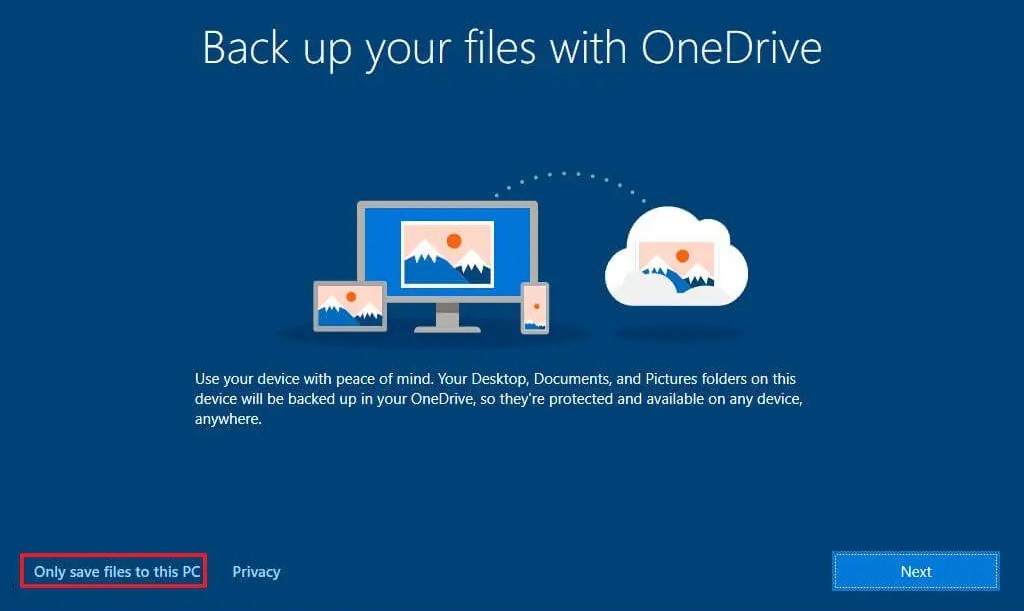
13. If you wish to back up your files to OneDrive, you can proceed with the OneDrive setup. Alternatively, you can choose the Only save the file to this PC option to skip this step.
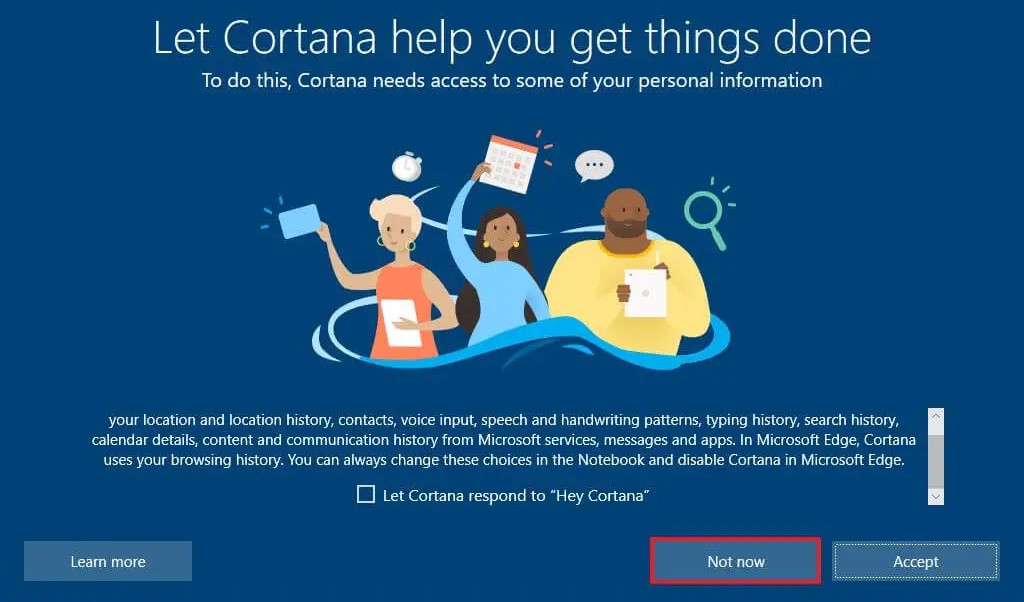
14. Next, click the No, thanks button to skip the Microsoft 365 setup, and click the Not Now button to disable Cortana.
15. Once you complete all the steps, you will get your Windows 10 desktop. Now, you are ready to use your system.
Conclusion
That’s it – this is how you can downgrade from Windows 11 to the stable version of Windows 10. However, in the future, if you want to upgrade your Windows 10 to Windows 11, check for the Windows 11 stable build update. To do that, go to Settings > Update & Security and check for updates.
You can also follow our guide on how to upgrade from Windows 10 to Windows 11 for free. I hope this article was helpful to you. However, if you have any suggestions or doubts, do not hesitate to leave them in the comments section. We are here to assist you.