
Do you want to install iTunes on a Windows computer? If your answer is yes, then read this complete guide to find out different ways to download and install iTunes on Windows 11.
iTunes is a media player, media library, Internet radio broadcaster, and mobile device management application developed by Apple Inc. The iTunes app for Windows lets you bring your entire iPhone library to your PC. If you don’t have an apple account or any apple device then you can try Spotify. Here is our guide on how to download and install Spotify on Windows 11.
How to Download and Install iTunes on Windows 11
In this section, we are going to discuss two ways to install and Use iTunes App on a Windows 11 computer. You can download and install iTunes from the Microsoft Store and the Official Website of Apple. Let’s discuss them one by one.
1. Download iTunes from Microsoft Store
First of all, let us discuss how we can download iTunes from the Microsoft Store. For that, follow these simple steps:
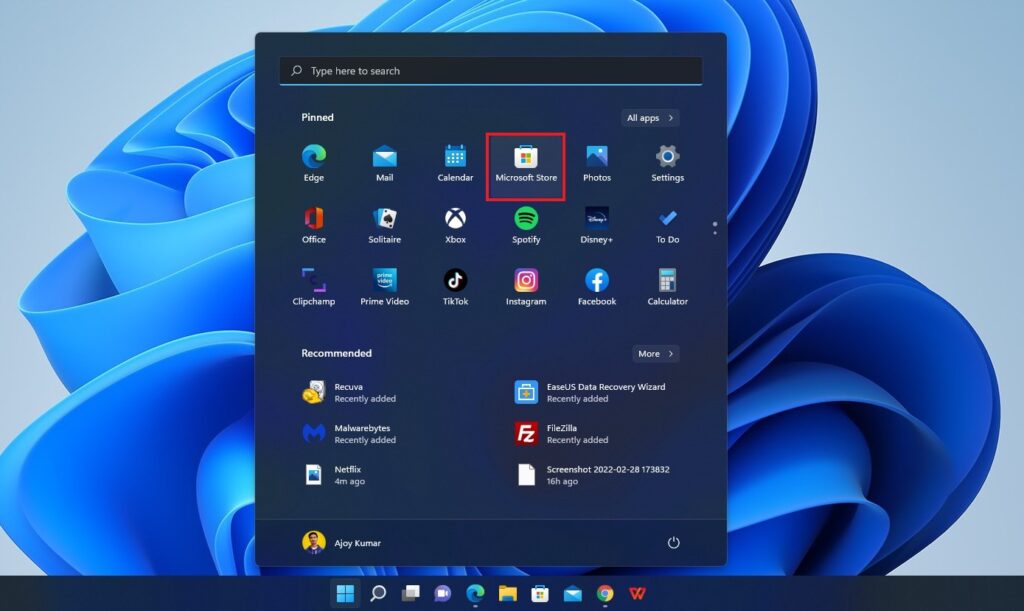
1. Search for the Microsoft Store on the search bar and open it. Alternatively, on your Windows 11 PC, click the Microsoft Store icon on the taskbar to access the storefront.
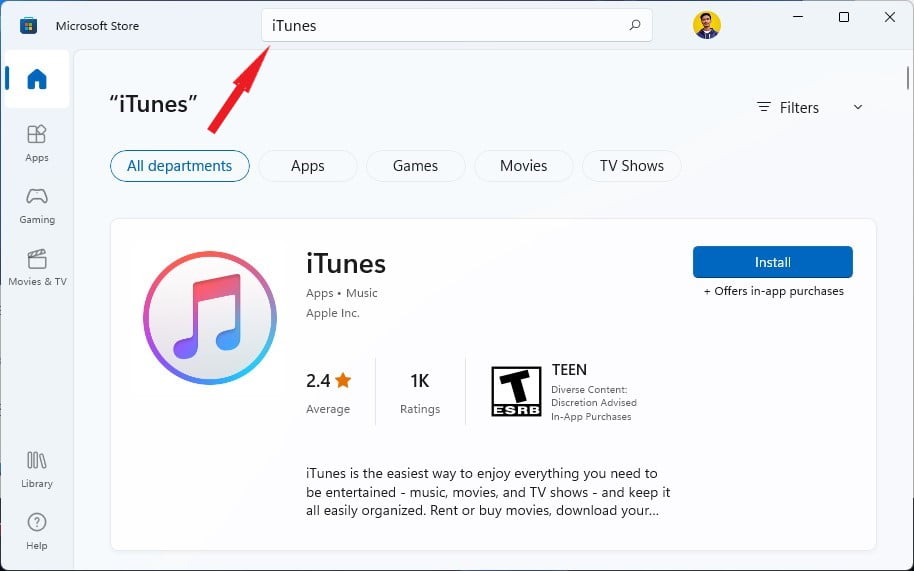
2. Now click on the search option and search for iTunes on the Microsoft Store.
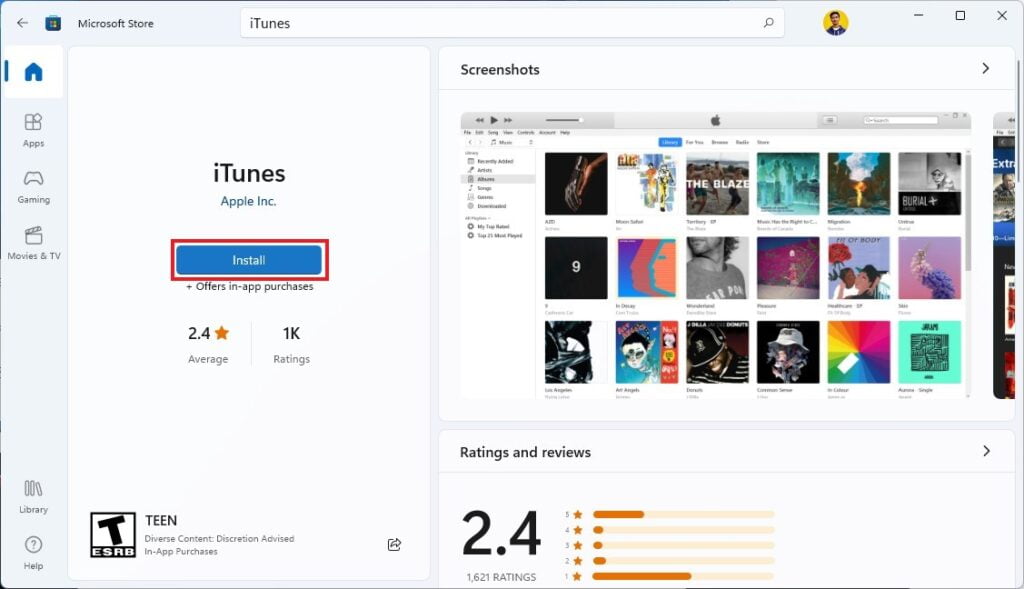
3. From the given results, select iTunes click on Install and wait for the installation process to be completed.
Note
Instead of the Install option, you can also find the Get option to install iTunes.
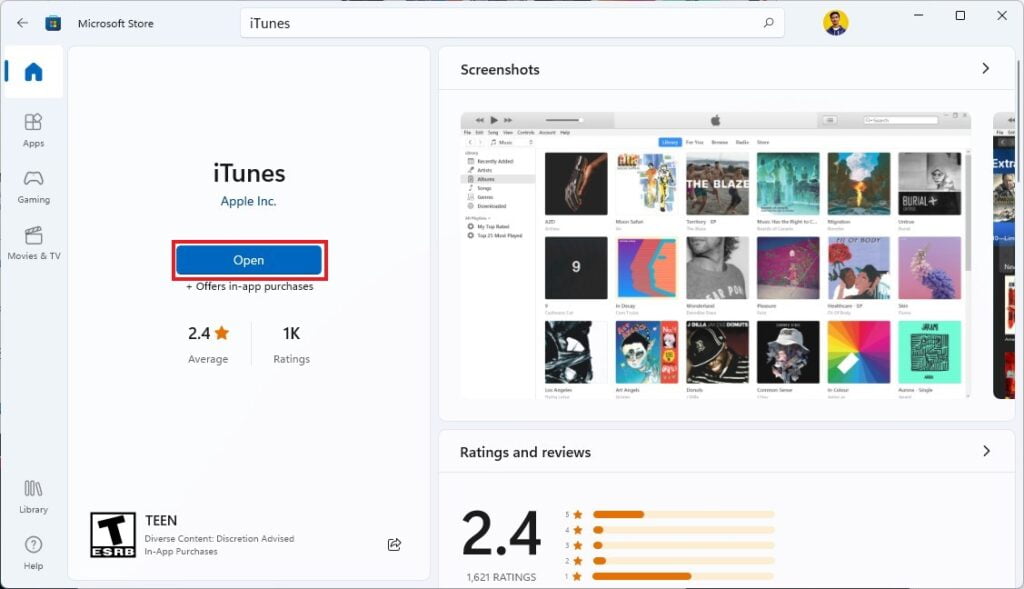
4. After the installation process is successfully completed, simply click on Open to launch the iTunes app.
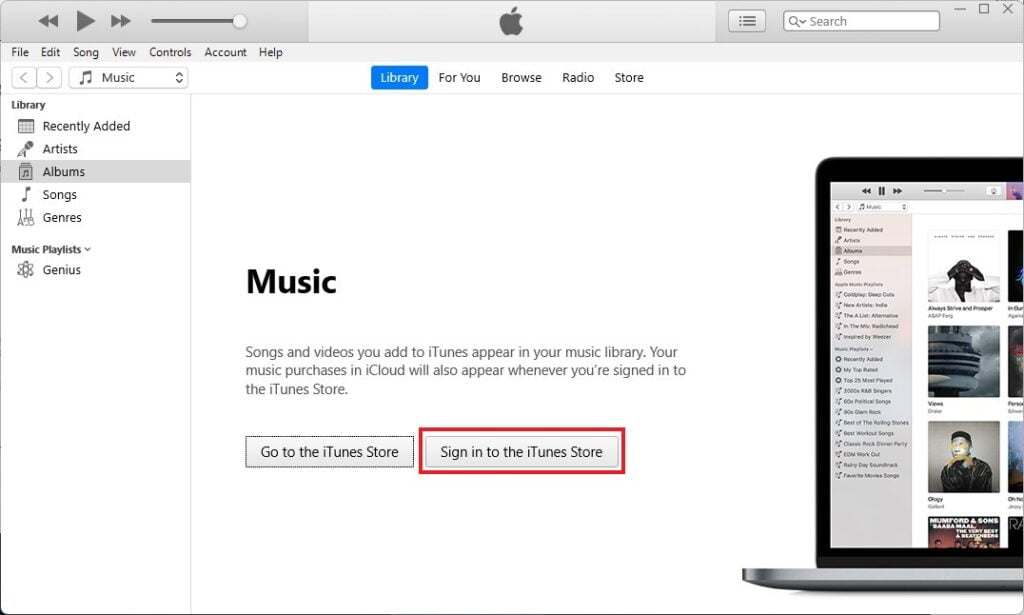
5. Now we are ready to use iTunes on our windows computer. For a seamless experience just sign in to the iTunes Store, if you don’t have an account, you can create a new account.
2. Download iTunes From the Official Website of Apple
Now if you want to directly download the iTunes installer file from the official website for windows computers then follow these steps:
1. Open a browser and search for iTunes and open the link from apple.com.
2. Now scroll down until you find Looking for other versions? Here, select Windows link.

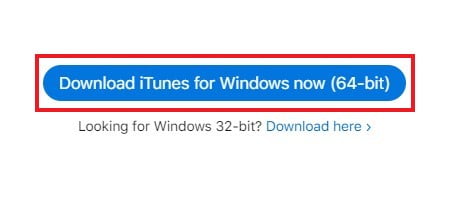
3. After that, you will find an option to download iTunes. Here click on the Download iTunes for Windows now (64-bit) option.
Note
There are two download options one is for a 64-bit and another one is for a 32-bit operating system. If you want to check your system type, then check out our guide on it. If you are not able to download the required version, then try to download other versions of iTunes.
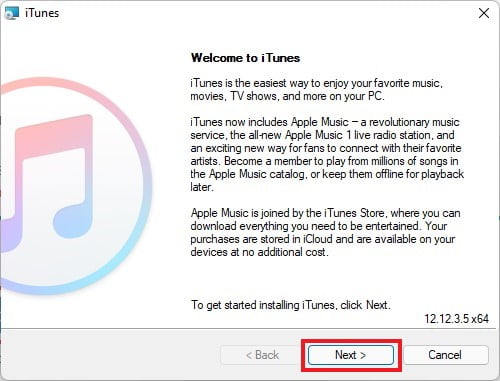
4. After the download has been completed open the installer file and click on Next on the setup window.
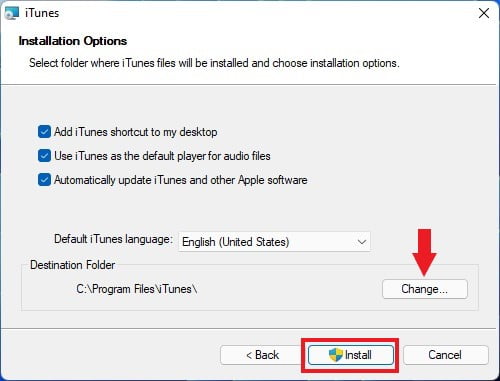
5. Next to the Installation Option Window, select the folder where you want to install iTunes and choose installation options. If you want, you can just keep everything to default and click on the Install button to being installation of iTunes.
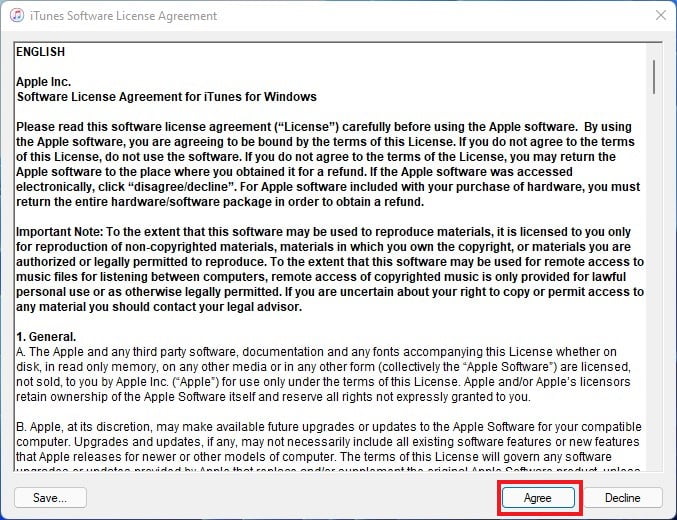
6. After completing the installation process click on Finish and Agree the license agreement.
How to Use iTunes on Windows 11
You can use any of the methods to install the latest version of iTunes on your Windows operating system. Once the download is complete, you will be able to use it on your computer. However, before you can start using it, you need to set it up using your Apple account.
Here are the steps you can follow to do that:
1. Open the iTunes application.
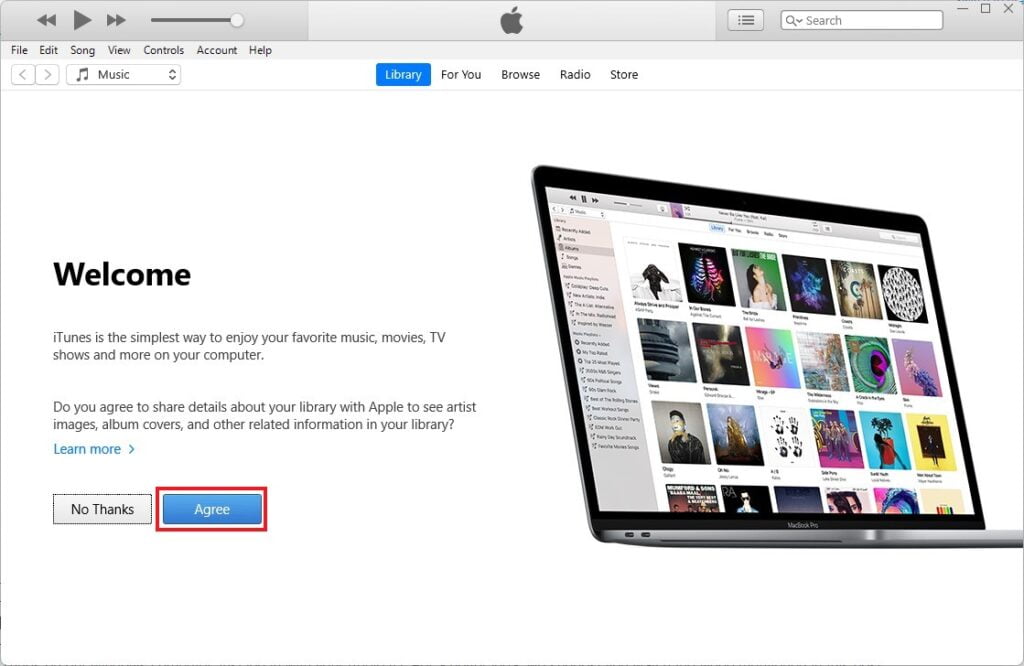
2. When you open iTunes for the first time we will get a welcome screen. Here, click on Agree to use iTunes on Windows 11.
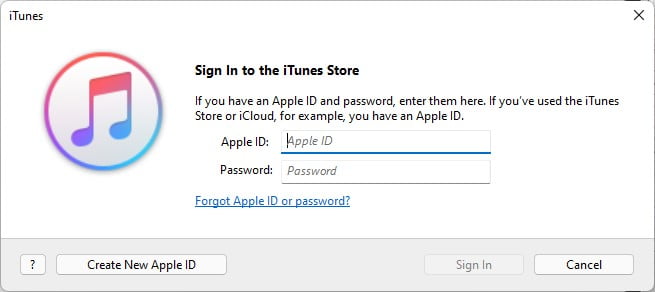
3. Now we are ready to use iTunes on our windows computer. For a seamless experience just log in with your Apple ID.
4. If you don’t have an Apple ID, you can create an account by clicking on Create New Apple ID.
Conclusion
That’s it. This is how you can download and install iTunes on Windows 11. If you encounter any issues with the application after signing in to your Apple account or you are unable to use it on your computer, don’t worry, we’ve got you covered. Simply refer to our guide on how to fix iTunes not working in Windows 11.
I hope this article was helpful to you. If you have any more questions regarding the installation process, or maybe you have some suggestions, don’t hesitate to leave them in the comments section below.