It was only a few years back when Microsoft offered various interesting free applications to its users. Some of the free applications that have been the favorites of many Microsoft users are Microsoft Writer and Windows Movie Maker. Here, in this blog, we will not discuss how to install Live Writer and Microsoft Writer rather will take you deep into Microsoft’s most popular free application that is Windows Movie Maker.
If you are a true fan of Microsoft Windows Movie Maker then we will guide you with the most appropriate steps of how to download and install Windows Movie Maker on Windows 11. There is no doubt in the fact that most of the users need the Windows Movie Maker application very badly and they are looking for potential solutions on the internet to get the software back on their Windows Operating System.
How to Download Windows Movie Maker on Windows 11
However, if you are one such victim and are looking here and there for this application then read this article till the end. We can probably help you find the appropriate answer to your question about how to download Windows Movie Maker on the Windows 11 operating system.
I hope you have searched enough resources on the internet to get your Windows Movie Maker back on your Windows 11 operating system. If you have not been successful, then this section will be an absolute guide to you.
Installing the Windows Movie Maker software is not a hectic task. First of all, let me tell you that Windows Movie Maker is a part of Windows Essentials.
While Windows Essentials is officially discontinued, archive.org has archived the last stable build of Windows Essentials 2012. We will be using the same build to install Windows Movie Maker on Windows 11 PC.
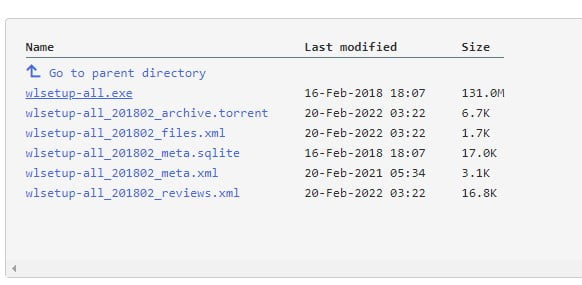
First, one has to download Windows Essentials 2012 from here. Click on the wlsetup-all.exe file to download the setup file.
How to Install Windows Movie Maker on Windows 11
Once you have downloaded the installer, follow this section to learn how you can install Windows Movie Maker on Windows 11. For that, just follow the following steps:
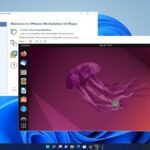
1. Now run the setup file. It’s an offline installer so you will not need an internet connection.
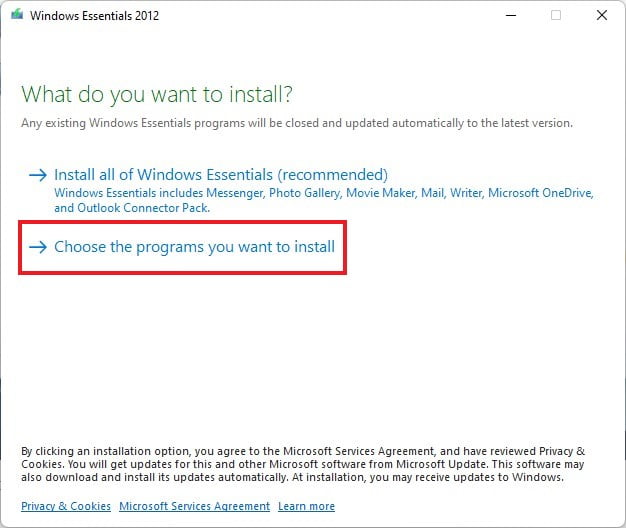
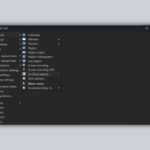
2. After that, you will get the Windows Essentials 2012 Installation Window. There just click on Choose the programs you want to install.
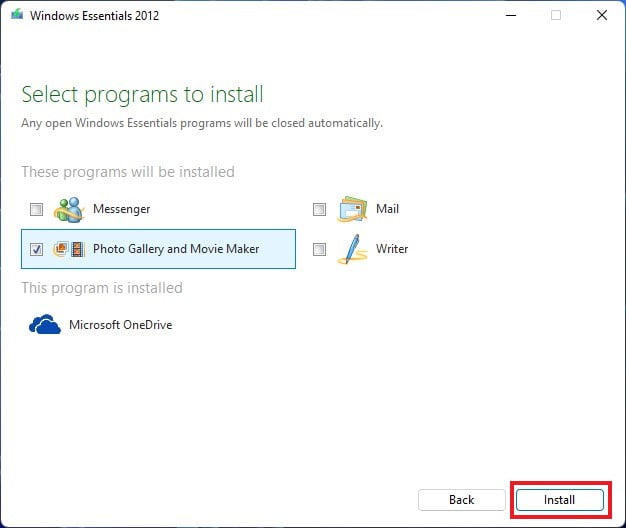
3. Here you are required to choose only the Photo Gallery and Movie Maker option, followed by clicking the Install button.
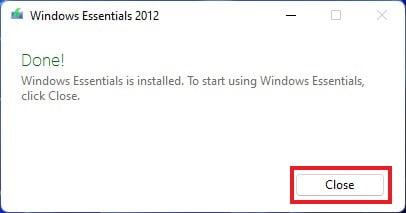
4. Now the installation process starts, you need to wait for it to finish and you will see a dialog box appear saying Done!
5. Here click on the Close option to close the installation window.
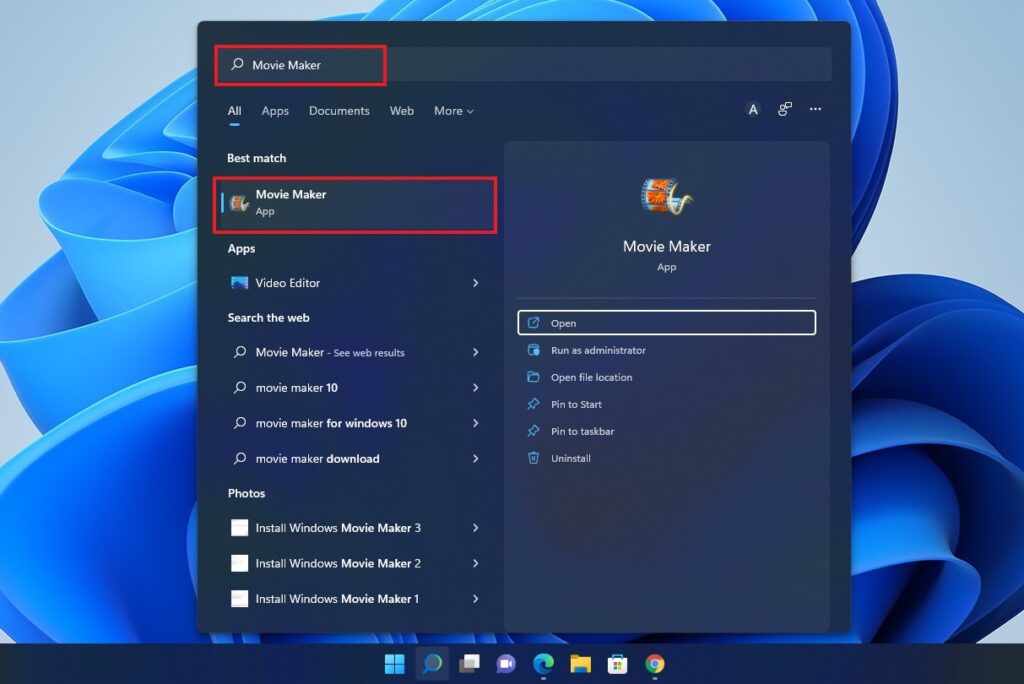
6. A shortcut of Movie Maker will be displayed on the desktop of your computer, now you can use it to open Windows Movie Maker.
Note
If you are not getting the shortcut then simply search from Movie Maker on the Start Menu.
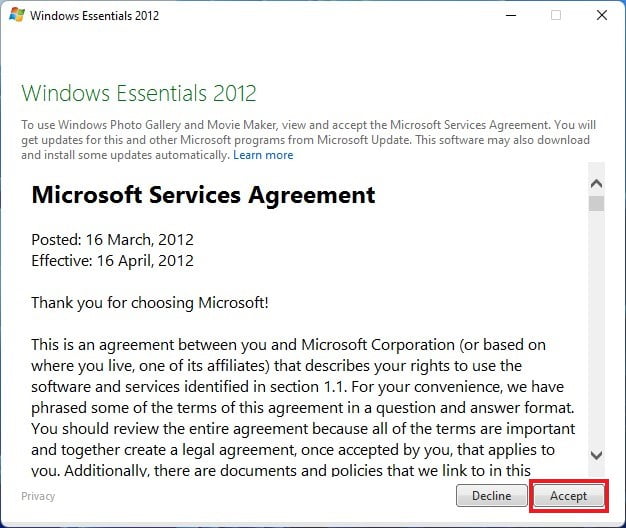
7. Now, when you open Windows Movie Maker for the first time, you have to accept the License Agreement.
8. After that, you are ready to use Windows Movie Maker on Windows 11.
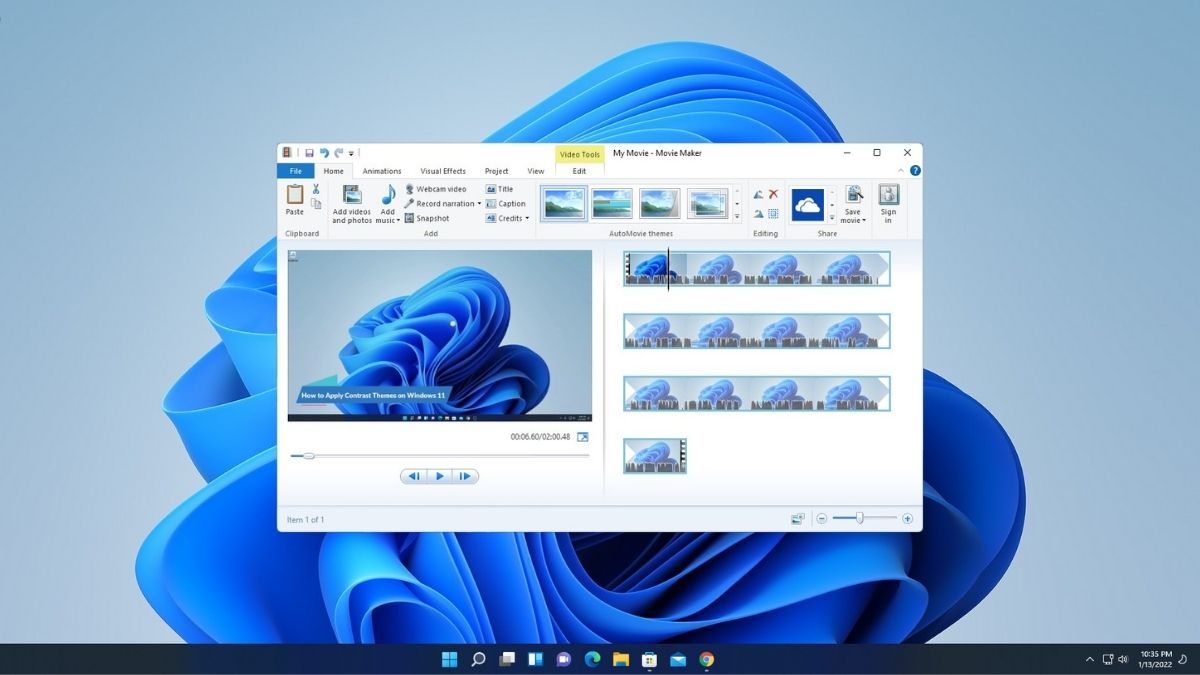
Things to Do When the Application Starts
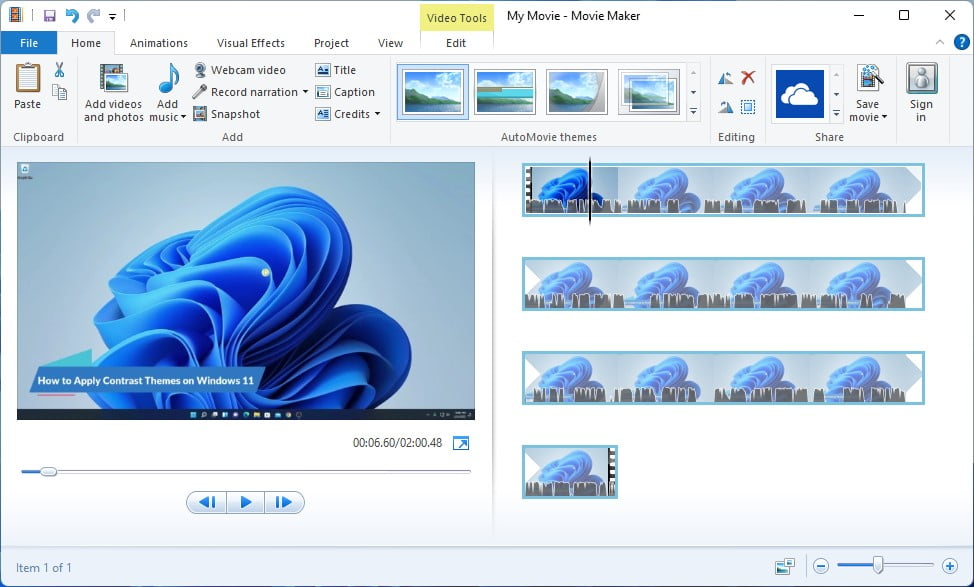
When you click on the application and it starts you can begin your project by adding photos and videos from the library. The application also allows you to add music from any place on your computer, thus, providing you with a perfect movie-making experience.
The option of adding narration, and sound files makes Movie Maker the best in its segment. But do not think that you can add titles and captions to your self-made movies.
Windows Movie Maker has always been the favorite of many artists because of its cool features. Another interesting feature application is transitions. Windows Movie Maker offers more than 50 transition effects and you will simply love to experiment with your project to make your movie as beautiful as you want.
Not only you can add a transition effect but also you can set the duration of it and preview the effect when you need it.
If you think the transition effect is all that you can expect from Windows Movie Maker then you are wrong. Application has more to offer you than you think. In addition to the transition effect, the application allows the user to add visual effects. You will also get the option to change the aspect ratio between the ranges of 16:9 and 4:3.
Split and Trim Your Clips Easily With Movie Maker
Windows Movie Maker is not only popular for transition effects and visual effects but also the application is very easy to handle by an amateur. In other words, it offers a user-friendly interface and you can simply split and trim your clips besides adding starting and ending points for your project.
Once you are done with your editing you can either go with export profiles or make your custom profile.
Conclusion
That’s it! Windows Movie Maker has been a cherished tool for video editing enthusiasts, and with the steps outlined in this guide, you can continue to enjoy its features on your Windows 11 operating system.
Remember that Windows Movie Maker may not receive updates or support from Microsoft since it is no longer actively maintained. For users seeking more advanced video editing features and continued support, explore modern free video editing software offered by Microsoft, such as Clipchamp.


unfortunately windows essential would not install on my laptop
What error you are getting?
I have the same problem. Tried to install the programs such as Movie Maker. Got the following errorcode: “0x800c0006.” Do you know what I can do?
Follow this guide: https://www.thecoderworld.com/install-windows-essentials-on-windows-11/ If you still find any errors read the comments of this guide.