Arduino is nothing but an open-sourced microcontroller hardware board. It consists of both hardware and software. Arduino is very easy to use and is mostly used by artists, makers, hobbyists, and scientists to create new objects. These microcontrollers have their own language known as the ‘Arduino Language’, programmed using the C/C++ computer language. Arduino boards are not very costly, priced at only $50, making them accessible to anyone.
They run on many operating systems, which is a huge advantage. Additionally, they are very user-friendly, even for beginners. Occasionally, these controller boards encounter minor issues, which are easily fixable. In this article, we will discuss how to fix Arduino problems on Windows 11.
Solutions to the Arduino Problem on Windows 11
Here in this section, we are going to discuss some solutions to the Arduino problems on Windows 11. So, let’s begin:
1. Run IDE as Administrator
Arduino has its own IDE, or Integrated Development Environment tool, which allows us to start it. Sometimes, it shows some errors, thus rendering the IDE unable to work.
To solve the problem, run the IDE as Administrator on your Windows 11 computer. To do that, simply search for Arduino IDE, right-click the IDE, and choose Run as administrator from the menu.
If the problem is solved by following this method, you will need to use it every time you want to start the application.
Now, if you want to set the application to always run with administrative privileges, follow these steps:
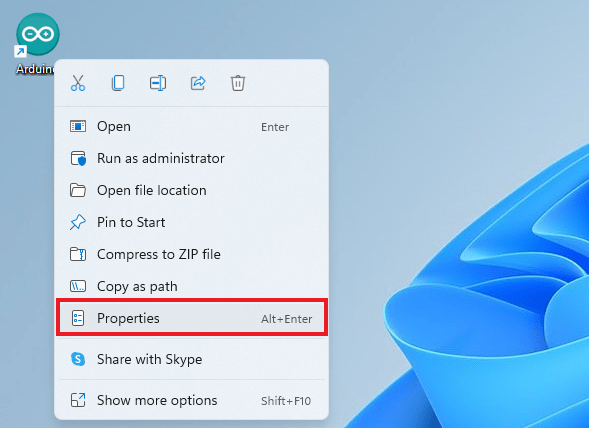
1. Right-click the Arduino IDE shortcut and choose Properties from the menu.
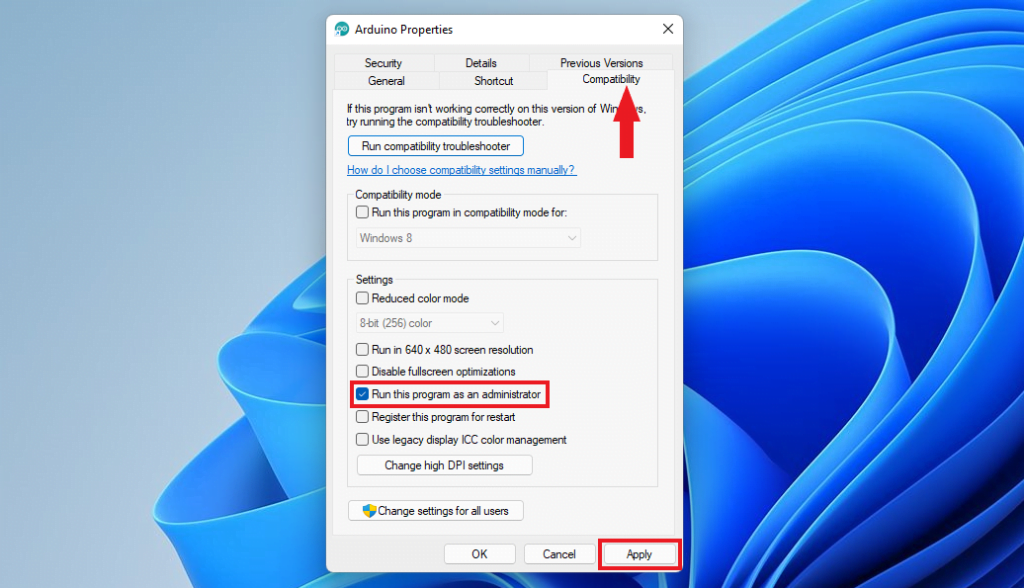
2. Go to the Compatibility tab and check Run this program as an administrator option.
3. After that, click on the Apply button.
4. Finally, click on the OK button to save the changes.
2. Manually Update the Arduino Drivers
After installing the Arduino IDE and connecting the Arduino device, if you are not able to use it, try to manually update the Arduino drivers in Device Manager. Follow these steps:
1. Open Device Manager.
2. Locate the Arduino in the Device list and right-click on it.
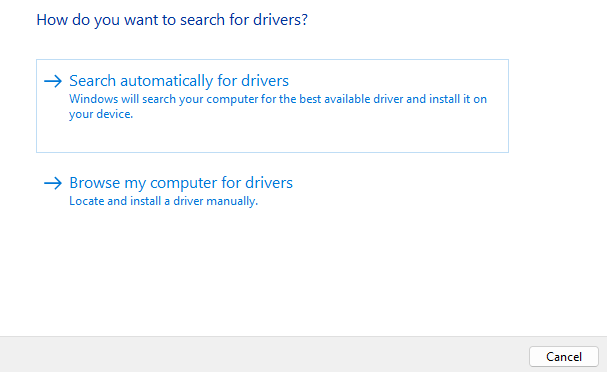
3. Click on the Update Driver option.
4. After that, you can either select Search automatically for updated driver software or Browse my computer for driver software.
This will help you install the latest version of driver software for your Arduino device. However, you can also check out our detailed guide on how to manually update drivers on Windows 11.
3. Install the Necessary Certificates
If you can’t install Arduino drivers on your Windows 11 PC, you might have a problem with driver certificates. You can easily fix that by installing the necessary certificates on your PC.
To do that, you need to follow these steps:
1. Open the Arduino > Drivers directory on your C Drive. Alternatively, you can visit this location C:\Program Files (x86)\Arduino\drivers
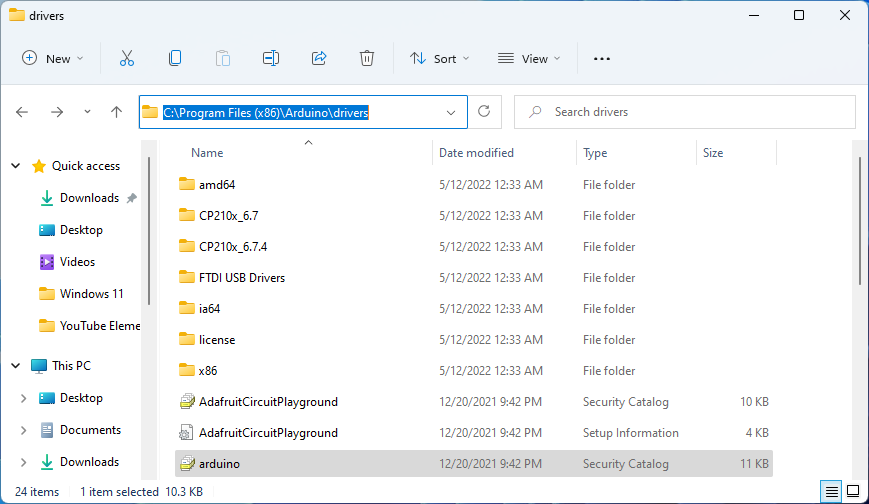
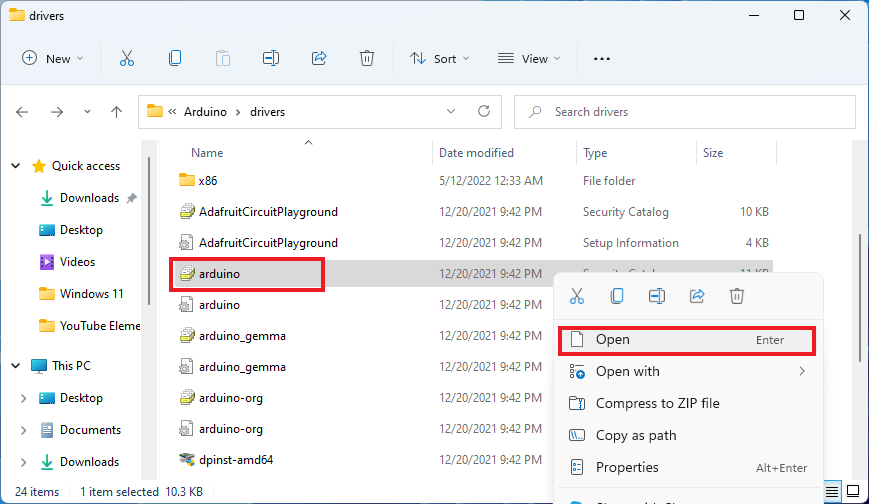
2. Locate the Arduino security catalog, right-click on it, and choose Open.
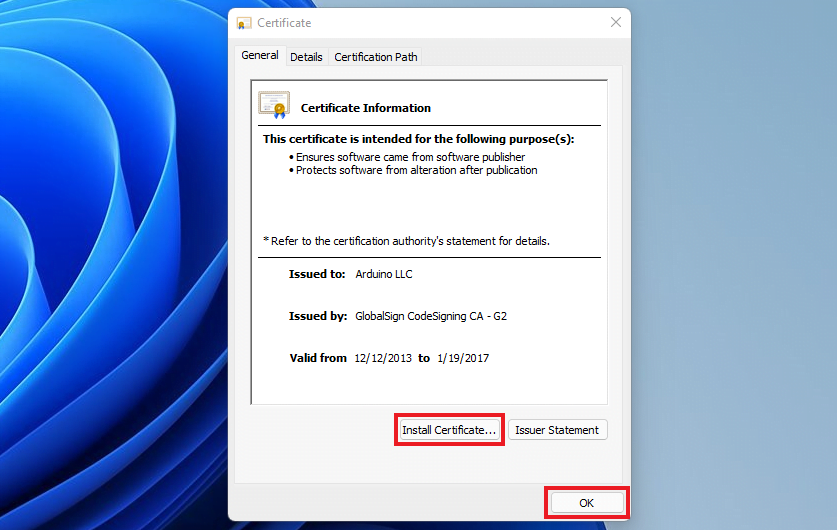
3. After that, click on View Signature and then View Certificate.
4. Finally, click the Install Certificate button.
5. Once done, click on the OK button to save the changes.
After the certificate is installed you should be able to install Arduino drivers without any problems.
4. Select the Proper Board
Sometimes the Arduino IDE doesn’t work if the proper board is not selected. You just need to select the right board to fix the problem.
To select the proper Arduino board and port, follow these steps:
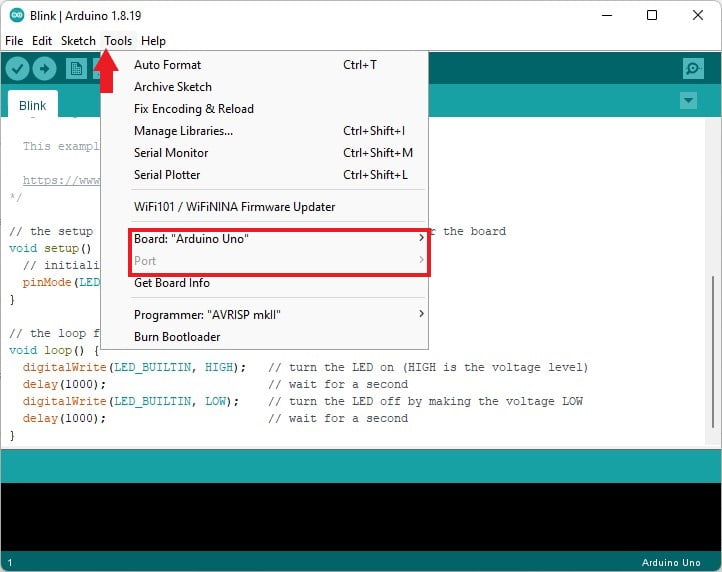
1. Open the Arduino IDE application.
2. Click on Tools > Board > Arduino UNO is selected.
3. For Port, click on Tools > Port > and select the Arduino UNO Serials Ports. You will find your Arduino port name on Device Manager.
5. Turn on/off Compatibility mode
Sometimes Arduino does not work because of some issues with its compatibility mode. To fix the problem, you need to turn on/off its compatibility mode.
For that, you can follow the process:
1. Locate the Arduino IDE Shortcut.
2. Right-click on it and select the Properties option.
3. Here, click on the Compatibility tab and uncheck Run this program in compatibility mode for: option.
4. Then, click on the Apply and OK button to save the changes.

You have to notice that the option Run this program in compatibility mode isn’t checked. If it is checked, you have to uncheck it first.
6. Don’t Run Cygwin While Using Arduino
Arduino shows some problems running if Cygwin is running in the background while using Arduino. You can fix the problem by simply turning off Cygwin.
You might have to replace your cygwin.dll from the Arduino directory with a cygwin.dll from your Cygwin directory.
7. Check if Your Device is Working Properly
If the device is broken the Arduino board won’t work. Simply run the Arduino board on a different PC. If the same problem happens with other devices also, you should replace them as soon as possible.
Conclusion
The problems are not very serious to handle. Mostly, uninstalling, reinstalling, and downloading the security certificates can fix the Arduino problem on Windows 11. I hope these methods helped you fix your Arduino problems on your Windows 11 computer.
However, if you are still facing some problems with the Arduino IDE, then you can reinstall it. For that, you can check out the guide on how to install and set up Arduino IDE on Windows 11.