Many users have started reporting freezing issues on Windows 11. It all started after they updated to Windows 11 or changed their display monitors. However, the users cannot understand why they are facing the issue. Due to the freezing issues, users are unable to use Windows 11 properly. This issue is causing problems for a lot of users.
However, you don’t have to worry about it. There are some reasons why the issue might arise on your PC. We are here with a guide through which you can resolve the freezing issues on Windows 11. Keep reading this guide until the end to learn about how to fix freezing issues on the Windows operating system.
How to Fix Freezing Issues on Windows 11
Several factors, such as outdated drivers, conflicting software, insufficient system resources, or hardware problems, can lead to freezing issues on Windows 11.
Here are the methods you can try to resolve the freezing issues on Windows 11. Let’s discuss:
1. Change Screen Resolution
Windows 11 may present unexpected issues due to its different hardware requirements compared to its predecessor. The freezing problems might arise due to Windows 11 updates, changes in graphic cards, or display monitors.
If you use a low-end graphic card for resource-intensive tasks, random freezing after Windows 11 updates can be the cause of the issue. Also, using a 4K resolution monitor with a low-end graphic card may trigger freezing issues and even result in sudden crashes.
To fix your issue, you can try changing the screen resolution. Here are the steps you can follow to change the screen resolution:
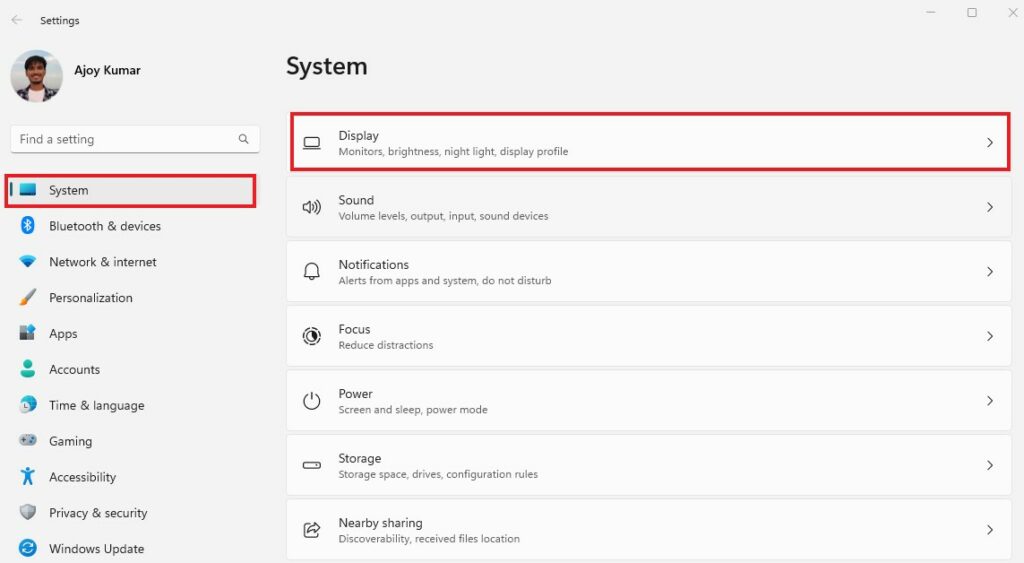
1. Open Settings on your system.
2. Click on the System option in the left pane. Then go to Display Settings to change the resolution for your system.
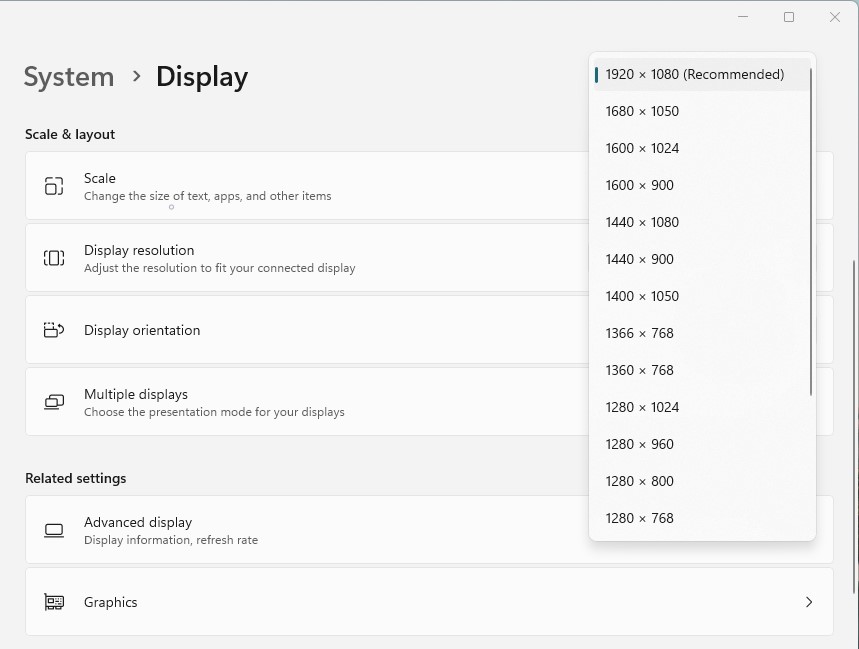
3. Now, click on the Display Resolution drop-down menu and try a few different display resolutions to see if any of them solve the freezing problem.
If your freezing issue is not related to screen resolution or graphics card, then you can try out other fixes.
2. Update the Graphics Driver
Suppose you are using outdated graphics drivers on your PC. You will likely face the freezing issue. We suggest you update the graphics driver to avoid freezing issues on the PC.
To do so, you must follow the steps listed below to update the graphics driver.
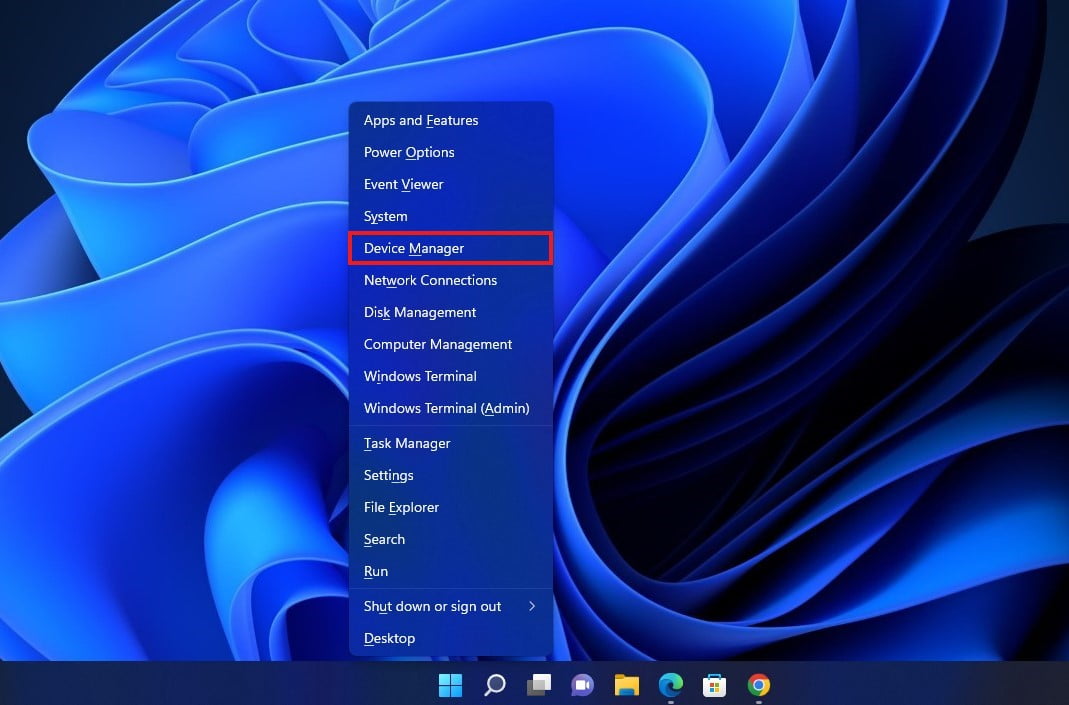
1. Press Win + X together on your keyboard to open a context menu. In that context menu, select the Device Manager option.
2. Here, you will get a list of all the devices installed on your Windows 11.
3. Expand the Display Adapter option and right-click on it. Now, select the Update Driver option to check for updates.
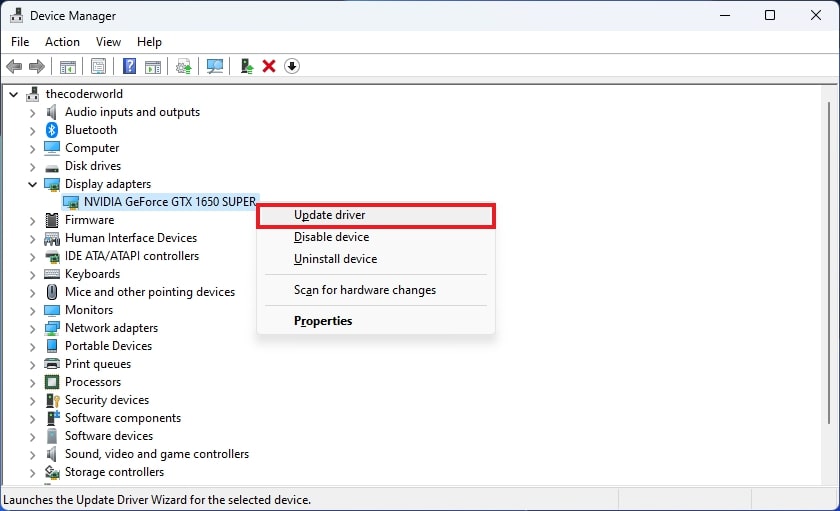
4. A screen will be opened; follow the instructions to update the graphics driver.
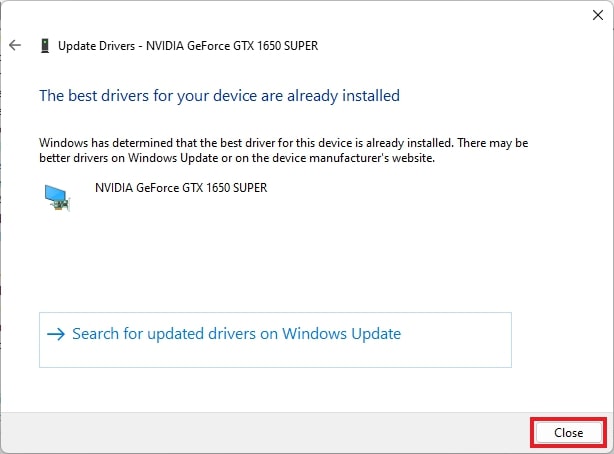
After that, restart the PC and check whether the issue has been resolved. If the freezing issue is not resolved, you can follow the other methods mentioned below.
3. Close Unnecessary Background Apps
You can first try closing unnecessary background apps when facing freezing issues. There are a lot of apps and background processes that keep running without any reason.
You can close those apps to free up memory and RAM. If those apps use too many resources, your PC will get overheated, and you will face the issue.
To close unnecessary background apps, follow the steps mentioned below:
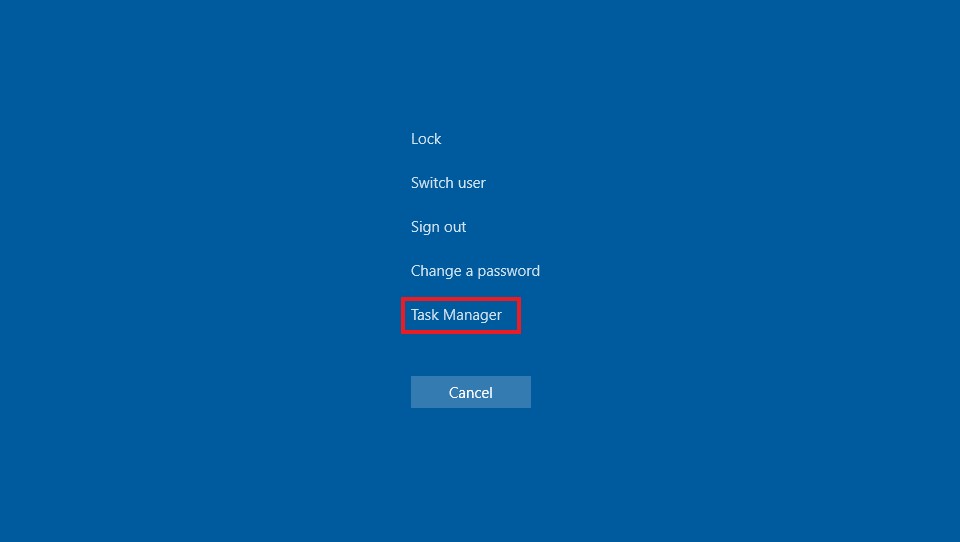
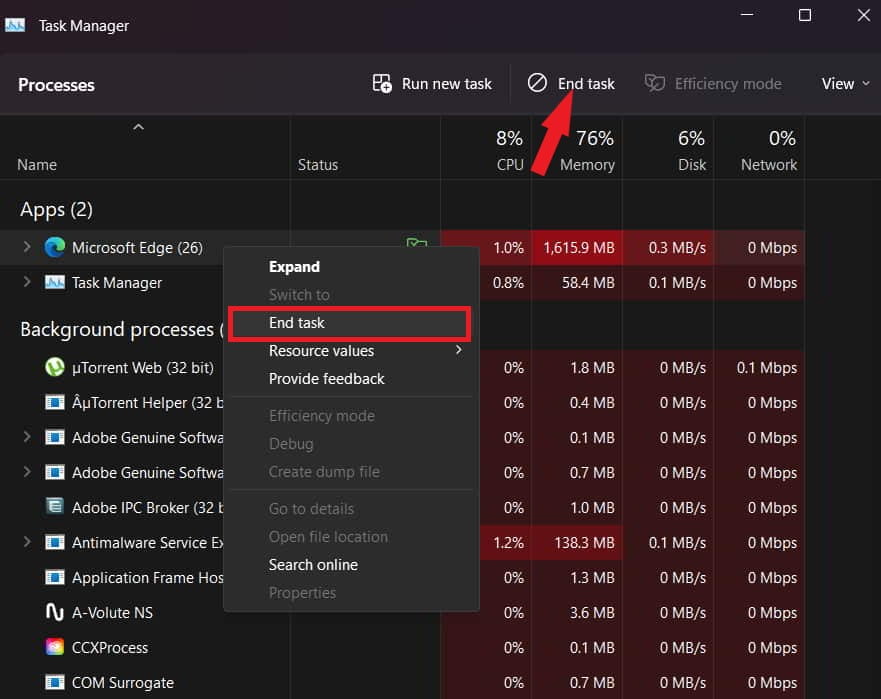
1. Open the Task Manager on your PC. If you are not able to, press Ctrl + Alt + Del and choose Task Manager from the menu.
2. You will see a lot of processes running in the Task Manager.
3. Start closing those processes that are running unnecessarily. For that, choose the processes and click on the End Task button.
If you are still not able to close unnecessary background apps, you can check out our detailed guide on how to Force-Quit a program in Windows 11.
After this, the freezing issues will be resolved. Or else, you can also try the below-mentioned methods.
4. Delete Temporary Files from Temp Folder
Every day, we access many files and use different apps on our PCs. The apps store some temporary files on the hard drive that take up space and are useless.
It can also cause issues with the freezing of Windows 11. You can easily clear them with the help of the steps listed below:
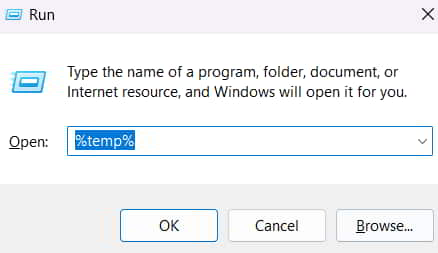
1. Press the Windows + R key on the keyboard to open Run. Here, type %temp%.
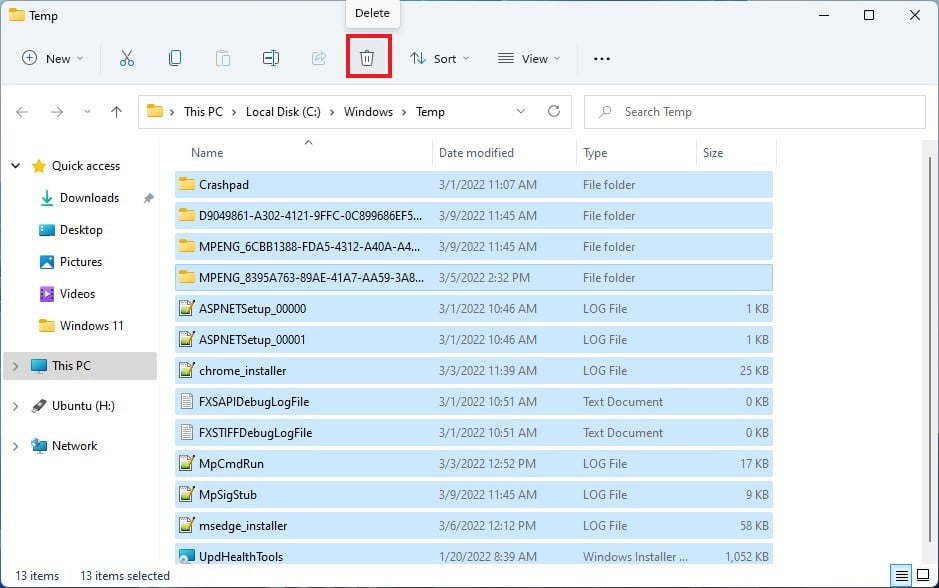
2. It will open the temporary file location, select all the files, and delete them.
3. Also, delete the files from the recycle bin. After that, check whether Windows 11 is still freezing or not.
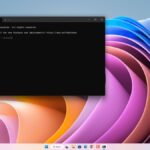
5. Try SFC Scan
The System File Checker (SFC) scan can also help resolve your PC’s freezing issues. It has helped a lot of users; you should also try it.
To run the system file checker scan, you can follow the following steps:
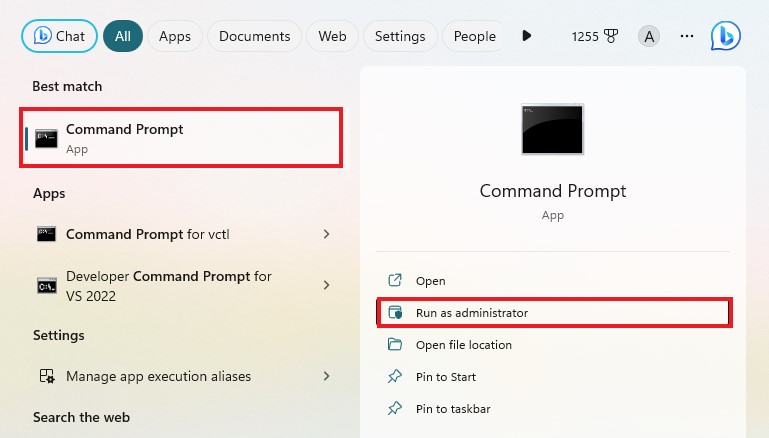
1. Click on the Start Menu and search for Command Prompt. Then open it in administrator mode.
2. You must type the following command:
sfc /scannow
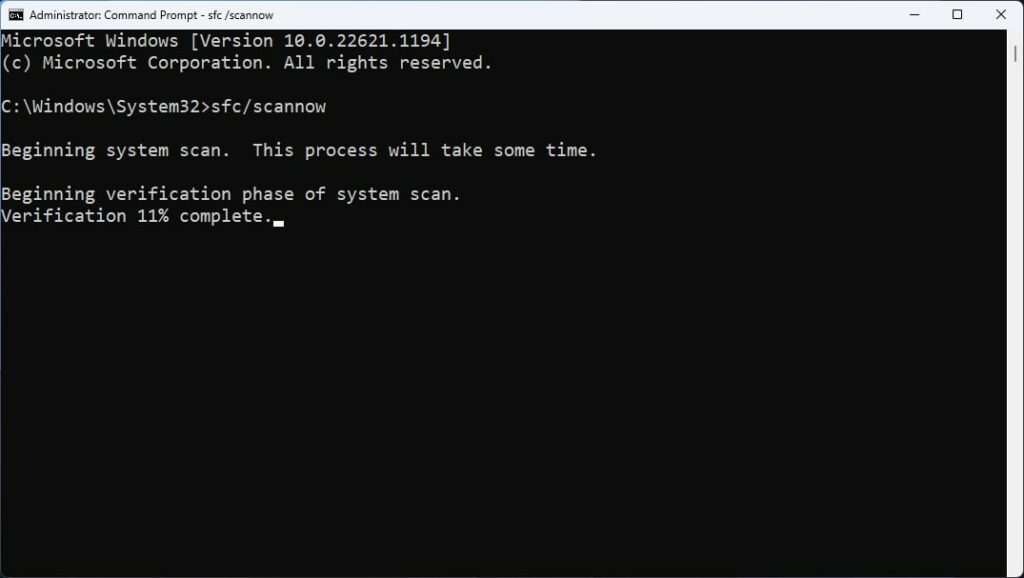
3. After typing the above command, press Enter. The scanning process will start and take some time. Wait for it to be completed.
This should fix any system-related issue that is causing freezing problems on Windows 11. If you are still experiencing freezing issues, then it is not due to software problems; they are caused by hardware issues.
6. Run Disk Checkup
Sometimes, the disk on which the Windows operating system is installed can also cause freezing issues on Windows 11. To fix it, you can perform a disk checkup using the built-in tool called ‘Check Disk’ or ‘Chkdsk.’
Here’s how you can do it:
1. Open Command Prompt as administrator.
2. In the Command Prompt window, type the following command and press Enter:
chkdsk c: /f /r
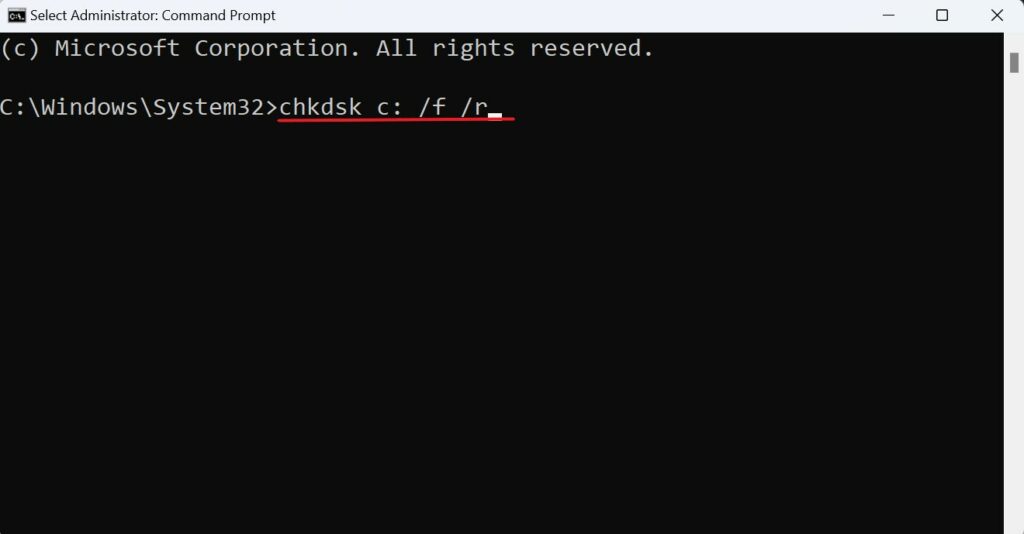
3. Now, it will fix any disk error that is causing freezing issues on your Windows device.
4. After the disk check is complete, restart your system.
7. Check for RAM Issues
RAM can also cause freezing issues on the Windows operating system. Here is how you can diagnose faulty RAM:
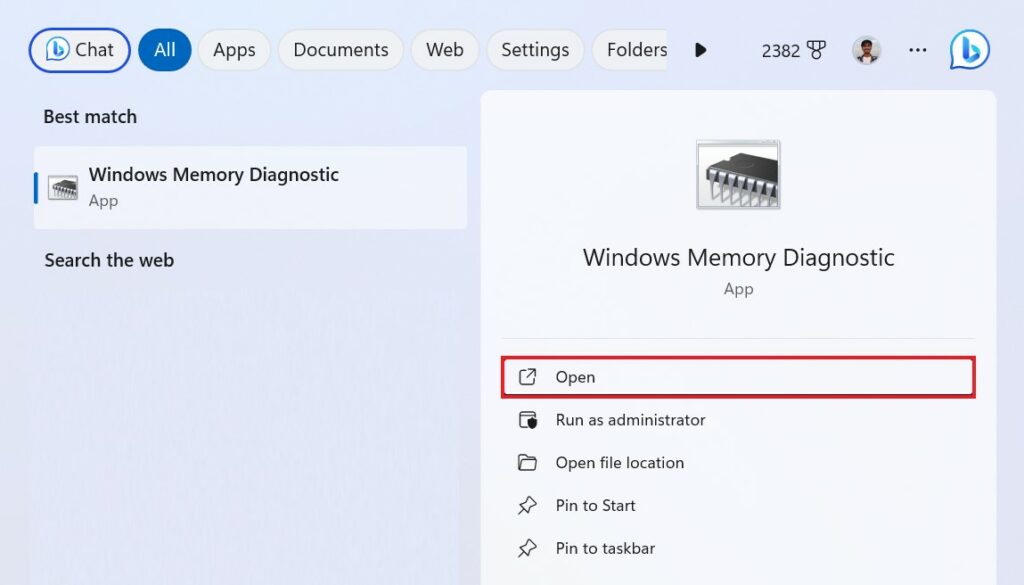
1. Press the Windows + S keys.
2. Type Windows Memory Diagnostic within the search box that opens and click on Windows Memory Diagnostic to open it.
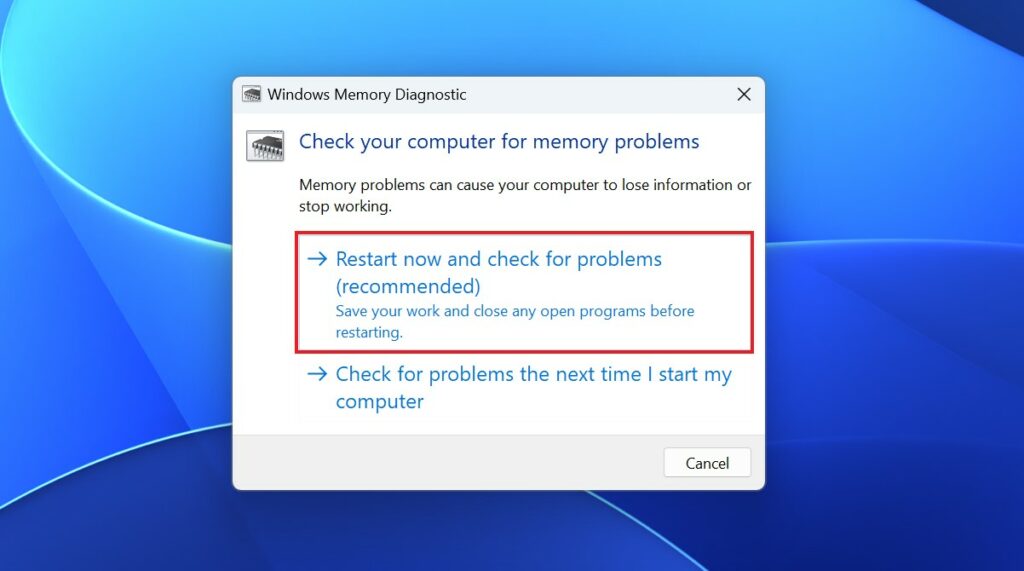
3. Select the Restart now and check for problems option.
4. After that, it will restart, and Windows Memory Diagnostic will scan for RAM issues, displaying the outcome.
Note
If Windows Memory Diagnostic detects errors, you might need to replace faulty RAM modules.
We also have a complete guide on how to use Windows Memory Diagnostic. You can refer to the guide to learn more.
8. Check RAM Usage
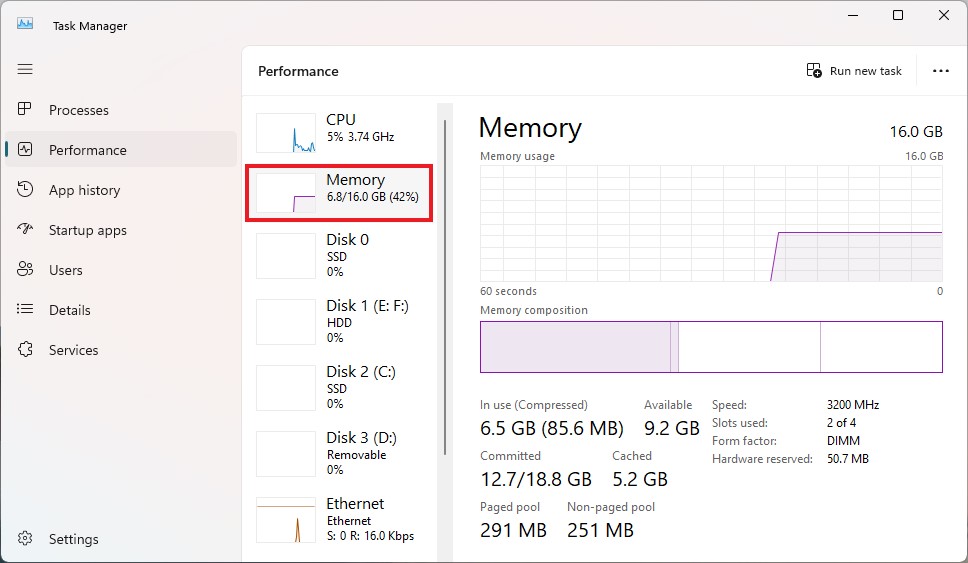
The freezing issue will continue if the PC you use does not have sufficient RAM. We suggest you open the Task Manager and check how much RAM is used. If the RAM usage is more than 90%, then try to close all the apps and restart your system.
Alternatively, you might need to upgrade your RAM if you are using low RAM; the recommended RAM for running Windows 11 is 4GB. However, we recommend you at least install 8GB. This should fix the freezing issues on Windows 11 if they are due to RAM.
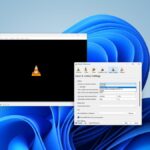
9. Adjusting Virtual Memory
However, if you don’t have the option to upgrade your RAM, then you can increase the virtual memory value.
Virtual memory is a feature of a Windows operating system that uses disk storage (Hard Disk and SSD) to compensate for shortages of physical memory. It transfers pages of data from RAM to disk storage, effectively acting as virtual RAM for your system.
Here’s how you can adjust virtual memory on Windows 11:
1. Open Settings on your system by pressing Windows + I.
2. Here, type Performance in the search bar.
3. It will display the search results, and then select the Adjust the appearance and performance of Windows option.

4. It will open the Performance Options window.
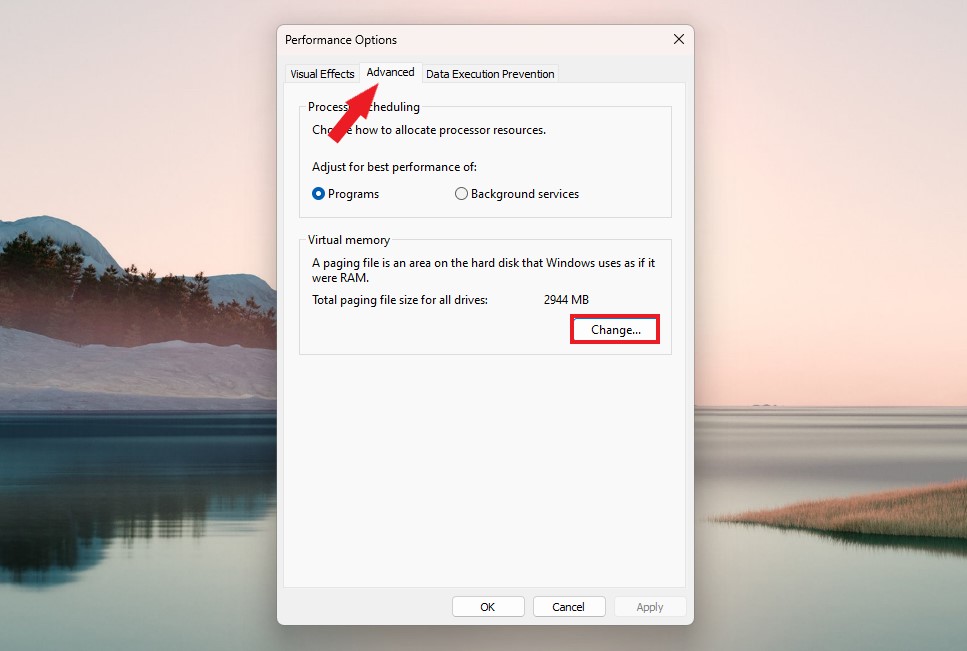
5. Here, click on the Advanced tab, and then click on the Change option under the Virtual Memory section.
6. The Virtual Memory menu will appear. Ensure that the currently allocated paging file size matches or is higher than the recommended value.
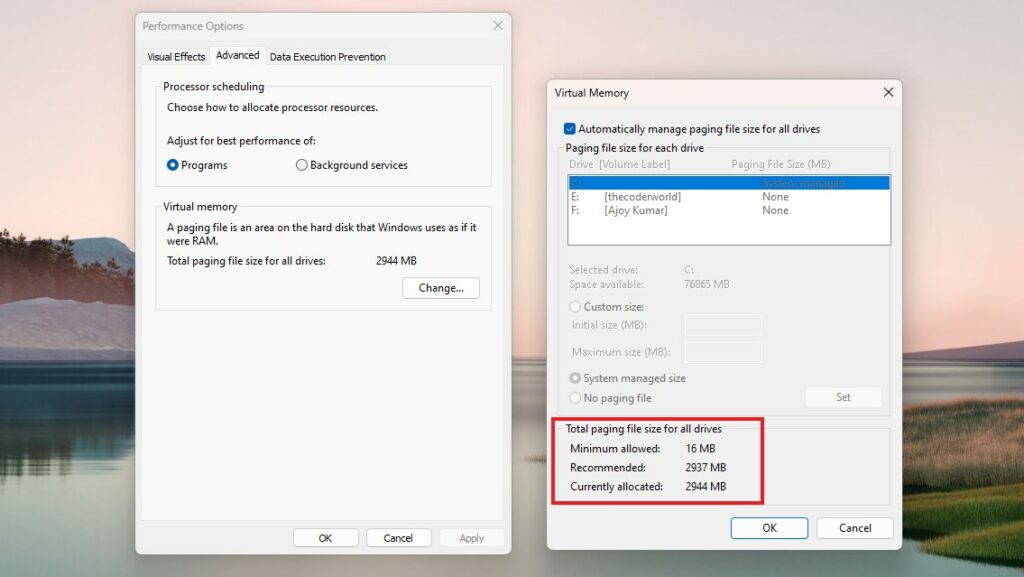
7. If the currently allocated value is lower than the recommended value, uncheck the box Automatically manage paging file size for all drives, click on Custom size, and enter the preferred value under the Initial size and Maximum size boxes.
8. After that, you can try using File Explorer to check if freezing is occurring.
10. Check Storage
The freezing issue might occur on Windows 11 if your PC doesn’t have sufficient storage or if you are using a hard disk. If you are using a hard disk, you can switch to an SSD. The SSD works more fluently than the hard disk.
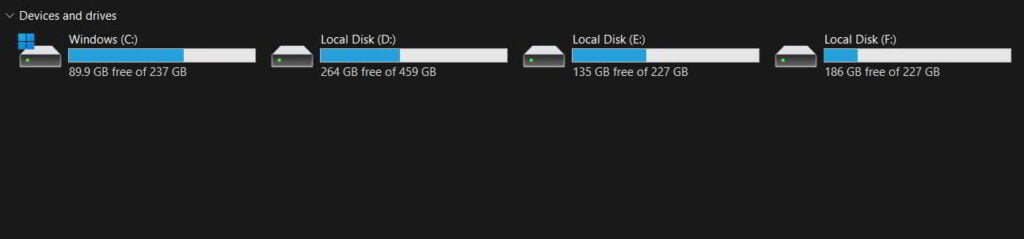
However, if you are using an SSD and still experiencing the issue, we suggest you check the drive where you have installed Windows 11. Verify whether the drive has sufficient storage or not. If the drive shows a red color indicator, you will need to clear up the storage.
11. Reset Windows 11
After following all the mentioned methods and still experiencing the same freezing issues, the only possible solution is to reset Windows 11 to its default settings. You may have changed some settings, which could be the reason for this issue occurring on your PC.
Additionally, if some files are suspected to contain viruses, they will be fixed promptly. You can easily do this by following the steps listed below.
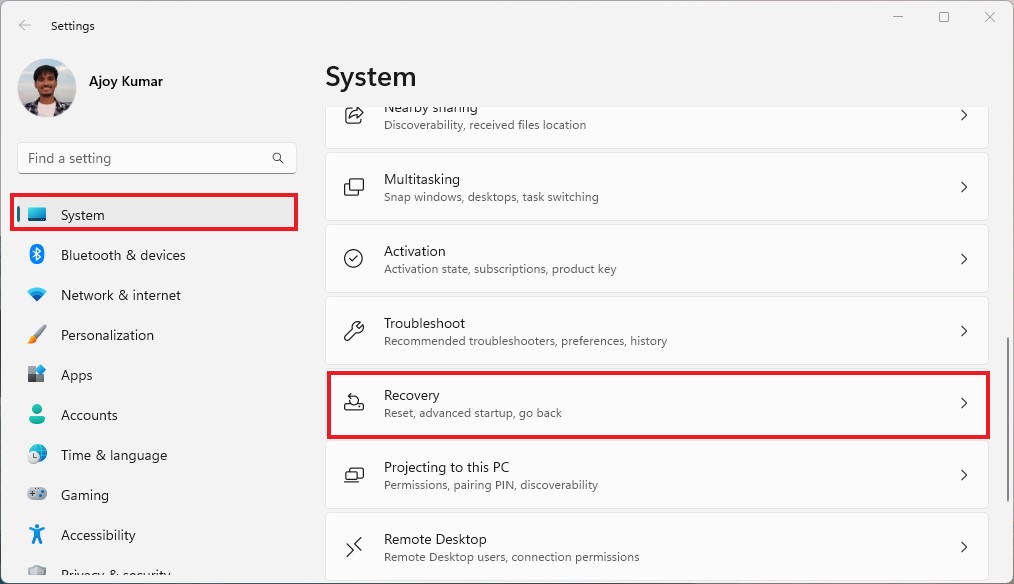
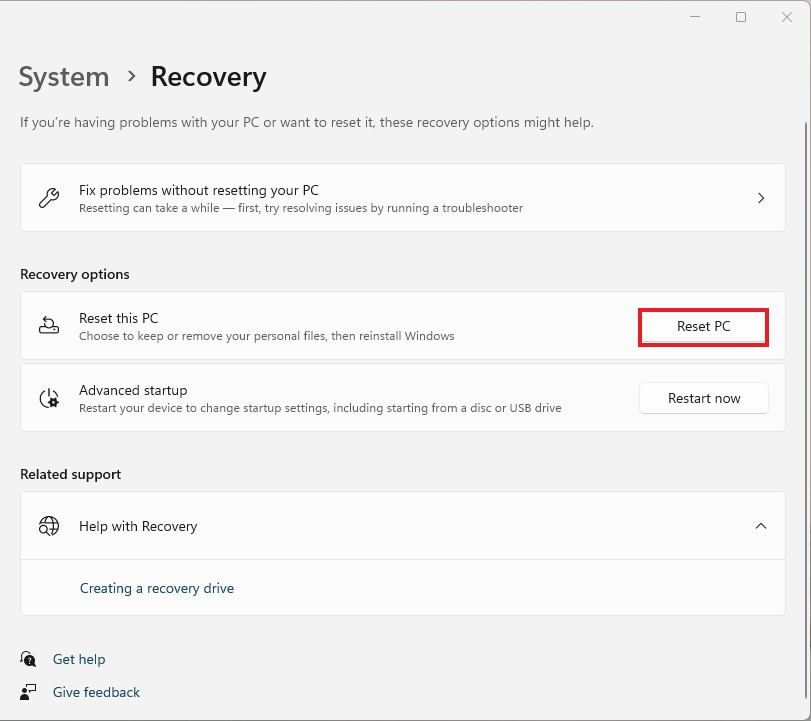
1. Open Settings on your PC. Then select the Recovery option.
2. Click the Reset PC option from the Recovery Window.
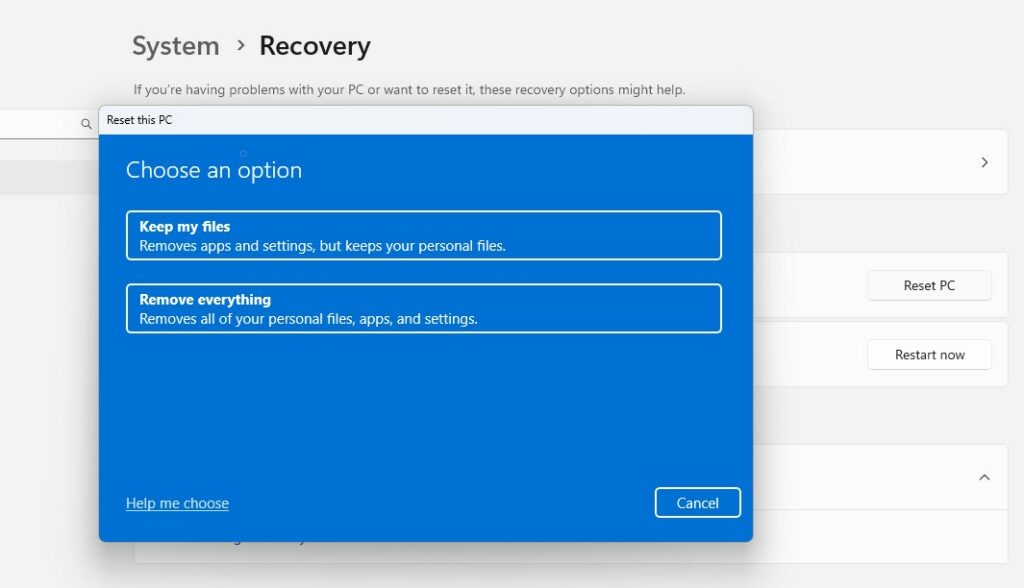
3. You will get different options. Choose according to your needs. You can either keep the files or delete everything.
4. After that, wait for the process to be completed.
Note
Be careful while resetting your Windows 11. You can follow our detailed guide on how to reset Windows 11 without losing data.
It will help you reset your system without losing your data – such as images, music, videos, and more. It will only reinstall Windows 11 to the default settings.
Conclusion
That’s it! By following the above-mentioned methods, you can easily fix the freezing issues on your Windows 11 system. However, if you are only facing freezing issues on File Explorer, then you can check out our guide to fix File Explorer freezing in Windows 11. This should fix all the freezing issues you are having with your system.
We hope the listed methods resolve the issue. However, if you have some suggestions or are having problems solving the freezing issues on your Windows PC, do not hesitate to leave them in the comments section. We will soon come up with a solution.