We are going to learn How to Install Malwarebytes on Windows 11 For Free. Malwarebytes is an anti-malware software for Microsoft Windows, macOS, Android, and iOS that finds and removes malware. It was developed by Malwarebytes Corporation, it was first released in January 2006.
Malwarebytes is not free software but you can download it for free. The free version comes with all the features that are available in the premium version of Malwarebytes. But after a 14-days trial, it will disable real-time protection. Besides this feature, you can use all the features. After using it, if you find it useful then you can go for the premium version.
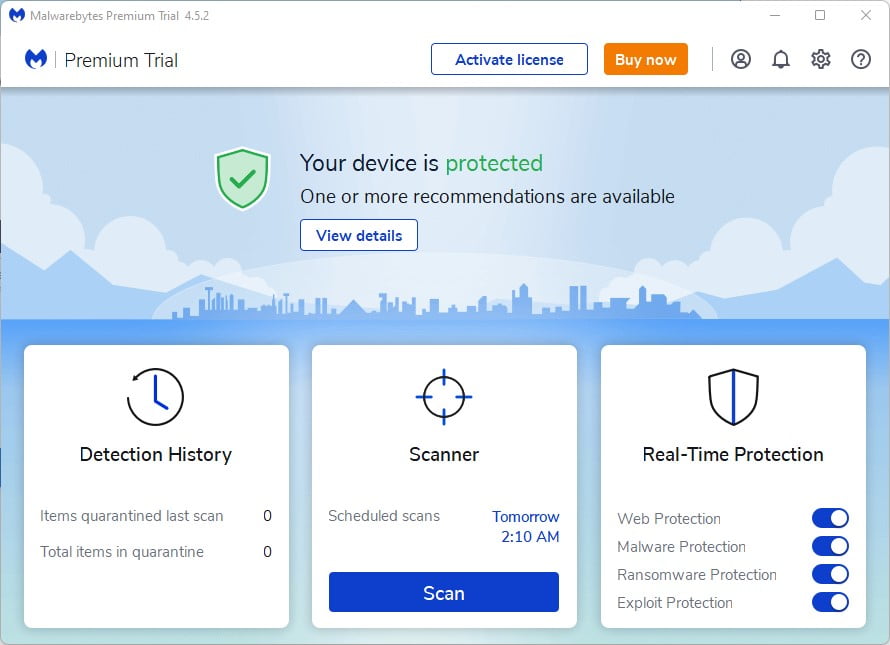
Features of Malwarebytes
- Web Protection
- Exploit Protection
- Malware Protection
- Ransomware Protection
How to Install Malwarebytes on Windows 11
Here are the steps to download it for free and how to install Malwarebytes on Windows 11.
Step 1: Open any browser, search for Malwarebytes and open the first link from the search result. Or visit this link malwarebytes.com
Step 2: Now click the “Free Download” option just click on it and the download will get started.
Step 3: After the download has been completed just open the installer file. Now it will open the Malwarebytes setup wizard.
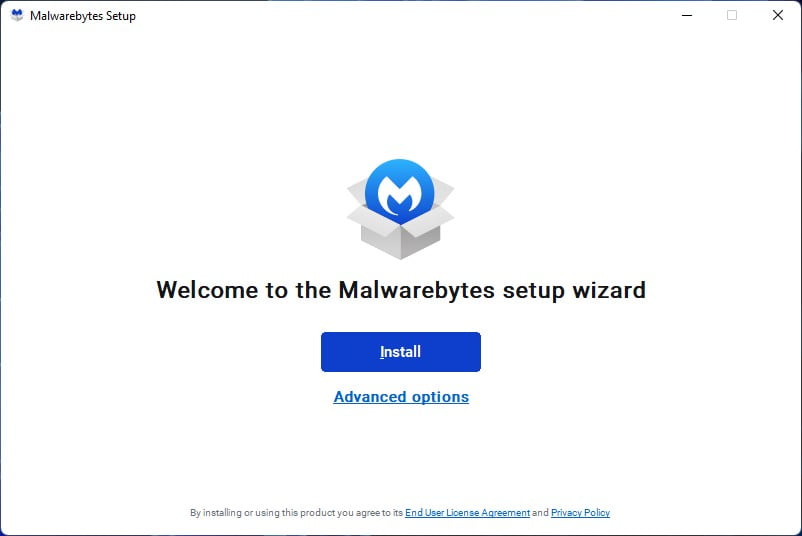
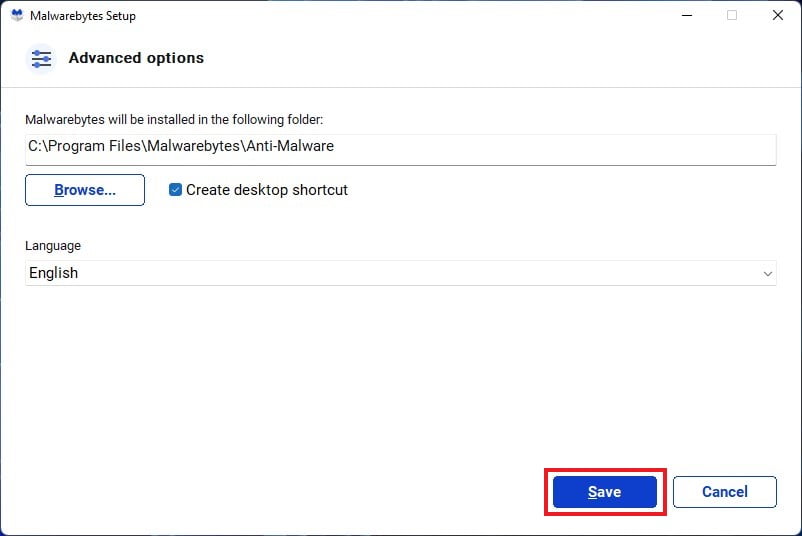
Step 4: If you want to change the installation location and other installation-related settings then click on “Advanced Options“. After that click on “Save” and it will open the Malwarebytes setup wizard here click on “Install”.
Step 5: Now select the product where you want to use Malwarebytes, for personal use select “Me or my family” and click on “Next“.

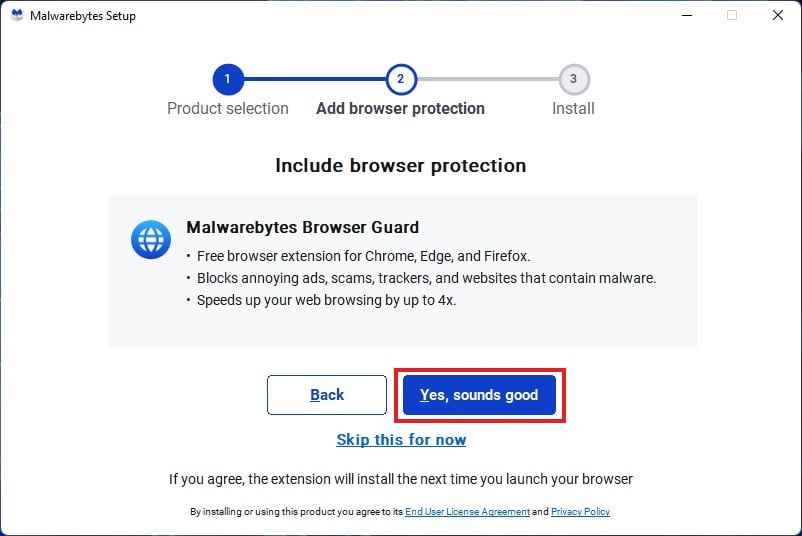
Step 6: If you want to install Malwarebytes browser guard then click on “Yes, sounds good“ or else click on “Skip this for now“. I will suggest you add the extension to your browser it will provide an extra layer of protection.
Step 7: After that Malwarebytes will get installed on your Windows 11, here simply click on “Done“.

How to Install Malwarebytes Browser Gaurd
If you have selected Malwarebytes Browser Guard protection, then you have to install it on your browser. It is a free browser extension for Chrome, Edge, and Firefox Browser. It Blocks annoying ads, scams, trackers, and websites that contain malware.
Here are the steps to Install Malwarebytes Browser Gaurd extension:
Step 1: Open your browser, on the browser tab you will find an error icon click on it. Here you will find an option to add a Malwarebytes Browser Guard extension.

Step 2: Now here click on the “Enable Extension” option to add it. After that, you will find a Malwarebytes icon on the taskbar, click the Malwarebytes icon to turn protection on or off at any time.

After installing the Malwarebytes software and the Malwarebytes Browser Guard, you can activate Malwarebytes for free. For that, follow the article till the end.
How to Activate Malwarebytes Free Version
Malwarebytes is a paid malware protection software for windows 11. Here is how we can activate the free version of Malwarebytes on Windows 11.
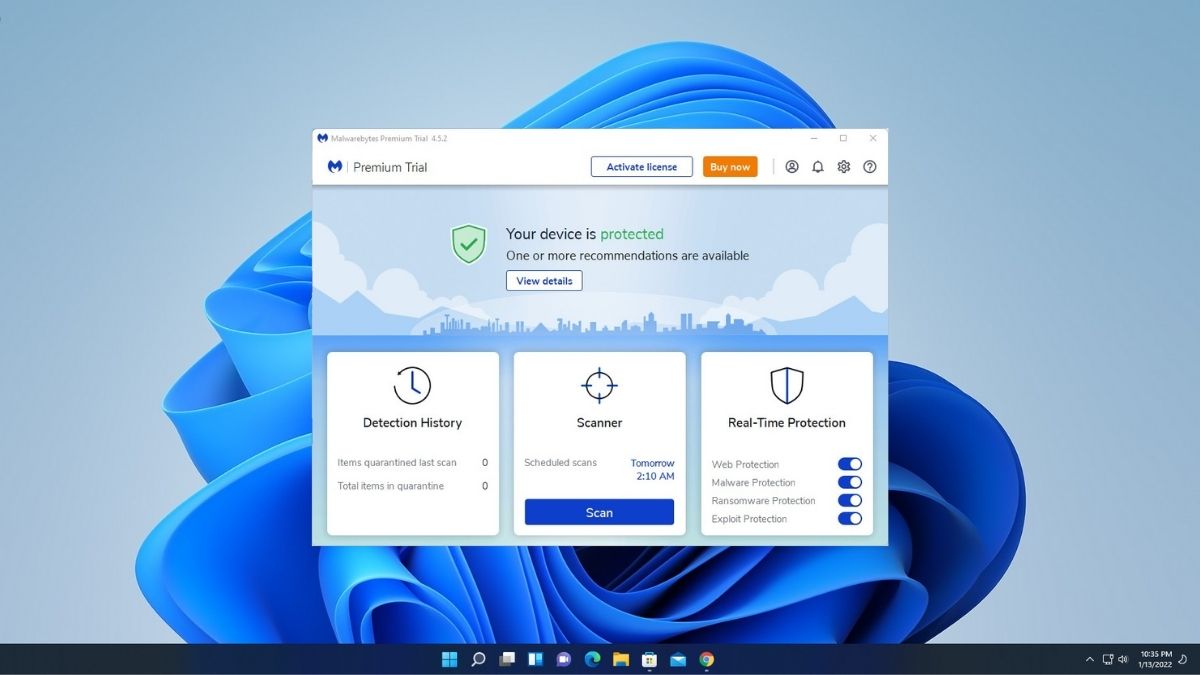
Note: On the free version, you will not get real-time protection on your Windows 11 system. For that, you have to buy the Malwarebytes Premium version.
Step 1: Open Malwarebytes and click on “Get Started“.

Step 2: Here you will find an option to buy the Malwarebytes premium version and activate the subscription option. Now to use the Malwarebytes free version simply click on “Maybe later“.

Step 3: Now if you want to try a 14-day free premium trial then enter your email and click on “Get Started“.

Step 4: Now you are ready to use Malwarebytes Free Version for windows 11.
Conclusion
That’s it, this is how you can download and install Malwarebytes on Windows 11. I hope this article was helpful to you. If you liked the article then you can share it with your friends.