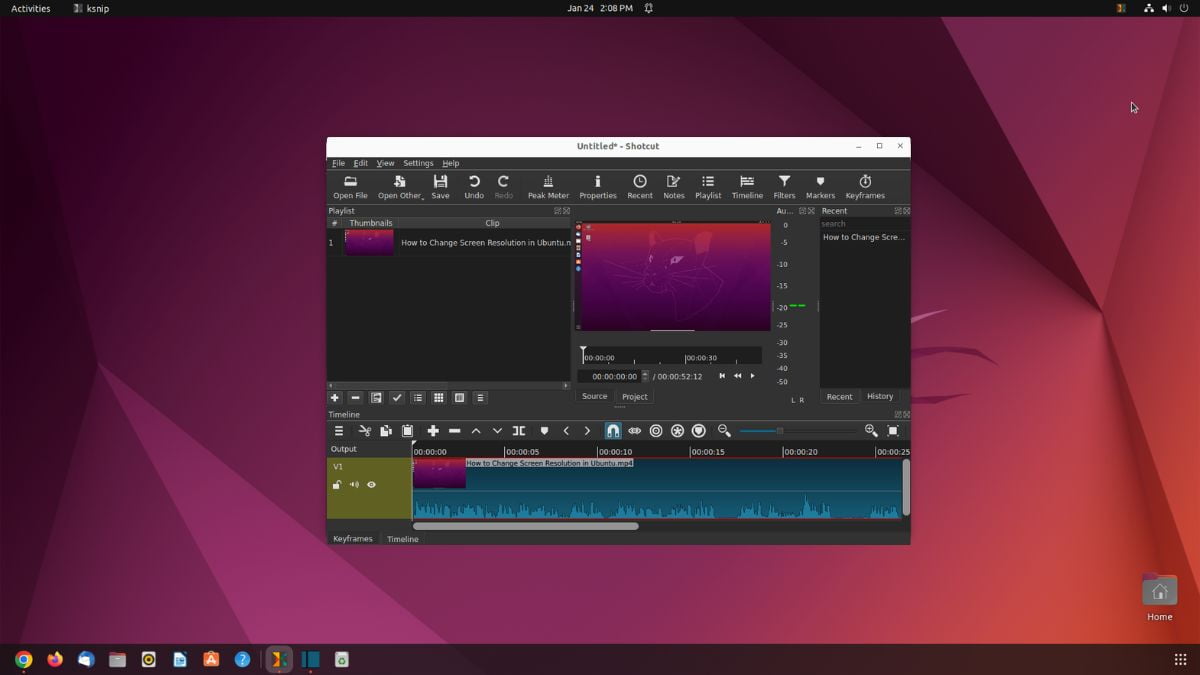
Shotcut is one of the most popular video editing software for Ubuntu. Using Shotcut video editor, you can edit 4K videos and high-resolution projects. It can also handle a variety of pictures, audio, and video formats. Above all, it includes timeline editing, audio filters, video transitions, a multitrack timeline, and many more features.
Here is a complete guide on; how to download and install the Shotcut video editor on Ubuntu 22.04 LTS. If you are looking for other video editing software for Ubuntu, you can try Openshot on Ubuntu.
How to Install OpenShot Video Editor on Ubuntu 22.04
There are two ways of installing Shotcut on your Ubuntu operating system. You can install it from the Ubuntu Software Store or using the Terminal command. Let’s discuss them one by one.
1. Using the Ubuntu Software Store
First, let us discuss the most straightforward method to install any software on Ubuntu, that is using the Ubuntu Software Center.
For that, you can follow the steps mentioned below:
1. Click the Show Application button (with nine dots) at the bottom of the page.
2. Now, search for Ubuntu Software and open it.
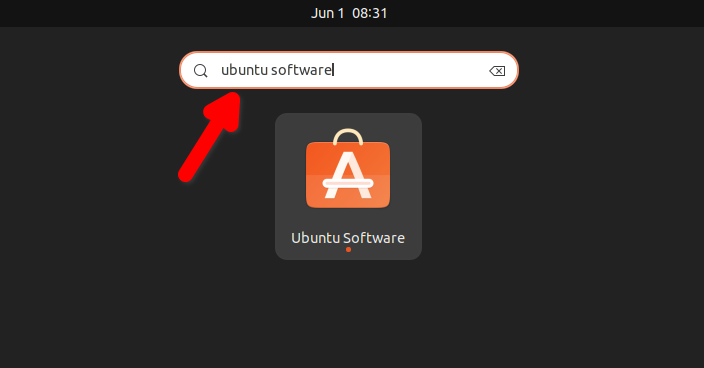
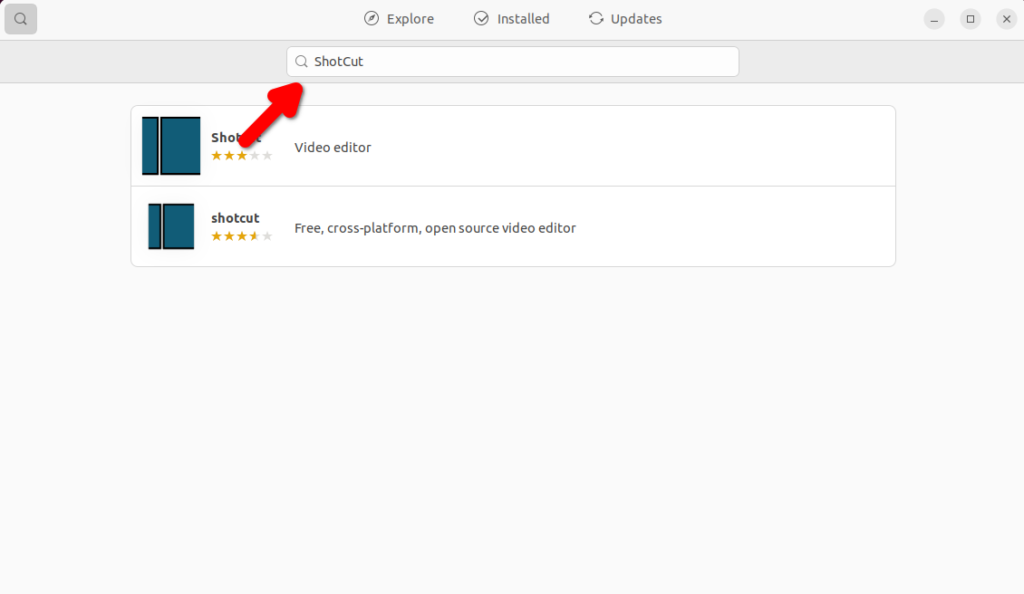
3. Ubuntu Software is the official app store for the Ubuntu operating system. Here, you’ll get a vast range of applications for Ubuntu. To install Shotcut, search for it, and from the search result, click on it.
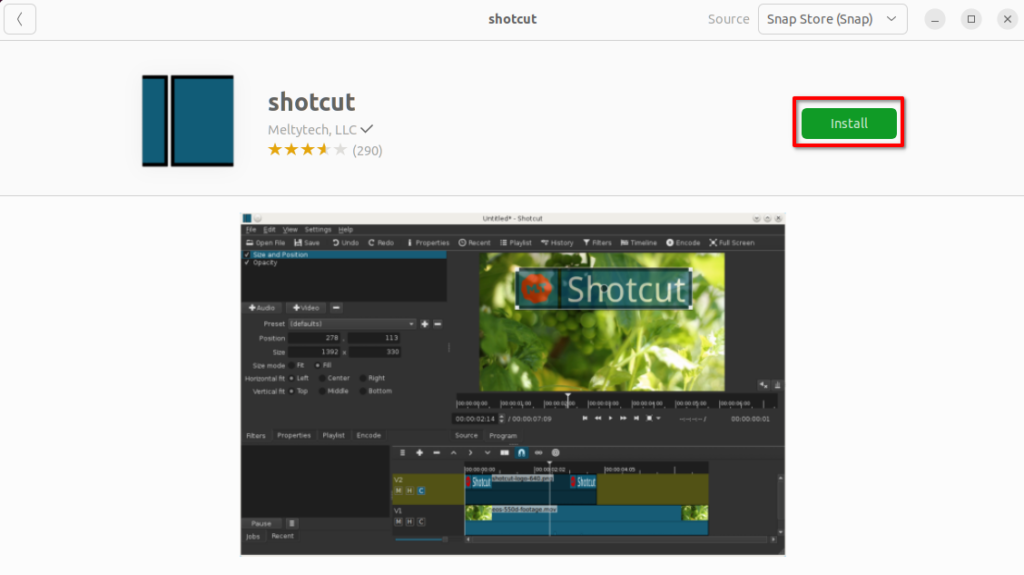
4. Click the Install button and enter the password to authenticate the installation. And wait for the installation to complete.
5. After that, you’re ready to use the Shotcut video editor on your system.
6. Once the installation is complete, click on the Open button and use Shotcut. You can also open it from the Show Application window.
2. Install Shotcut using the Terminal
You can also install any Linux application using the Terminal if you know the terminal command of the app.
Let’s discuss how to install Shotcut on Ubuntu using the terminal command:
1. Open the Terminal application. For that, you can use the shortcut keyboard Ctrl + Alt + T on your keyboard.
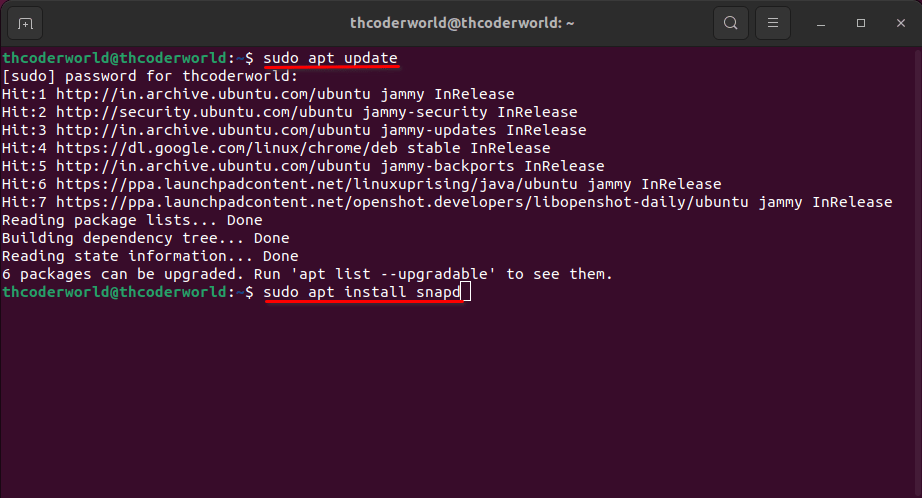
2. To install Shotcut on Ubuntu, you have to enable Snapd. For that, you have to run this command on the terminal.
sudo apt update
sudo apt install snapd
Note
If you are using Ubuntu 20.04 LTS or the latest version of Ubuntu, you don’t need to do anything. Snapd is already installed.
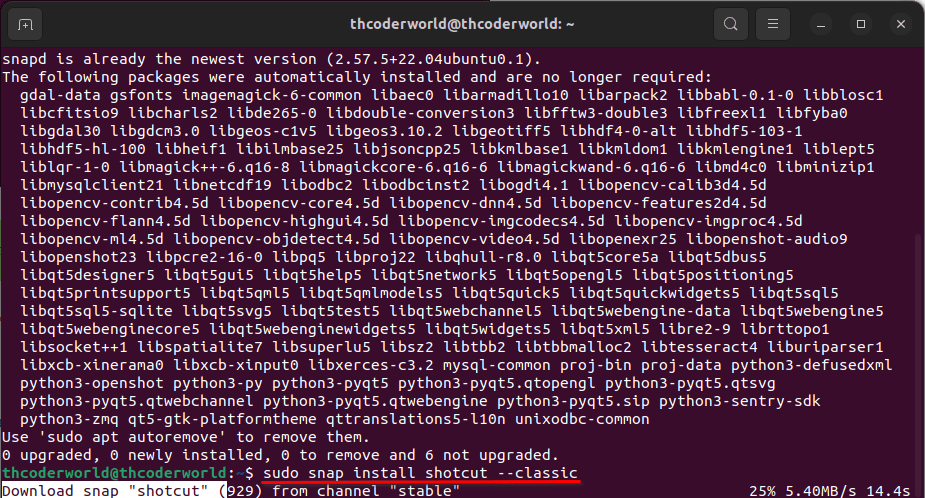
3. After that, you have installed snapd on your system. You can run the following terminal command to install Shotcut:
sudo snap install shotcut --classic
Conclusion
That’s it; this is how you can install Shotcut video editor on Ubuntu 22.04 LTS. Do you know? You can also play games on Ubuntu. You can download the original games from Steam. Check out our guide on; how to install Steam and play games on Ubuntu.
I hope this article was helpful to you. However, if you have some suggestions or doubts regarding the installation process of Shotcut, do not hesitate to leave them in the comments section. We are always there to assist you.
