If you want to install the Android application on your Windows 11 device, you can install BlueStacks. It is an Android emulator that helps to download and install Android apps on your Windows 11. Here we will discuss how to install BlueStacks on Windows 11.
The company claims that it is 6x faster than any Android smartphone. But in my opinion, it performs best only on a high-end computer. Yes, you can install and use the software on any computer. If you want to play high graphics games like PUBG Mobile and Asphalt 9 on a low-end computer, you might face some problems.
How to Install BlueStacks 5 on Windows 11
Even though Windows 11 natively supports Android apps and games, users prefer to use Android emulators because they provide a better gaming experience and features. Here we have shared a step-by-step guide on installing and using BlueStacks 5 on Windows 11. Let’s get started.
1. Open a browser and search for BlueStacks. Or else, open the link from bluestacks.com.
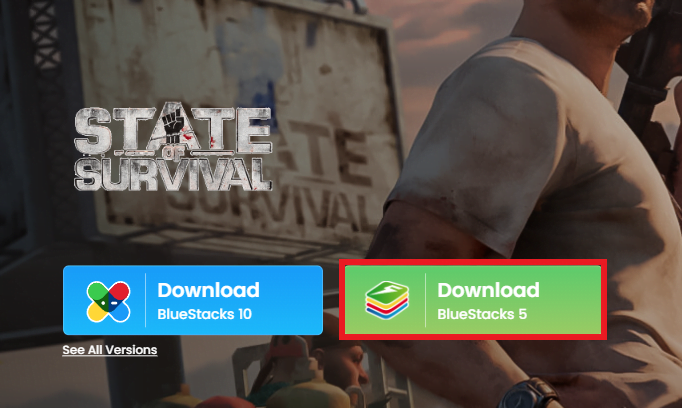
2. Here, you will find two download options – BlueStacks 10 and BlueStacks 5. To download the offline installation files, click on BlueStacks 5.
Note
BlueStacks 10 is the cloud version of BlueStacks. If you have high internet speed and a low-specification system, then you can install BlueStacks 10. Here’s our complete guide on; how to install BlueStacks 10 on Windows 11.
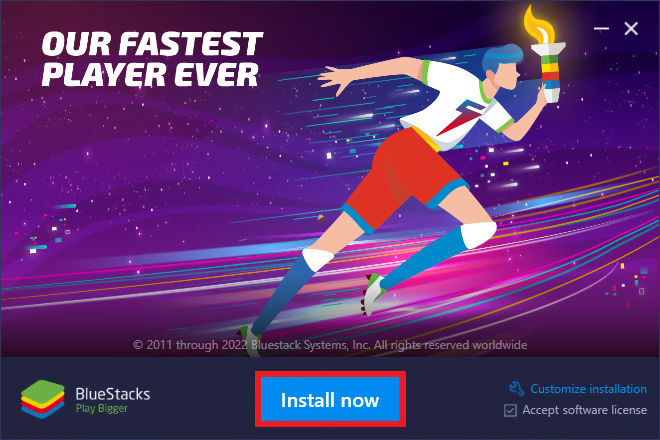
3. After the download is complete. Open the downloaded file to install BlueStacks 5. It will open the installation windows, here click on the Install Now button.
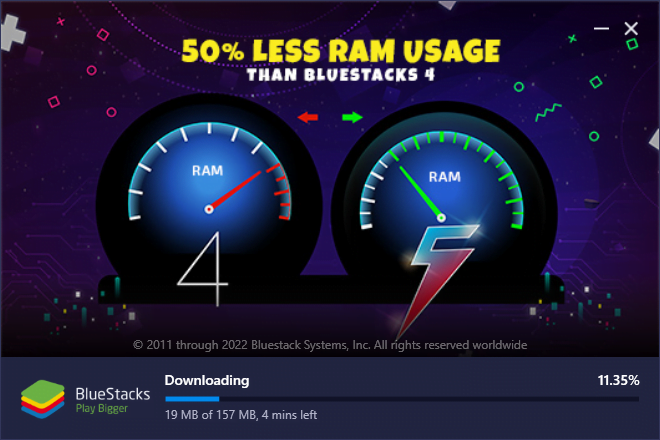
4. Now, wait until the BlueStacks 5 emulator downloads and installs on your Windows 11 device. If your PC antivirus interfering with the installation process, disable it. Don’t worry; it is 100% safe to use.
Note
In case you encounter a Hyper-V inaccessible alert during the installation, click on the Grant and restart button to continue. This will immediately restart your PC.
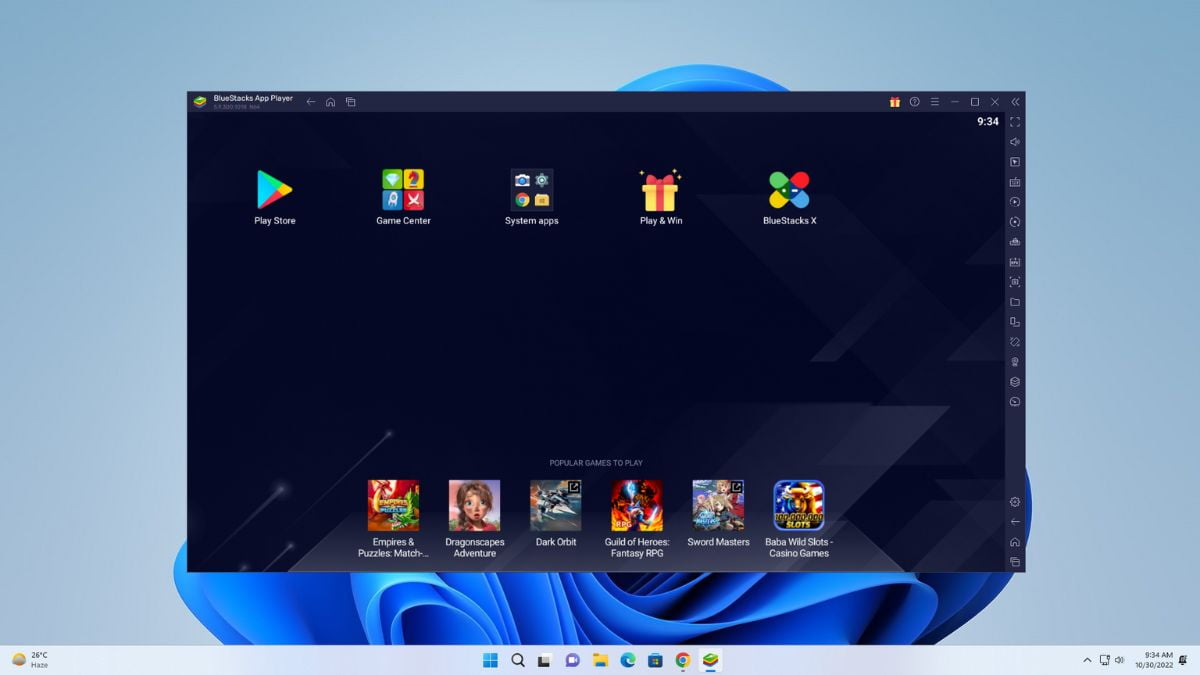
5. After the installation is complete, the BlueStacks 5 app player will launch automatically, and you will see a screen like the one below. If you are having an error, try to open the app as an administrator.
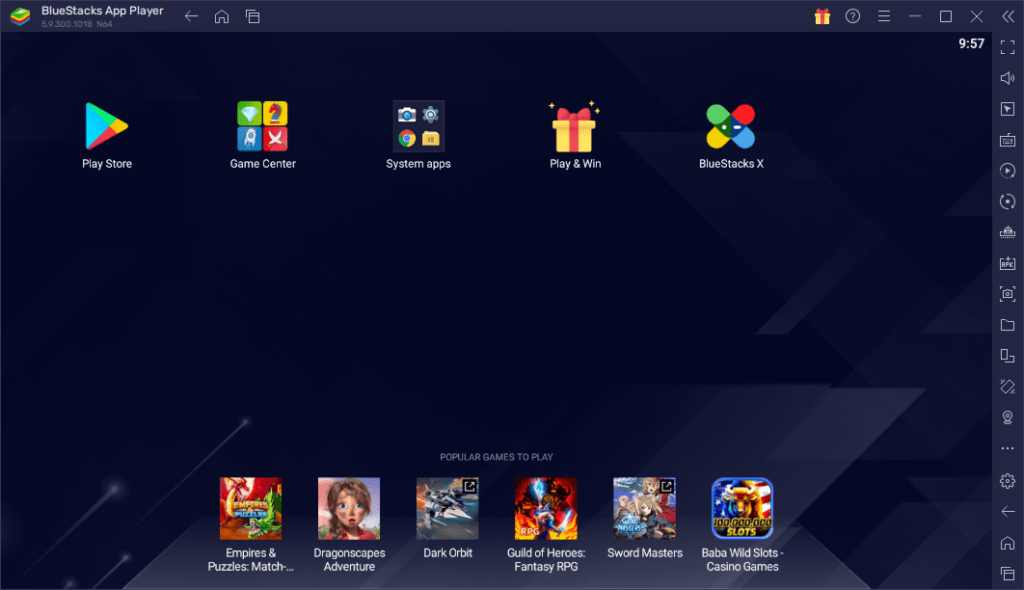
After installing BlueStacks 5 on Windows 11, you are ready to install the Android app and games on your Windows 11.
How to Install Apps and Games on BlueStacks 5
Now, to install and use Android apps on BlueStacks, you have; to sign in to Google Play with your Google account.
To do so, follow the following guide:
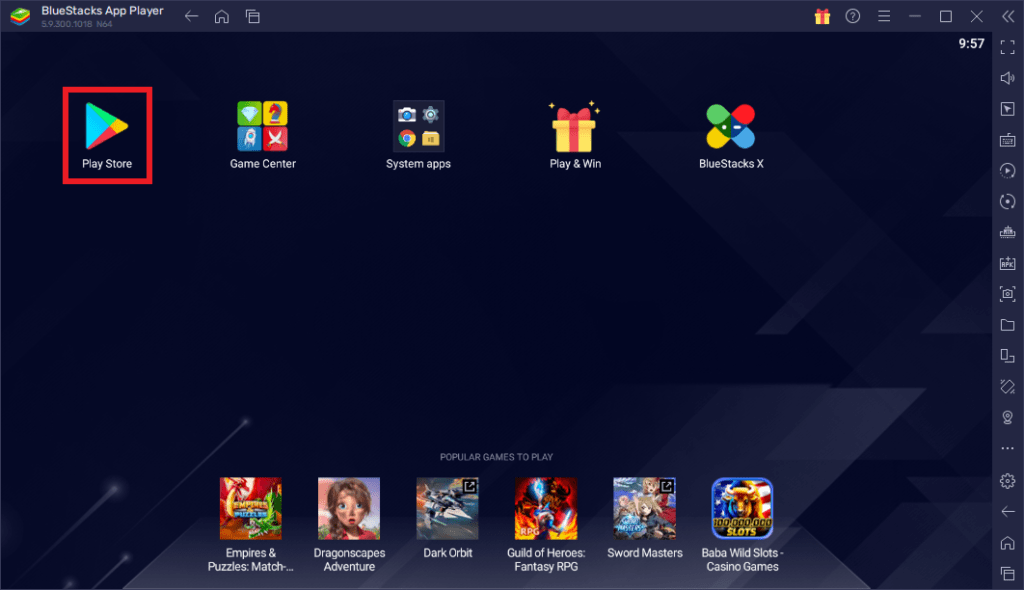
1. Open the BlueStacks 5 as an administrator.
2. Then click on the Google Play icon to open the Google Play Store.
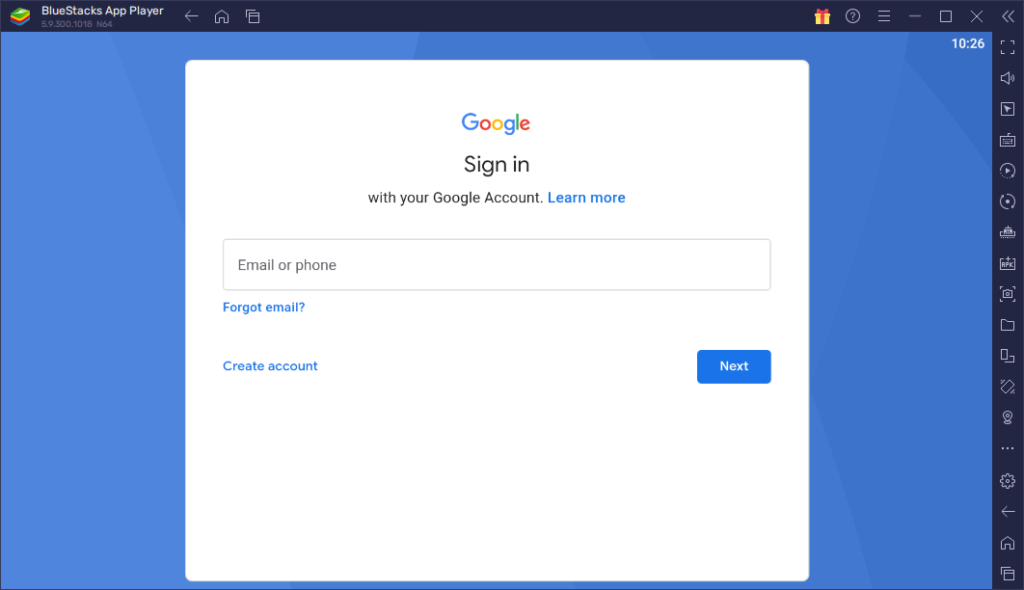
3. Click the Sign in button and enter your Google Account details to sign in to the Google Play Store.
4. Now, you can access the Google Play Store. You can use the search bar to search for the app and game you want to install on Windows 11.
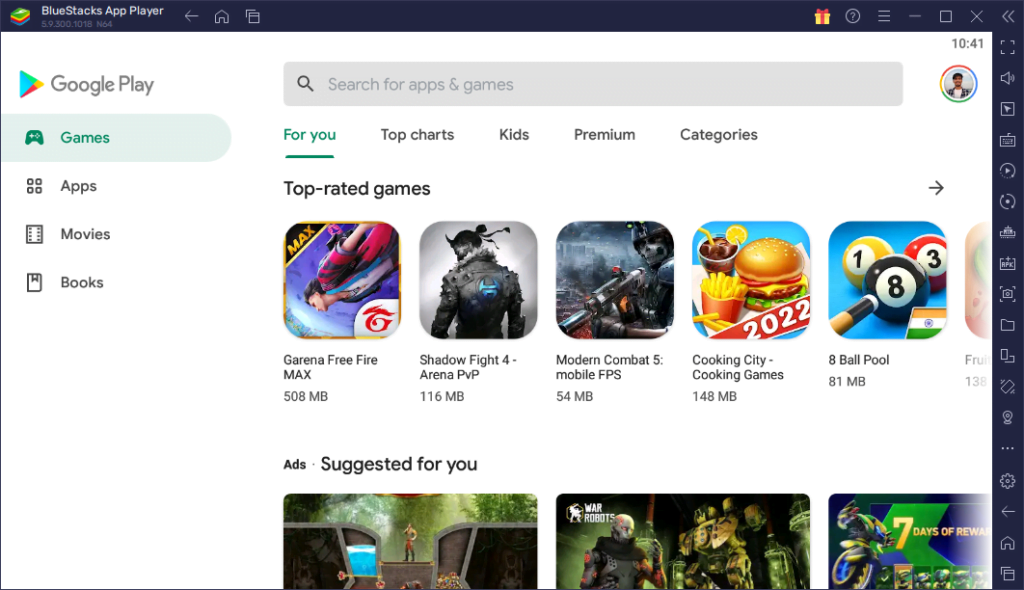
5. For example, if you want to install Free Fire, just search for it on the search option. Select the app from the search result and click the Install button to download and install the app on your device.
6. Now, wait for the process to complete. Once done, you are ready to play the game.

How to Configure BlueStacks 5 on Windows 11
BlueStacks 5 offers many settings that you can alter based on your requirements and use, let’s have a look at some of them.
1. Open BlueStacks 5, and click on the Settings icon located in the right side corner of the window.
2. After clicking on it, a pop-up menu will open with multiple options related to Performance, Display, Graphics, etc. You can click on them one by one and configure them accordingly.
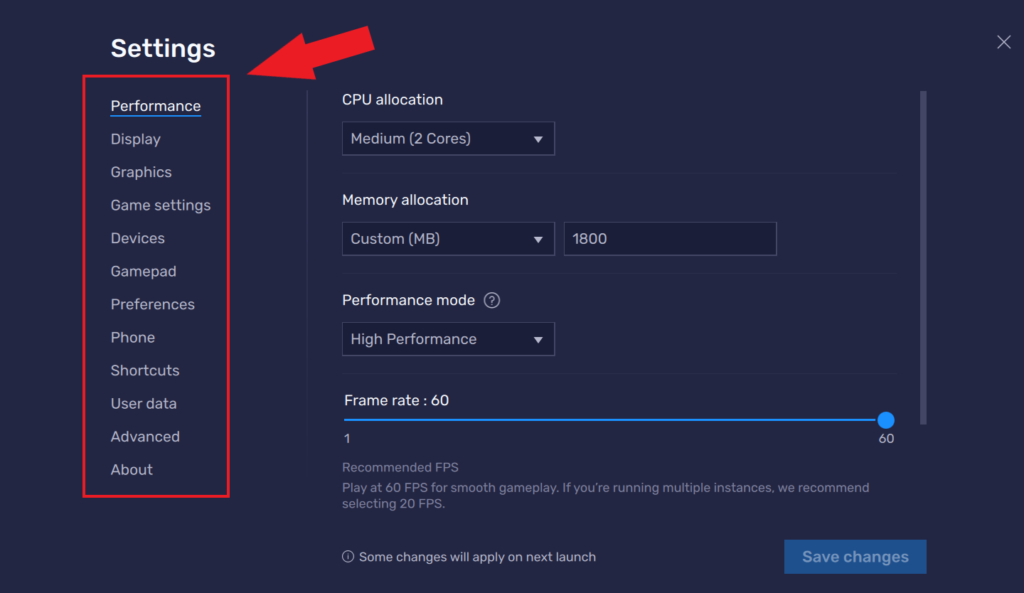
Let’s try and configure some settings.
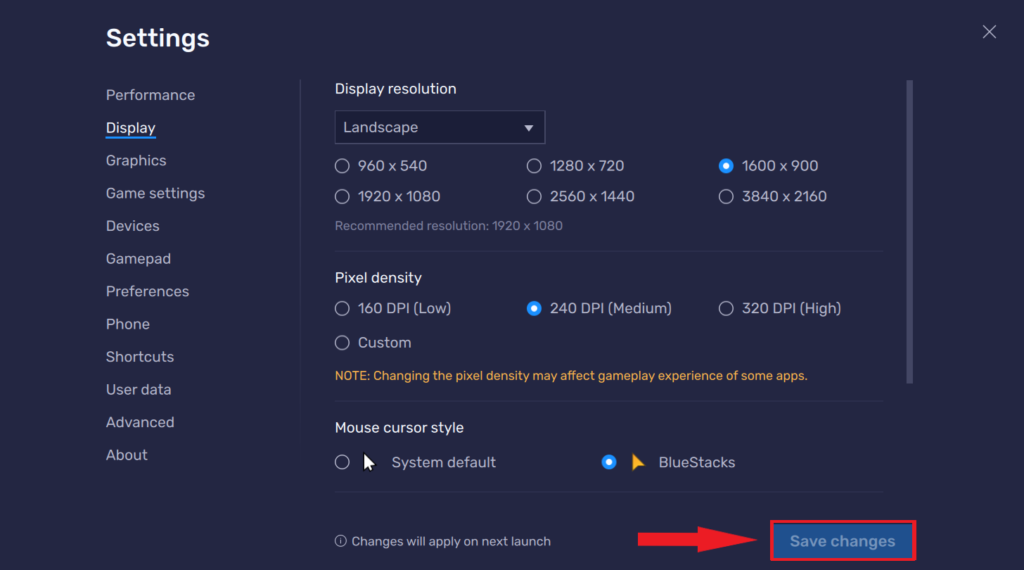
Display and Graphics: You can adjust the display resolution and graphics settings to optimize performance. You can choose higher or lower settings depending on your computer’s capabilities and your desired visual quality. Once selected hit the Save Changes button to apply the settings.
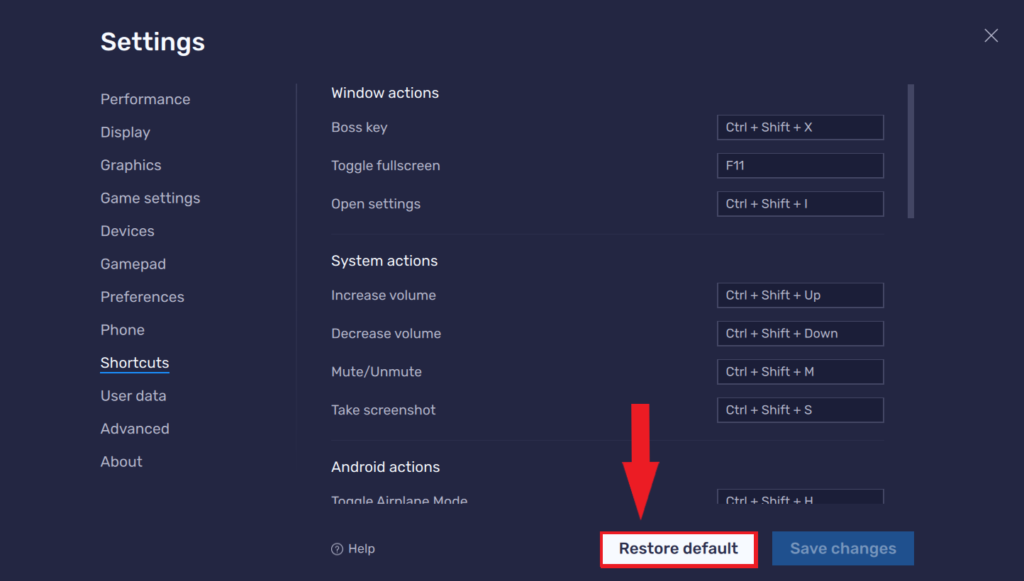
Shortcuts: BlueStacks 5 offers a variety of key shortcut combinations that you can use to quickly launch any task.
Note
There is a Restore Default button on the side of the Save Changes icon which will restore the default key combination.
Conclusion
That’s it; this is how you can download and install BlueStacks 5 on Windows 11. If you are having a problem using BlueStacks 5, you can check our guide to troubleshooting BlueStacks’ problem.
We hope this article was helpful to you. However, if you have some suggestions, do not hesitate to leave them in the comments section below. We are always there to assist you.