If you don’t know about Eclipse IDE then let me tell you that Eclipse is an Integrated Development Environment used for computer programming. It is most famous among Java developers because it is widely used for Java Development. Here in this article, we are going to discuss how to install Eclipse IDE for Java on Windows 11.
Setting up Eclipse IDE for Java Development on Windows 11 is very easy. However, before installing Eclipse IDE, you need to install and set up Java JDK on your Windows 11 PC. We already have a detailed guide on it, you can follow the linked guide.
How to Download and Install Eclipse IDE on Windows 11
Downloading Eclipse IDE is very easy. Just open your browser, search for Eclipse IDE, and open the link from eclipse.org. Then, click on the Download button to download the latest version of the Eclipse installer file. After the download has been completed, follow the following steps to install it.
In this section, we’ll discuss the steps to install the Eclipse IDE (Integrated Development Environment) on Windows 11.
1. After the download is complete, open the Eclipse installer file.
2. If you find any notification regarding the update. You need to update the Eclipse installer file before installing Eclipse IDE for Java Developers. For that, simply click on the Hamburg menu and click on the Update button.
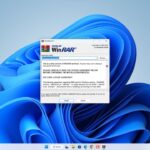
3. Now, accept the license agreement.
4. After the updates get installed, press OK to restart the Eclipse installer file.
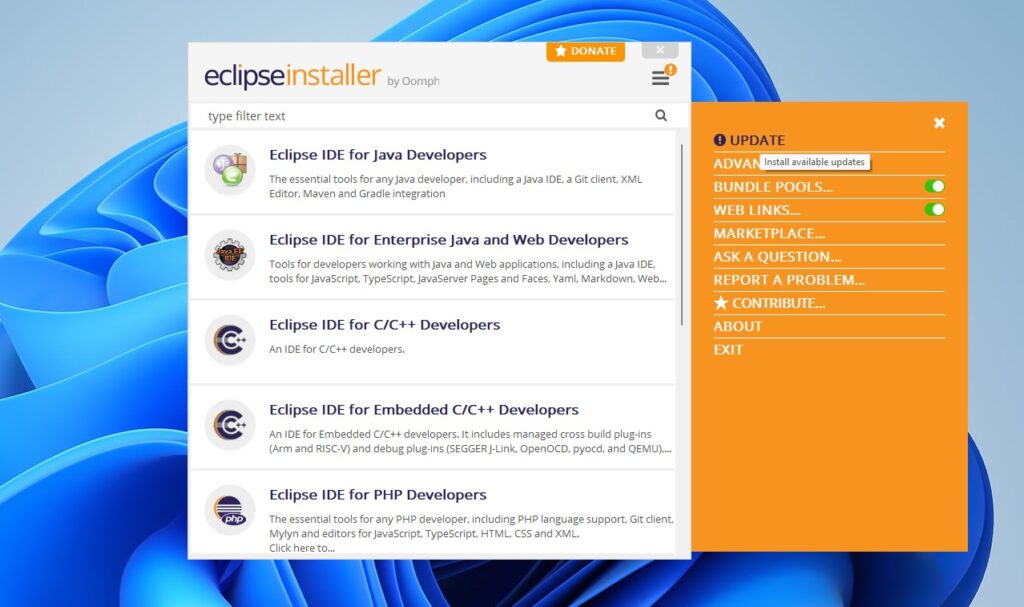
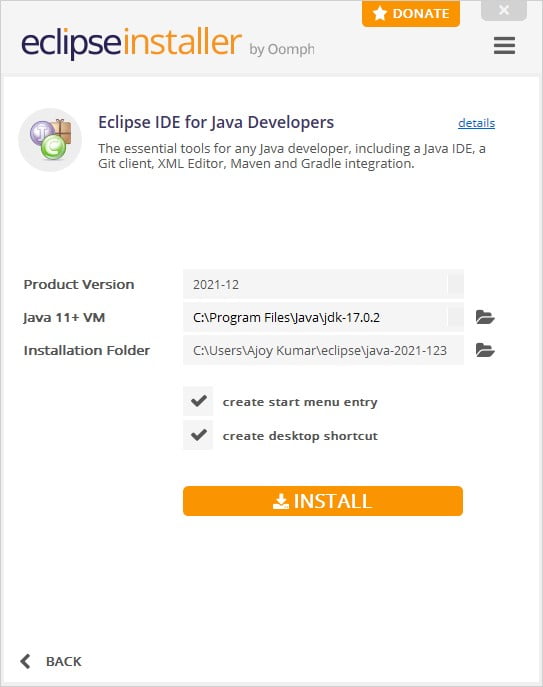
5. You can click the Eclipse IDE for Java Developers option if you don’t find any update notification. Then select the Java Installation Folder and the location where you want to install Eclipse IDE.
6. After that, click on INSTALL and accept the license agreement to install Eclipse IDE for Java Developers. (An active internet connection is needed to install Eclipse IDE).
Note
You can also use Eclipse IDE for other programming languages such as C, C++, PHP, and JavaScript.
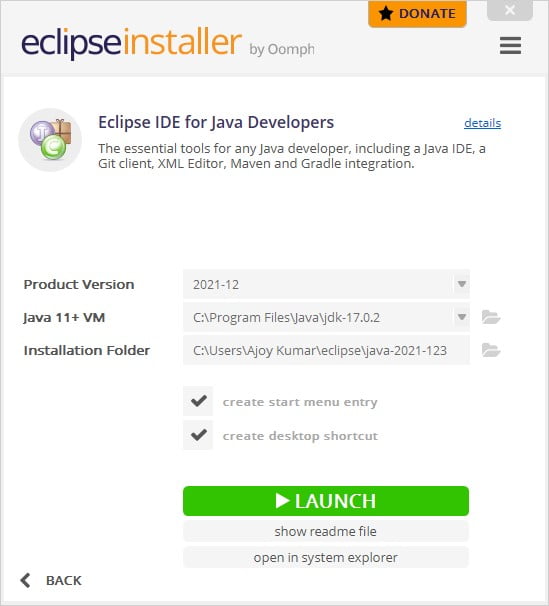
7. After the installation is complete, click on the LAUNCH button to open Eclipse IDE.
Creating Workspace Location
After the installation is complete, launch the Eclipse IDE. By default, it will create a workspace location. If you want, you can change it. I’ll suggest you keep it default and click the Launch button to continue.
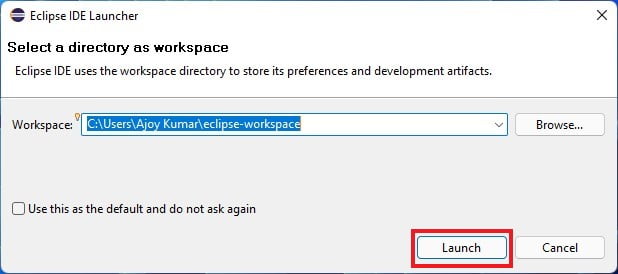
After all these, you are ready to use the software for your Java Project.
How to Create First Java Project using Eclipse IDE
Now, let’s discuss; how we can create a Java project using Eclipse on Windows 11.
For that, follow the steps mentioned below:
1. Click on File > New > Java Project and name your project.
2. Then, click on the Finish button.

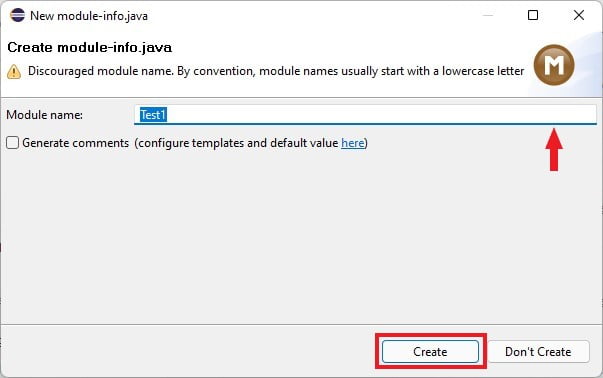
3. Now, name your module to create a new module-info.java file and click the Create button to continue.
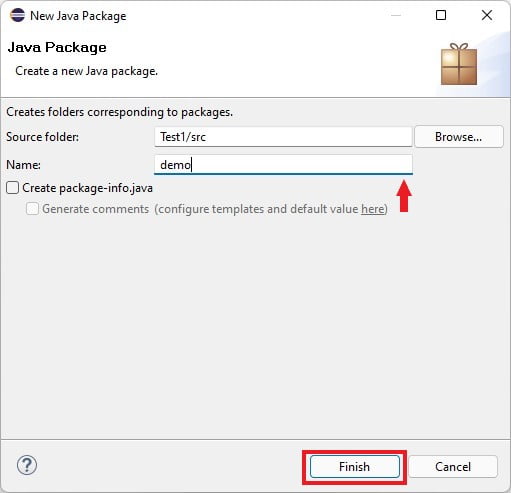
4. Before you create your Java class file, you have to create a Package. To create, right-click on the src folder from Package Explorer > New > Package and name your Java Package (package names usually start with a lowercase letter).
5. Click on the Finish button.
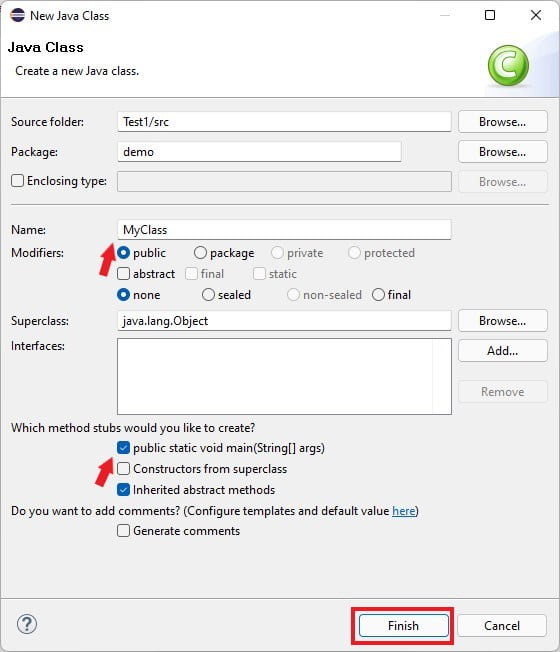
6. Now, to create a class file, right-click on the src folder from the Package Explorer > New > Class, name your Java Class file ( Class names usually start with an uppercase letter), and select the public modifier.
7. After that, select the public static void main(String[] args) method.
8. Then, click on the Finish button.
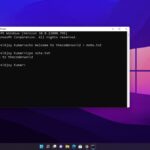
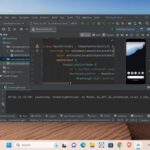
9. Now, you can write your Java code. After that, to run your Java file, click on Run from the toolbar or use the shortcut key Ctrl + F11.
Here is an example of Hello World in Java:
package demo;

public class MyClass {

  public static void main(String[] args) {
  // TODO Auto-generated method stub

	 System.out.println("Hello World!");
	 System.out.println("Welcome to thecoderworld.");
   }

}
Conclusion
That’s it; this is how you can install Eclipse IDE on Windows 11 for Java Development. However, if you are facing a problem, it might be due to Java JRE. To fix it, check out our guide on setting up Java JRE on Windows. This will fix the Eclipse no Java Virtual Machine was found error. Also, note that for Java JDK 22, you have to add Java 22 Support for Eclipse.
I hope this article was helpful to you. However, if you have any queries or want to know anything related to Java JDK and Eclipse IDE, please leave your comment. We are here to help you.