VMware Workstation Player, formerly VMware Player, is a virtual machine made for 64-bit architecture computers running Windows or Linux operating systems. With the help of a VMware workstation, you can create a virtual machine, and you can use the virtual machine to install multiple operating systems in a single host; like Linux Mint, Ubuntu, and more.
Commonly, VMware Workstation Player is used to install Ubuntu on Windows 11. Here is a guide on downloading and installing VMware Workstation Player on the Windows operating system. So, let’s get started.
How to Install VMware Workstation Player on Windows 11
If you want to install Ubuntu on your Windows operating system without dual boot, you can use VMware Workstation.
Here is a step-by-step guide on how to download and install VMware Workstation Player on a Windows computer.
1. Open the browser and visit vmware.com to download the latest version of VMware.
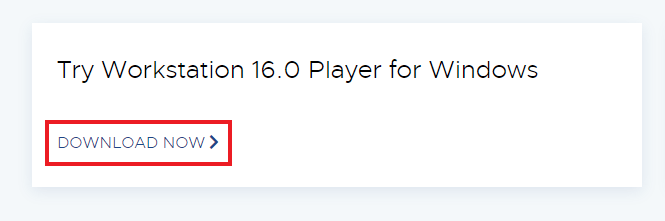
2. There are two download options available on the official website: one for Windows and one for Linux. To get the Windows version, go to the Windows section and click on the Downloads Now button.
3. After it gets downloaded, open the installer file to install the VMware Workstation Player on Windows 11.
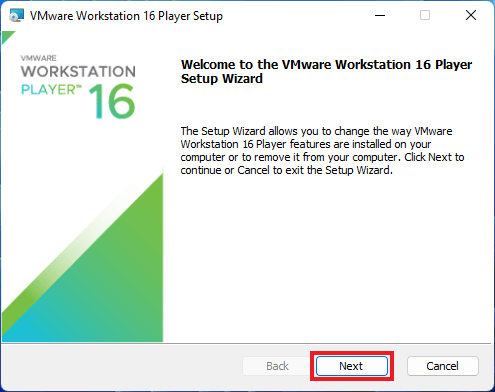
4. On the setup window, read the agreement and click on the Next button to continue with the installation process.
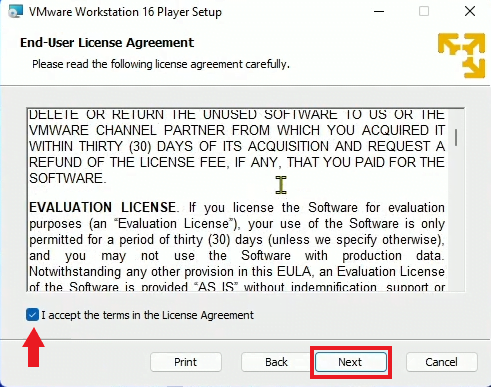
5. Now, read the license agreement carefully and accept the terms in the license agreement by clicking on the – I accept the terms in the License Agreement.
6. After that, click on the Next button to continue.
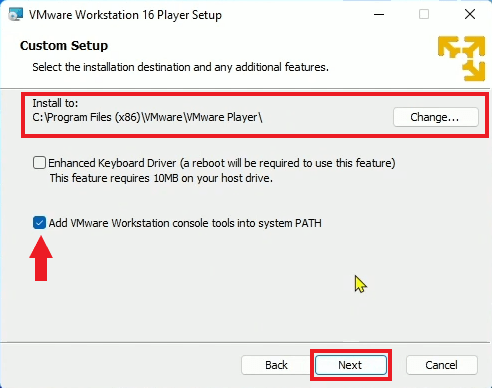
7. In the next window, you will find an option to change the installation location. You can change it by clicking on the Change option if you wish to do so. Additionally, add VMware Workstation console tools to your system PATH and then click on Next.
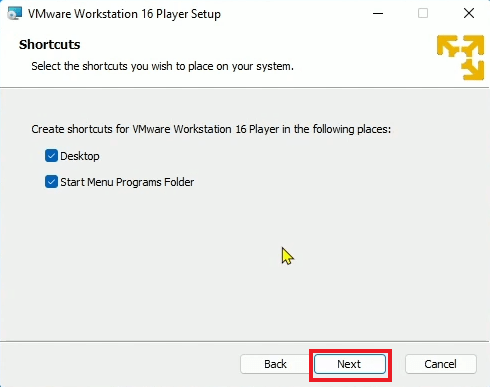
8. Now select the options to create a desktop shortcut, the Start menu programs folder, and then click on the Next button.
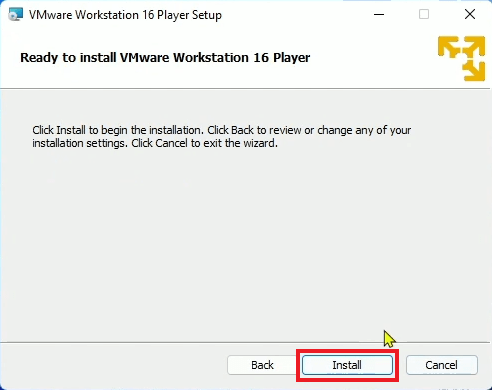
9. Finally, click on Install and wait for the installation to complete. Once installed, you’re ready to use VMware Workstation Player to create a virtual machine and install any operating system onto it.
Conclusion
When you open VMware Player for the first time, you will encounter a small window where you have to select whether you will use the software for commercial purposes or not. If you choose to use the software for commercial purposes, then you will need to purchase a license key. We recommend opting for the non-commercial option because it is free to use for a lifetime.
After that, you are ready to install a different operating system in VMware Workstation Player. If you want to install Ubuntu Linux and Windows Operating System in VMware Workstation Player, you can follow the linked guide. However, if you have any questions, you can leave them in the comments section below.