Are you searching for a free graphics editor? Then, we have software for you called Krita. Krita is a free and open-source raster graphics editor available for Windows, Linux, and Mac OS. Today, in this article, I’ll show you how to install Krita on Windows 11.
Krita is a full-featured, free digital painting tool for those who want to create amazing graphics. It is used by professionals to create comic book graphics, illustrations, matte and texture painting, and in the digital VFX industry.
How to Install Krita on Windows 11
Before we install Krita on Windows 11, we need to download it. In this section, we are going to discuss how to download and install Krita on Windows 11 (Free Graphics Editor).
For that, you can follow these simple steps:
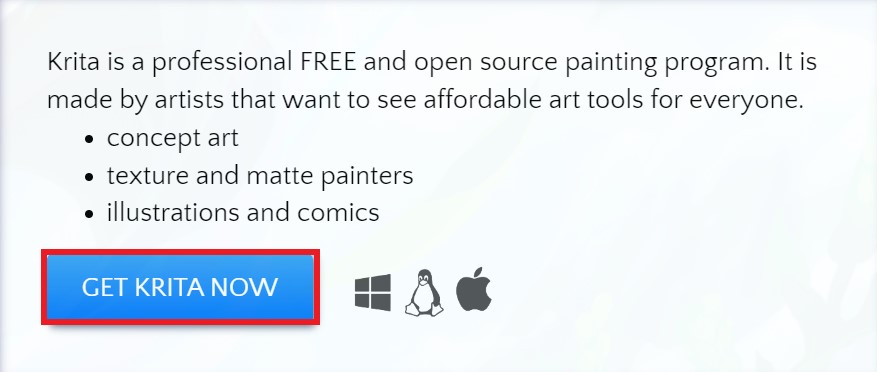
1. Open any browser and search for Krita. Or visit this link krita.org. It will redirect you to the official website from where you can download it for free.
2. Now click on the GET KRITA NOW button to download it.
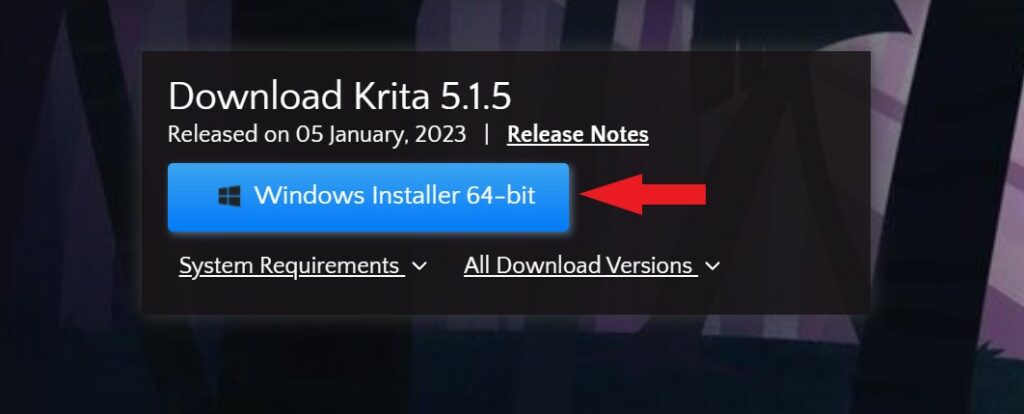
3. After that, it will redirect you to the download page. To download Krita for the Windows operating system simply click on Windows Installer 64-bit.
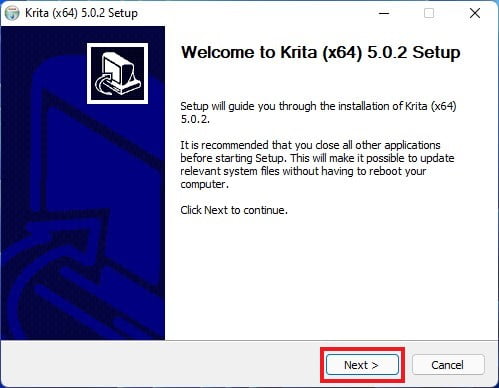
4. After the download has been completed, open the installer file, select the language on the setup window, and click on Next.
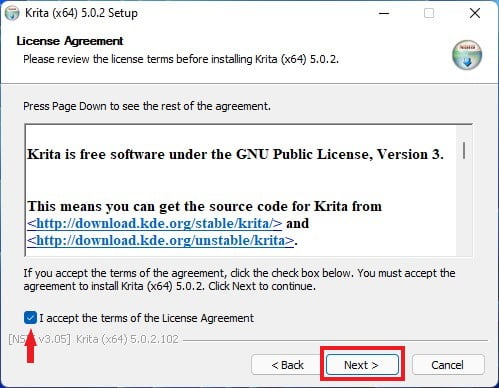
5. Now read the license agreement for Krita and accept it.
6. After that, click on the Next button to continue.
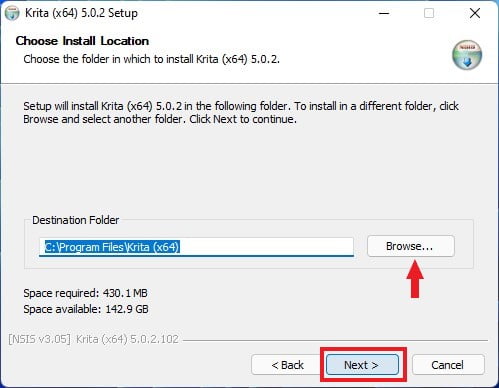
7. Choose the installation location where you want to install Krita on Windows 11. Alternatively, you can leave it as the default and click on Next.
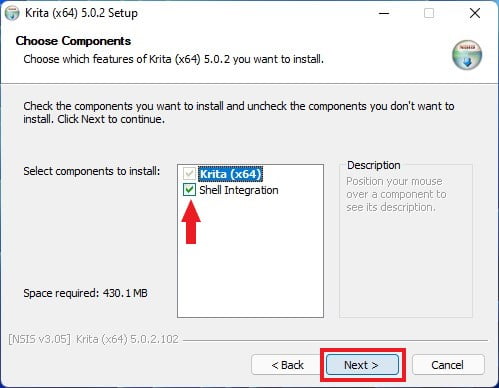
8. Now, check the components you want to install from the Choose Contents window, and then click Next to continue.
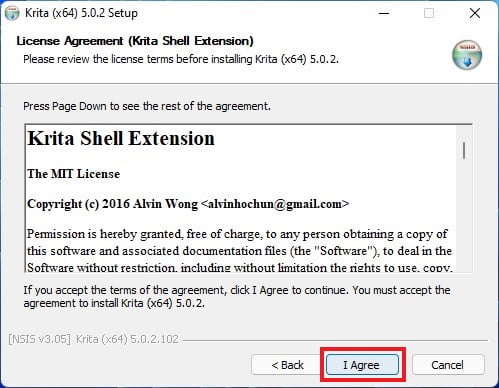
9. If you had selected Shell Integration on Krita then you have to accept the license agreement for Krita Shell Extension.
10. To accept click on the I Agree button.
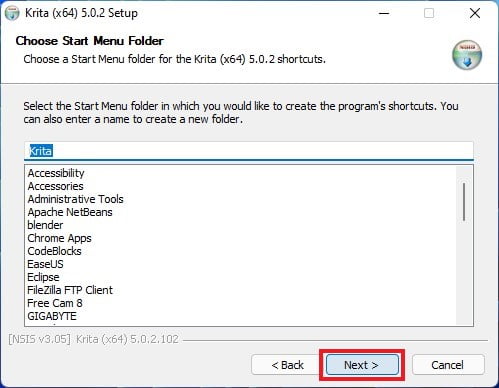
11. On the next window choose the Start Menu Folder name or give any name you want. After that, click on Next to continue.
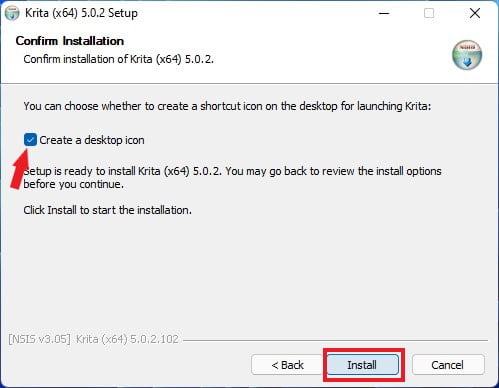
12. If you want to create a desktop menu shortcut then click the box and click on Install to install Krita on Windows 11.
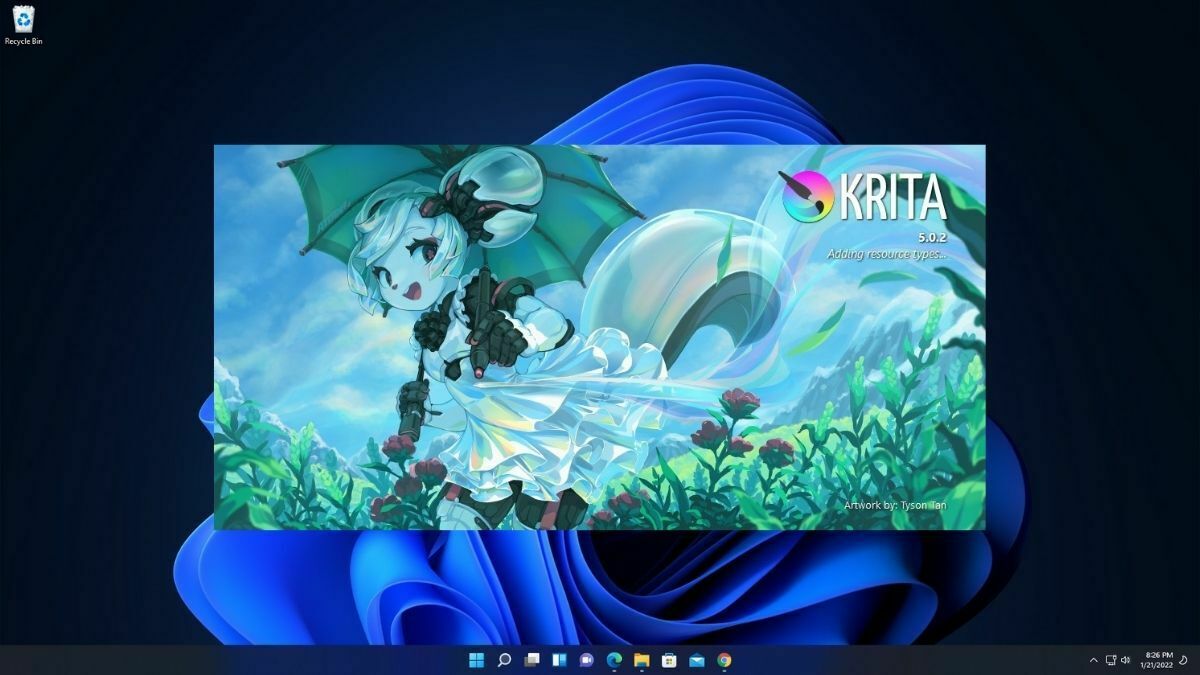
With Krita successfully installed on your Windows 11 computer, it’s time to explore the program and start creating your artwork. Launch Krita from the Start menu or desktop shortcut, and you’re now ready to use Krita. Best of luck with your graphical journey. If you’re interested in learning Krita, here’s a tutorial on how to use Krita, the free graphics editor.
Conclusion
Krita is an exceptional free graphics editor that provides professional-level tools for artists and designers. By following the steps outlined in this guide, you can easily install Krita on your Windows 11 system and embark on your creative journey.
Whether you’re a digital artist, illustrator, or hobbyist, Krita offers the tools and flexibility you need to bring your ideas to life. Start exploring Krita today and unleash your artistic potential. However, if you have any doubts regarding the installation process, you can leave them in the comment section.