If you are looking to download Etcher to your Windows operating system, this article will guide you through it. You might have gone through various websites to get a step-by-step guide for downloading and installing Etcher. Here, we will discuss how to download and install Etcher on Windows 11 and how to create a bootable USB Drive using it.
Etcher is free and open-source utility software used for burning images and a zipped folder to make live SD cards and USB flash drives. Its name has been changed to Balena Etcher since October of last year. It is developed under the Belena framework and has an “Apache 2.0” license.
What are the Features of Etcher?
Etcher offers various features to its users and can be used with the help of a graphical user interface. However, developers are working on a command-line interface.
Etcher is used to create a bootable USB drive from ISO and IMG files, as we explained earlier. Etcher plans to provide more advanced functionality in the future, such as persistent storage reading, so that the live SD card or USB flash drive can be used as a hard drive. The software will also be able to support multiple boot partitions.
We hope you got a basic idea about Etcher. Etcher is a utility tool that you can use to create a bootable pen drive. Now, let us discuss how we can download and install Etcher on Windows 11.
How to Download Etcher on Windows 11
First, let’s discuss how you can download the latest version of Etcher on Windows 11. The downloading process of Etcher is very straightforward. You can follow the steps mentioned below:
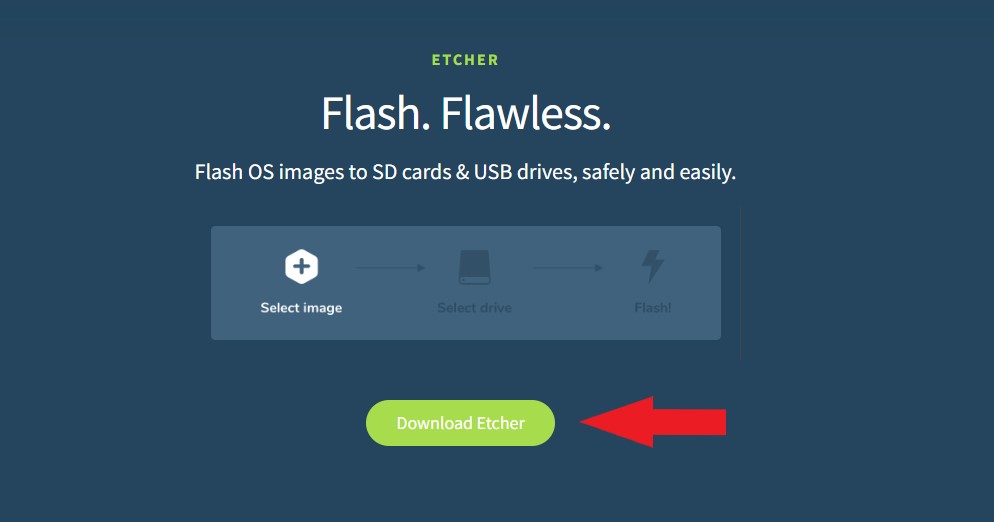
1. Open any browser and visit balena.io. It is the official website to download Etcher.
2. Now, click on the Download Etcher button to download.
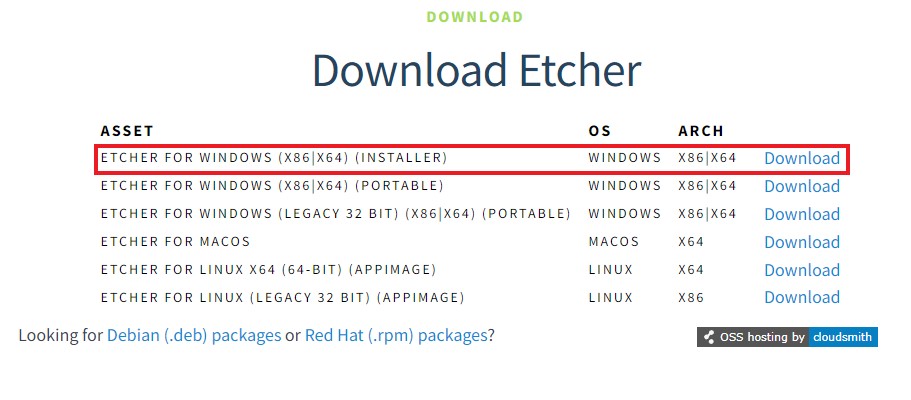
3. After that, download the Windows installer file of Etcher.
Note
It is also available for macOS and Linux users to download. You can download it if you are using another operating system other than Windows.
That’s it! By following these straightforward steps, you can easily download the latest version of Etcher on your system.
How to Install Etcher on Windows 11
Once the download is complete, open the installer file and proceed with the installation process. To do that, you can follow the steps mentioned below:
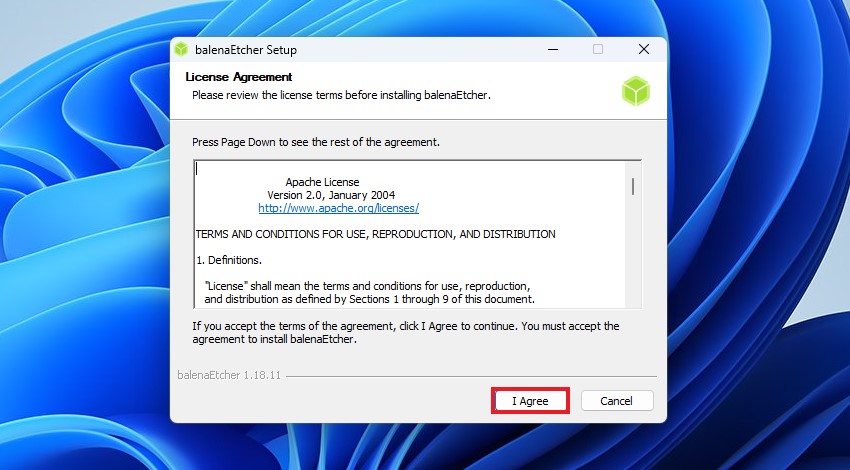
1. After the download is complete, double-click the installer file to begin the installation process.
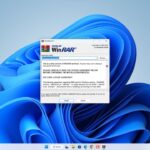
2. You will get the setup window. Here, you must accept the license agreement by clicking the I Agree button.
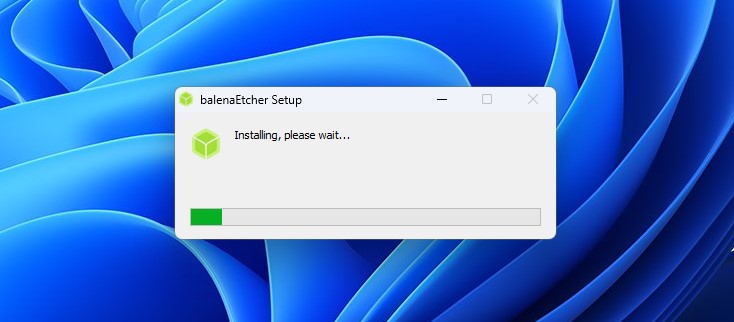
3. Afterward, Etcher will begin installing. Please wait for the installation to complete.
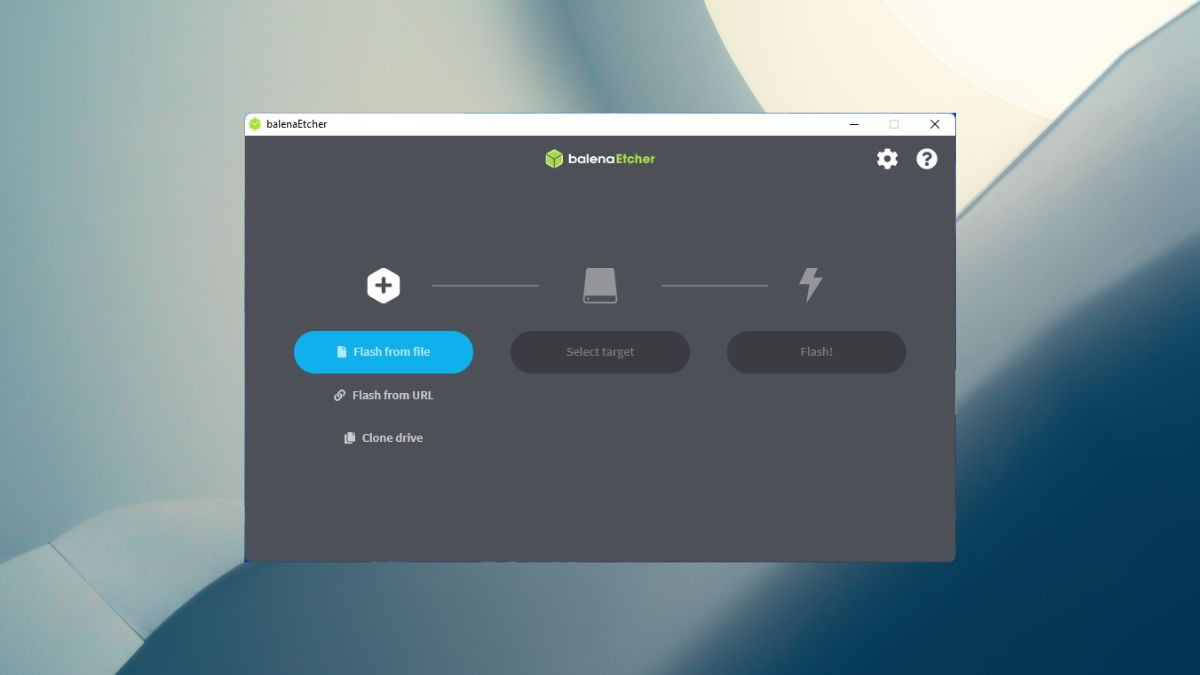
4. After the installation is complete, you will get a screen shown below. Now, you can use Etcher to create a bootable USB drive.
How to Create a Bootable USB Flash Drive
To create a bootable USB drive, you need to download the ISO file of the operating system. Once you have downloaded the ISO file, you are ready to flash it onto your USB drive.
Check out the steps to flash the ISO file using Etcher on Windows 11:
1. Connect your USB to your system.
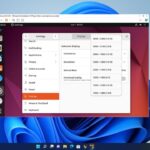
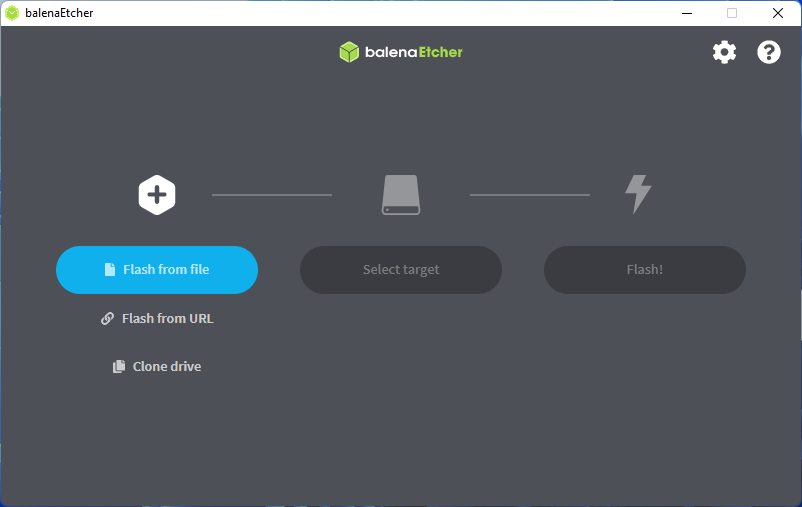
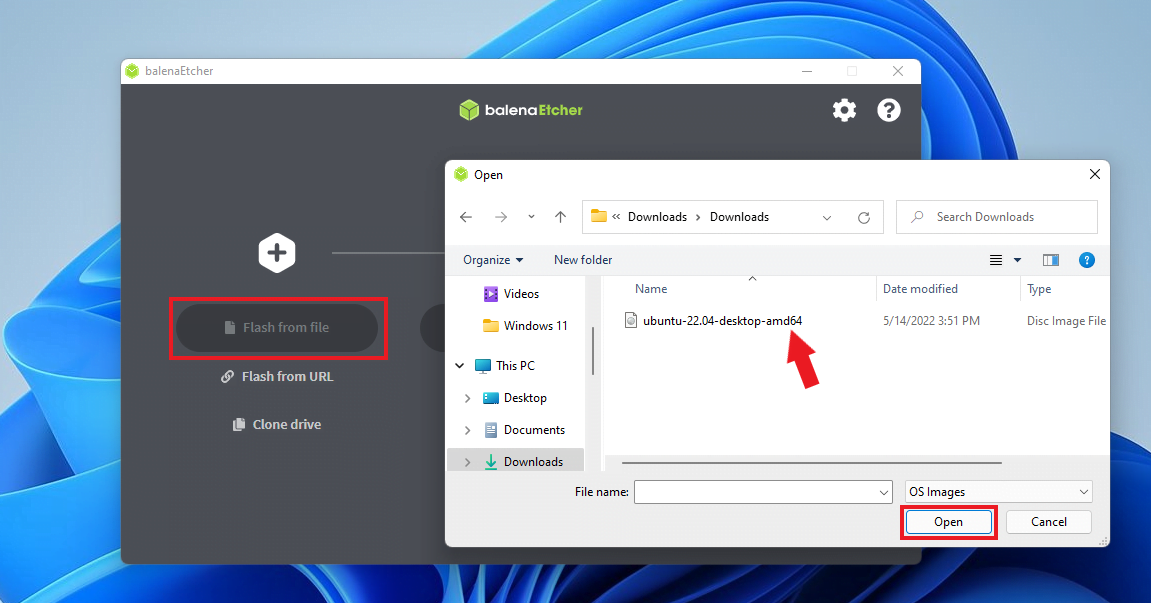
2. Open the Etcher Tool. Here, click on the Flash From File option and select the ISO file.
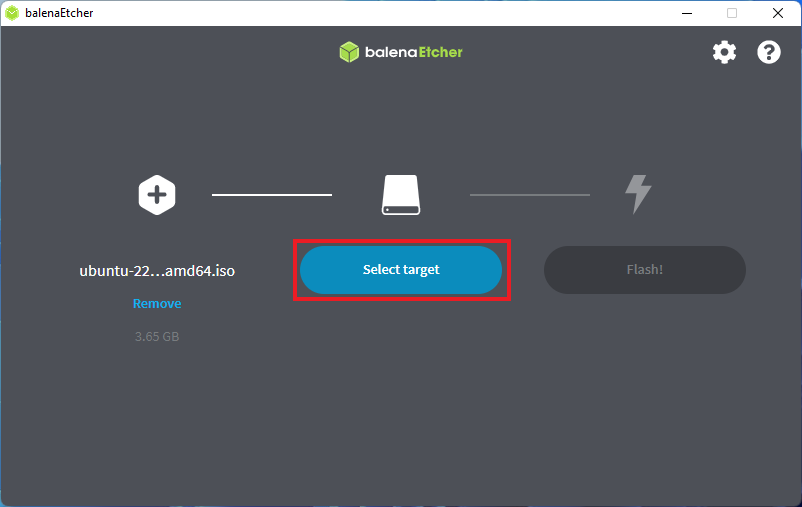
3. After that, click on the Select Target option and choose the USB device you have connected.
4. Then, click on the Select button to continue.
5. Finally, click on the Flash button to flash the ISO file onto the USB drive.
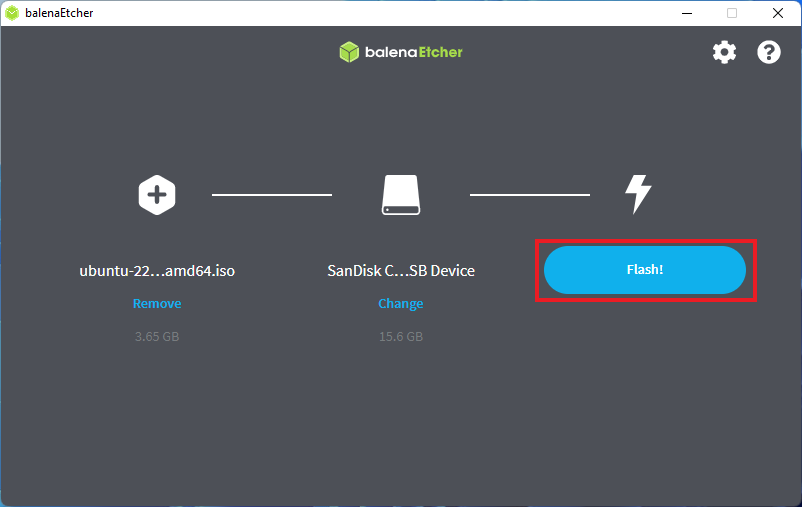
Now, wait for the process to complete. Once done, you are ready to use the USB drive to install the operating system on a new system.
Conclusion
That’s it! This is how you can download and install Etcher on Windows 11. Etcher is a powerful and user-friendly tool that simplifies the process of creating bootable USB drives in Windows 11.
By following the steps outlined in this guide, you can easily download, install, and utilize Etcher to create bootable USB drives tailored to your needs. Empower yourself with this valuable utility and enhance your computing experience on Windows 11.