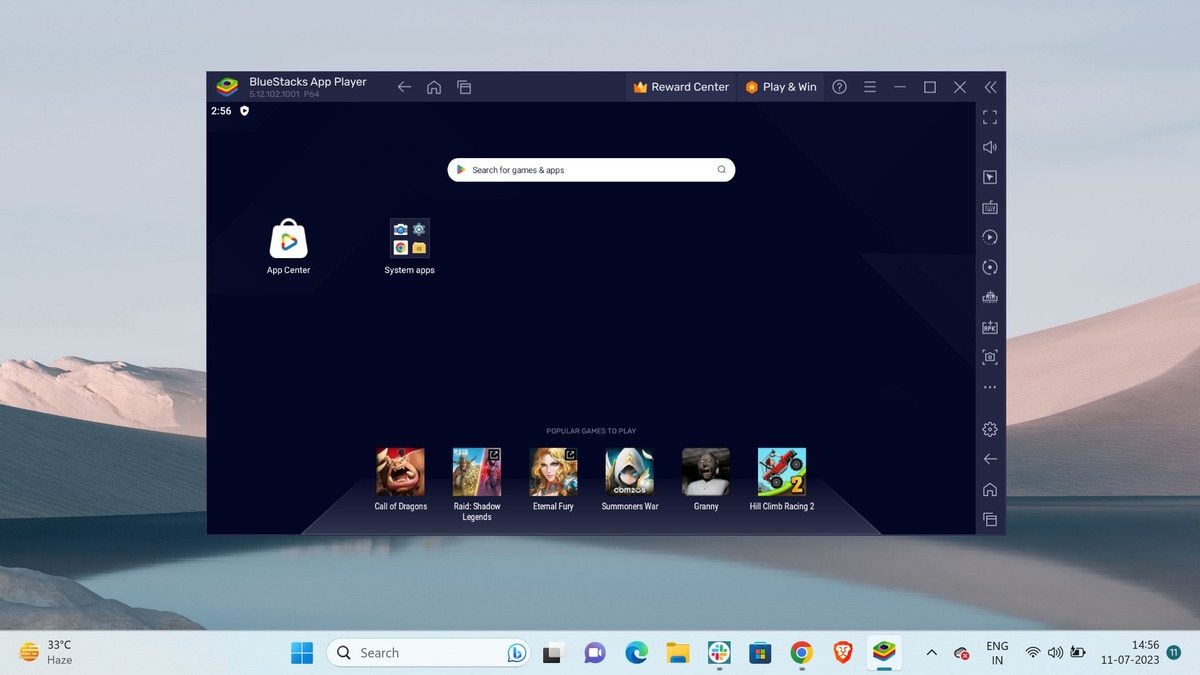
Bluestacks is a popular Android emulator that lets you play mobile games and use apps on your PC. To make the most of your Bluestacks experience, it’s important to know how to change the display and graphics settings, as these adjustments can significantly improve your gameplay and visual quality.
Here, we will guide you step-by-step on how to modify the display settings, including resolution, screen orientation, and DPI. We’ll also show you how to adjust the graphics settings, such as choosing between DirectX, OpenGL, and Vulkan. By following these simple instructions, you’ll be able to customize Bluestacks to suit your PC’s capabilities and enhance your overall gaming experience.
How to Change Display Settings on BlueStacks
First, let us discuss how to modify the display settings. Here we will discuss how to change the display resolution, pixel density, mouse cursor, and more.
To change the display settings on BlueStacks, you can follow these steps:
1. Display Resoulution
Here are the steps you can follow to change the display resolution on BlueStacks:
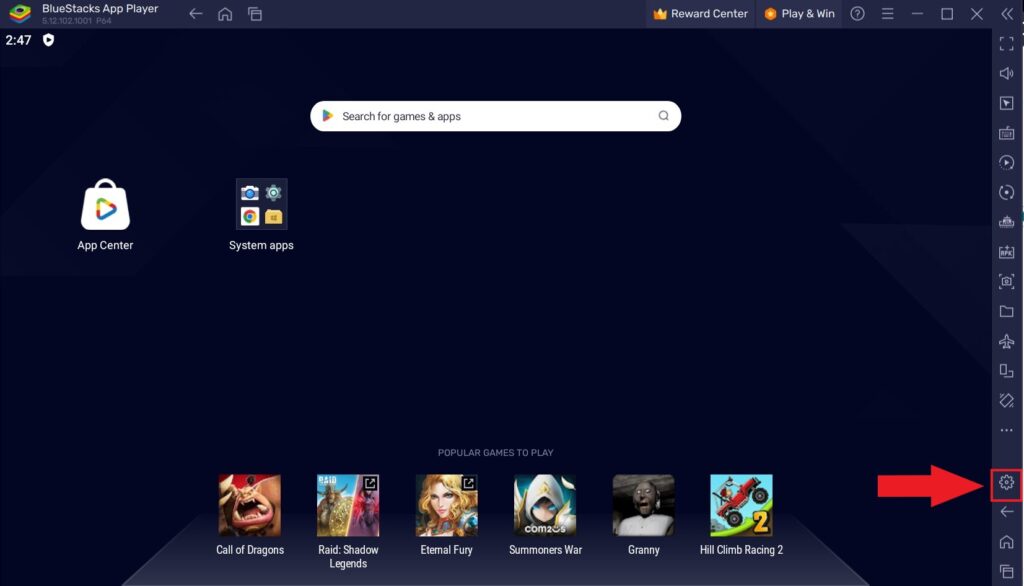
1. Open BlueStacks on your laptop or PC, and on the bottom right corner, click on the gear shape icon. This will take you to the settings menu in BlueStacks.
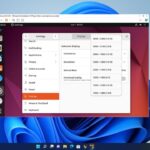
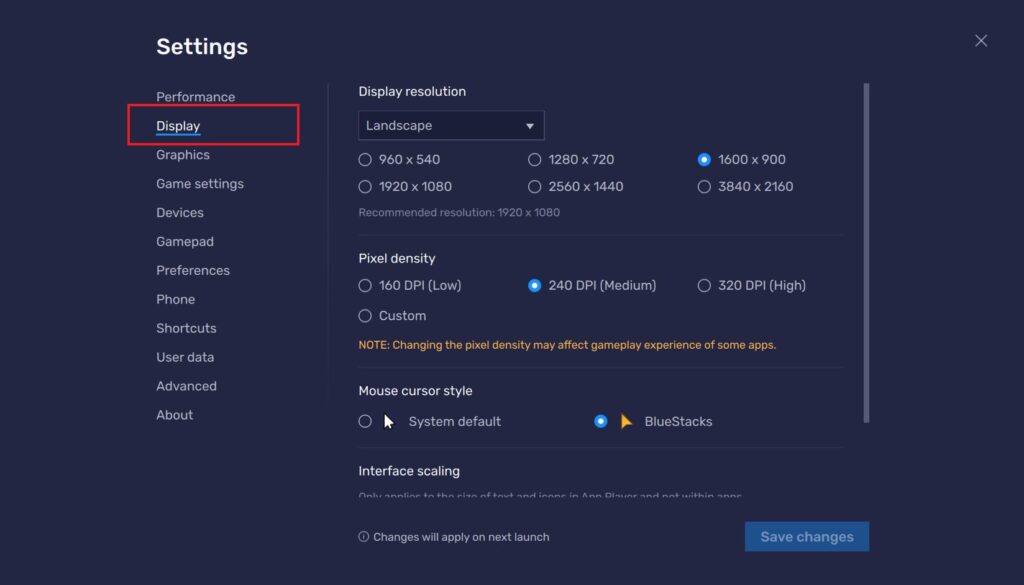
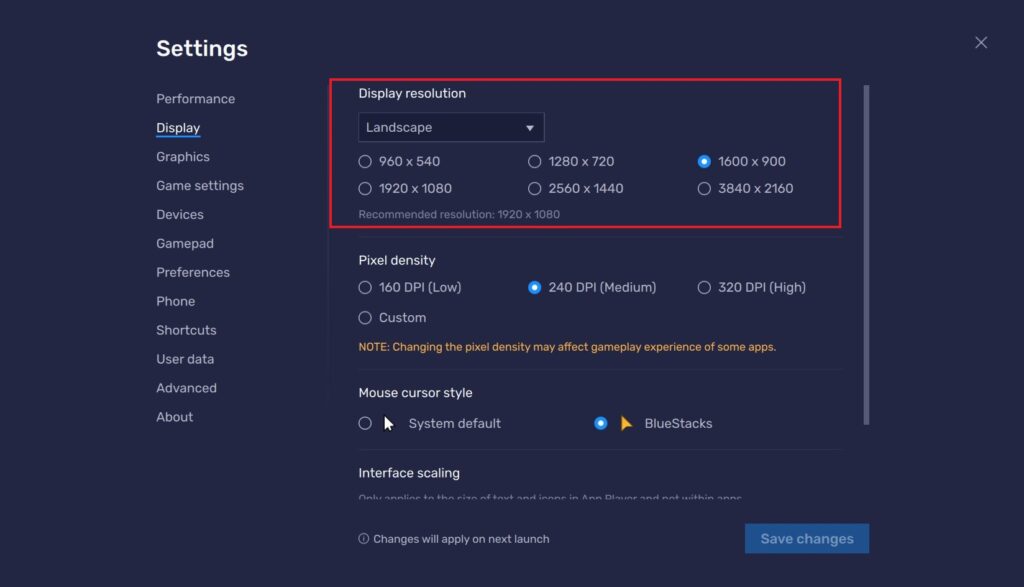
2. In the settings menu on the left sidebar, click on the Display option to open display settings.
3. Below the Display Resolution option, click on the drop-down list. Here, you will see multiple options to choose from for display resolution; you can select from Landscape, Portrait, Ultrawide, or Custom.
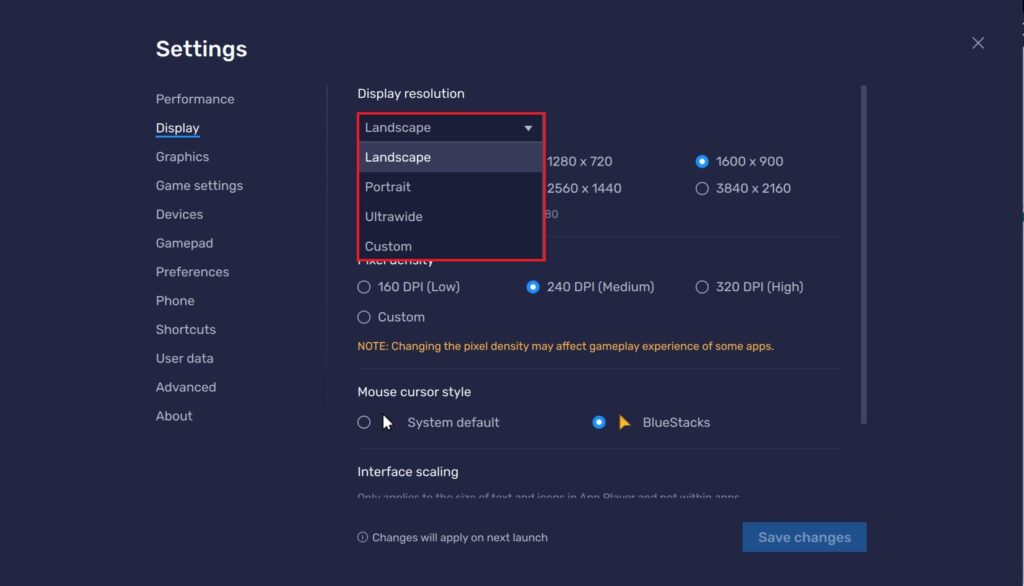
4. BlueStacks gives you the flexibility to choose from multiple resolutions for each selection. For Landscape, BlueStacks suggests a “1600*900” resolution.
Similarly, here are the recommended screen resolutions for the best compatibility and display quality suggested by BlueStacks:
- Landscape: 1600*900
- Portrait: 900*1600
- Ultrawide: 2560*1080
- Custom: 1920*1080
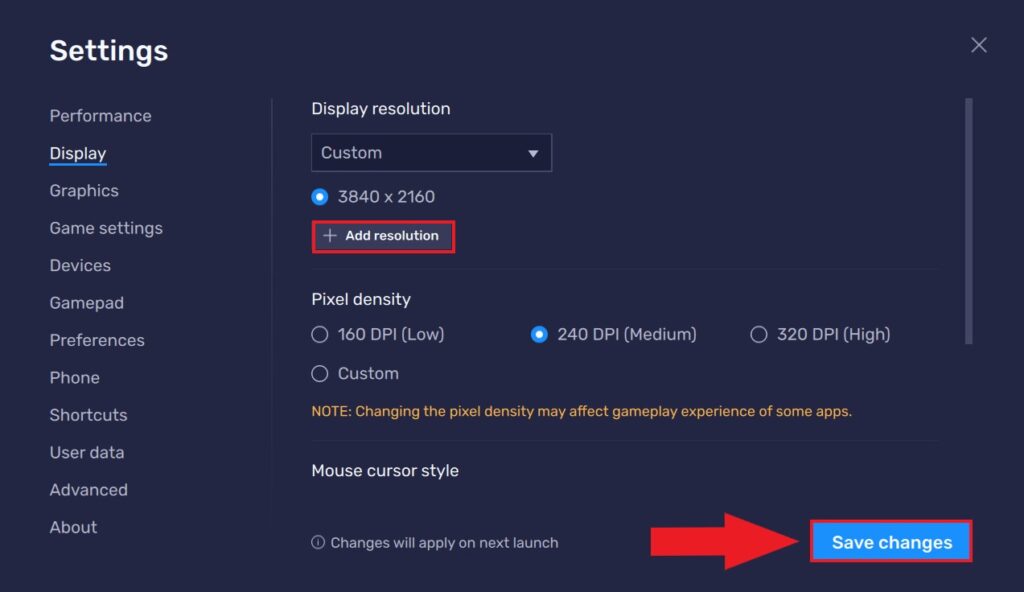
5. Now, choose Custom to set any preferred resolution of your wish. You can add multiple resolutions by clicking on Add Resolution and saving them to switch between them whenever required.
6. Once you are done selecting your desired Display resolution, click on the Save Changes button.
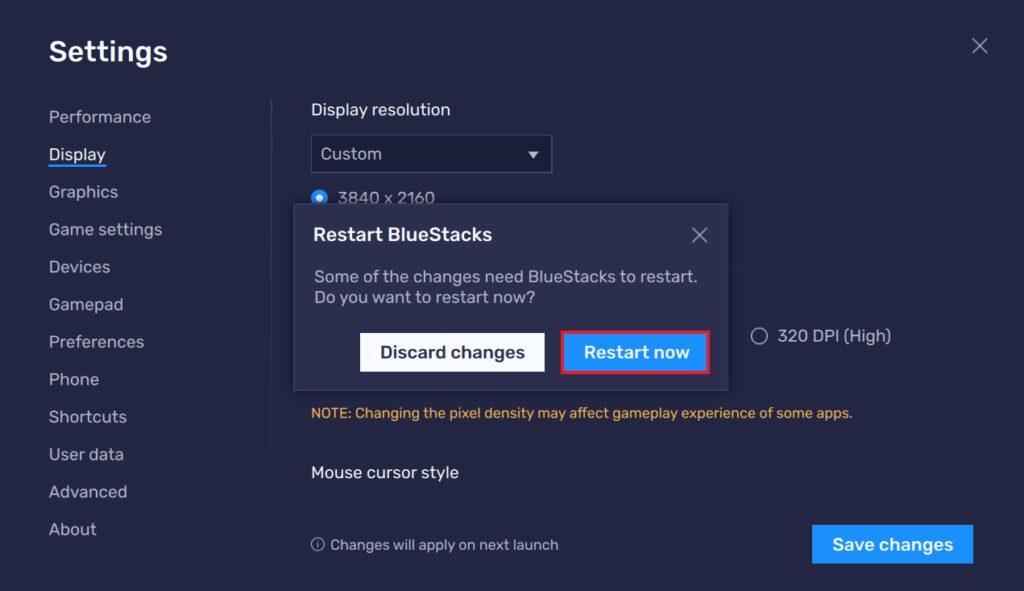
7. A pop-up will appear, asking you to restart Bluestacks to apply the settings you just selected. Just click on the Restart Now button and BlueStacks will now restart with the new display resolution that you set.
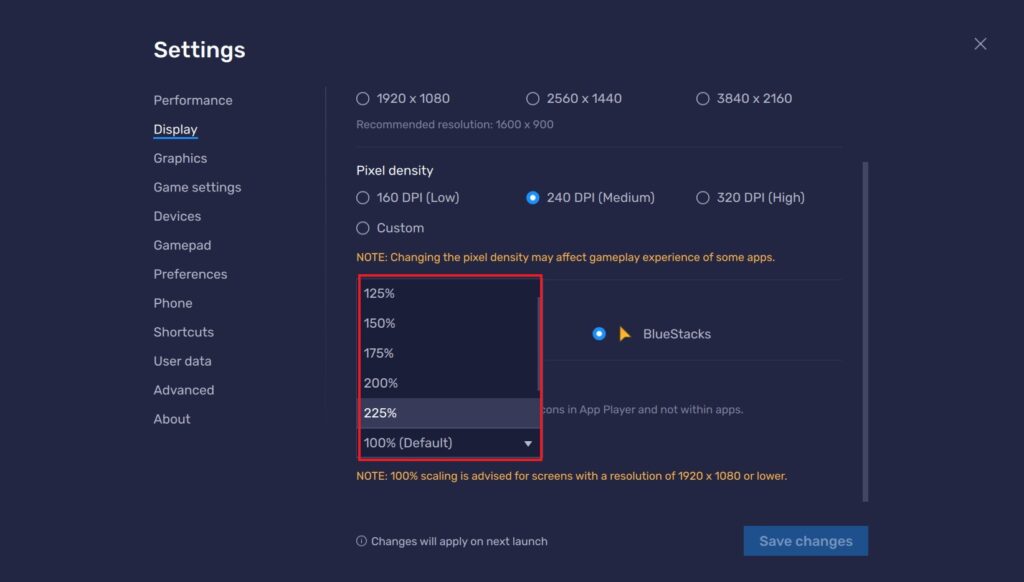
2. Pixel Density
Now, let’s move to Pixel density settings. As the name suggests, it allows you to increase or decrease the density of pixels on your screen in BlueStacks. The higher the DPI (Dots per Inch), the smoother will be the gaming experience in BlueStacks due to the presence of extra pixels on the screen.
Here are steps you can follow to change the pixel density setting on BlueStacks:
1. Open Settings of the BlueStacks application.
2. Then navigate to Display settings. Here, you will get an option to change the pixel density.
3. Select your preferred pixel density. Once you are done with the selection, click on Save Changes to apply the chosen Pixel density.
Note
You can also set a custom DPI value by selecting the Custom option under the pixel density menu.
3. Mouse Cursor
From the display setting option, you can also change your mouse cursor settings. To do so, follow these steps:
1. Now, under the Mouse Cursor Style setting, choose the cursor style that you want to use in BlueStacks. You can select from the System default cursor or a custom BlueStacks style cursor.
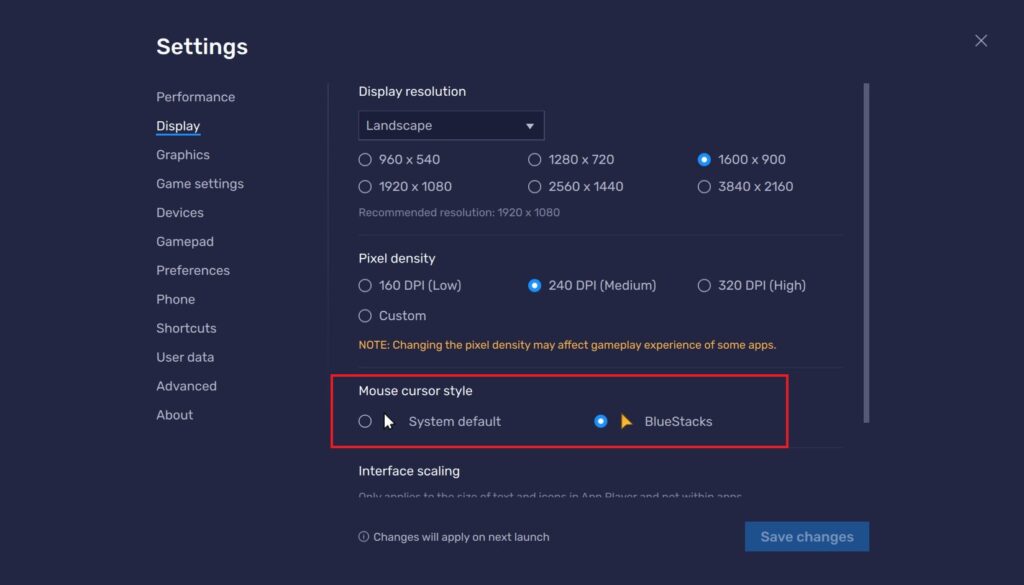
2. After that, scroll down a little and check for the Interface Scaling option. You can use it to change the size of texts and icons within the BlueStacks. Remember, this scaling won’t be applied within any app or game.
By following the above-mentioned steps, you can easily change the display settings on BlueStacks. Now, let’s discuss how we can change the graphics settings for a smoother gaming experience on BlueStacks.
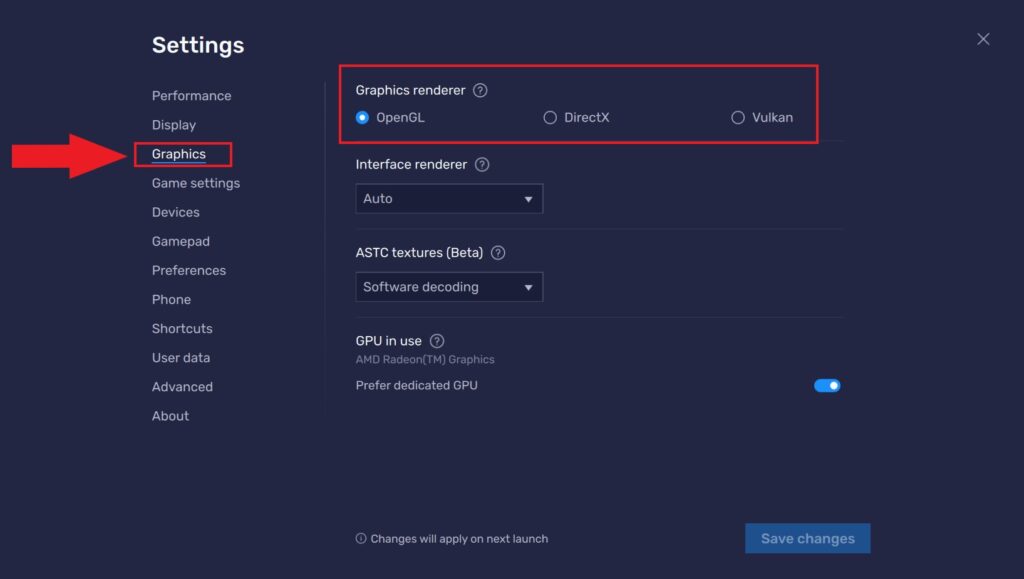
How to Change Graphics Settings on BlueStacks
Just below Display Settings, you will see the Graphics Settings. You can customize the Graphics renderer, Interface renderer, and ASTC textures and use GPU for better performance on BlueStacks.
Here’s how:
1. Open the BlueStacks settings.
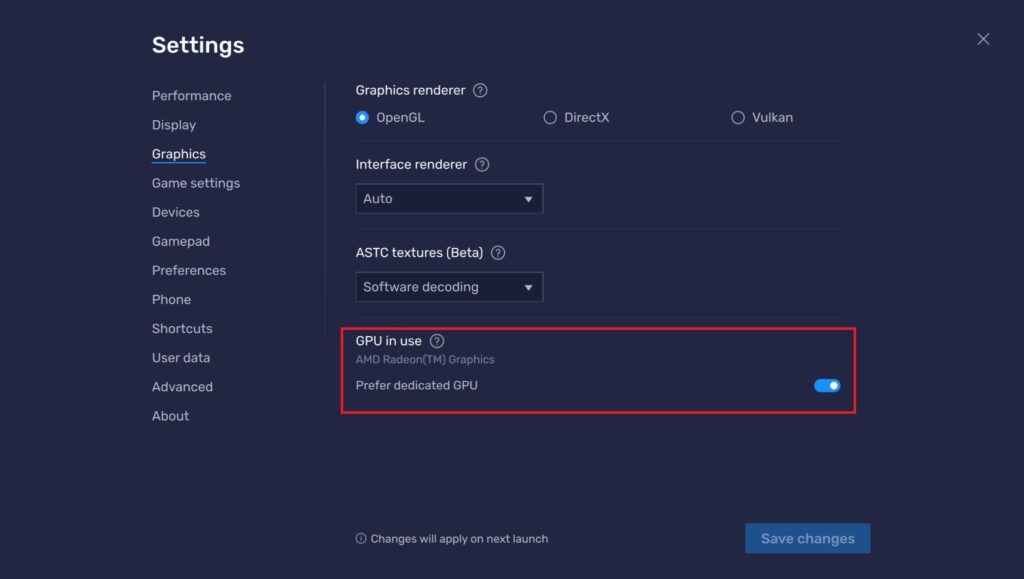
2. Here, click on graphics settings and under Graphics Renderer. You can choose your requirements for graphics renderer settings:
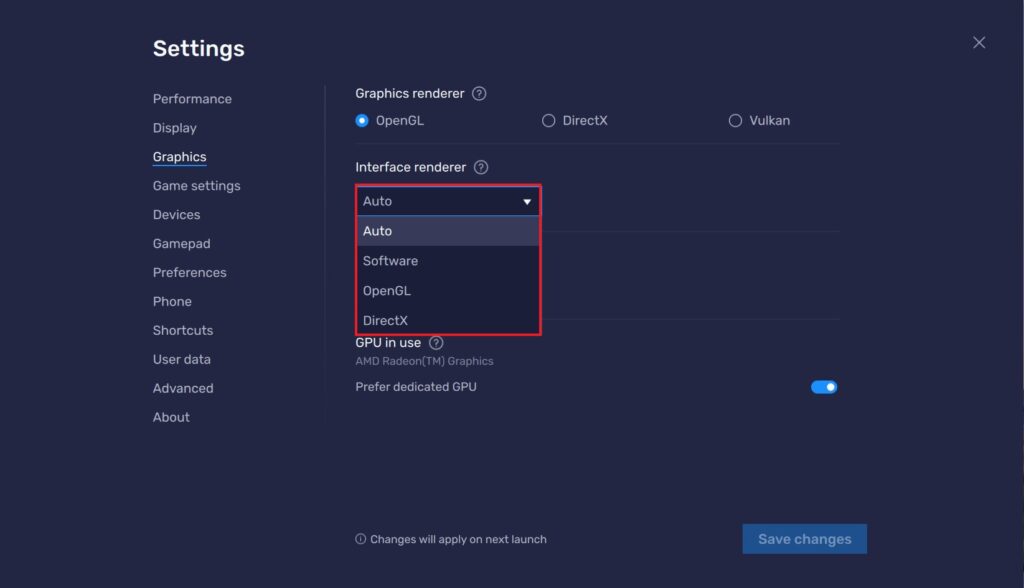
3. Next, we have the Interface Renderer option, which refers to the method used to render the user interface (UI) elements within the emulator. It determines how the UI elements are displayed and interacted with while using BlueStacks.
4. You can now select the appropriate option to optimize UI rendering based on your system and preferences.
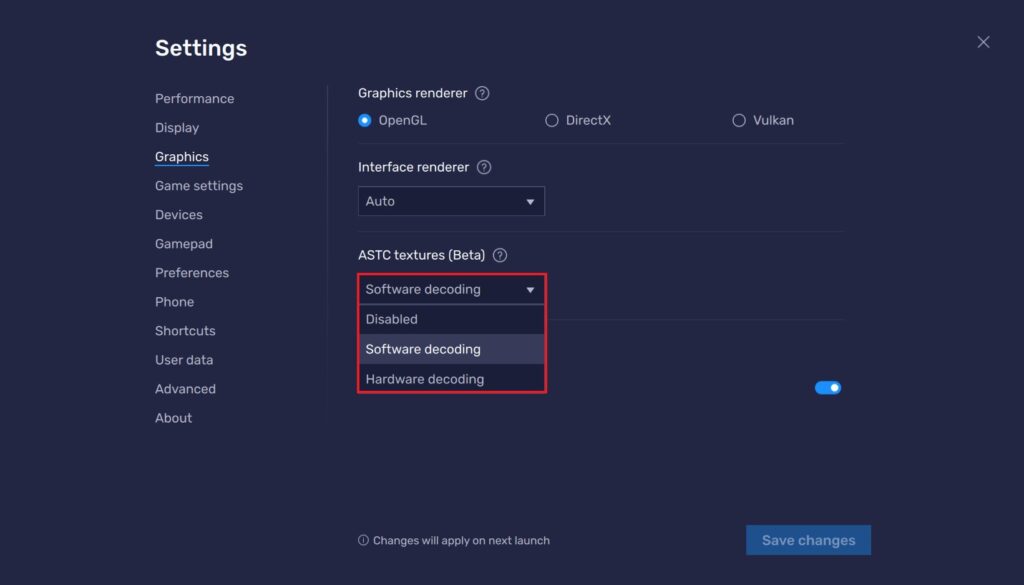
5. After that, we have ASTC (Adaptive Scaleable Texture Compression) textures option. In short, you can turn ASTC on if you want to improve your games or apps’ graphics quality.
6. Make sure you select the most appropriate ASTC textures option, as it can change the rendering of textures and can impact BlueStack’s performance.
7. The last option, GPU in use, is to be turned on in case your system has a dedicated graphics card and you want to use it to improve the performance of BlueStacks.
After every change you make, always click on the Save Changes button and restart the BlueStacks App player. Only after restarting your saved settings will it be implied.
Conclusion
Changing Bluestacks display and graphics settings is key for enhancing your gaming experience on this Android emulator. You can create a fluid and immersive gaming environment on BlueStacks by customizing these settings to your PC’s capabilities and personal preferences. As a result, you’ll have a more visually appealing and smooth gameplay experience when playing mobile games and apps on your PC.
So, don’t be afraid to experiment with the settings and fine-tune Bluestacks to unlock its full potential. In case you are still facing performance or any kind of issues while using BlueStacks, feel free to comment.