With the growing popularity of live streaming, video conferencing, and content creation, the demand for high-quality audio and video has increased significantly. To cater to these needs, NVIDIA has introduced a powerful software suite called NVIDIA Broadcast.
This cutting-edge tool enhances your streaming and video conferencing experience by leveraging the power of AI and GPU acceleration. In this blog, we will guide you through the steps; to install and use NVIDIA Broadcast.
What is NVIDIA Broadcast?
NVIDIA Broadcast is an exemplary software suite created by NVIDIA, a renowned technology company renowned for its GPUs. This suite uses advanced AI algorithms and GPU acceleration to deliver features that enhance the audio and video quality of live streaming, video conferencing, and content creation. It is primarily supported by NVIDIA RTX GUPs.
It offers real-time audio noise removal, virtual background replacement without the need for physical green screens, automatic framing, and eye tracking, all of which contribute to creating professional-grade content with minimal effort.
Here are the system requirements you need to have in order to use this powerful AI tool, NVIDIA Broadcast:
| GPU | NVIDIA GeForce RTX 2060, Quadro RTX 3000, TITAN RTX, or higher |
| Operating System | Windows 10/11 64-bit |
| RAM | 8GB RAM or higher |
| CPU | Recommended: Intel Core i5 8600, AMD Ryzen r5 2600 or higher |
| Driver | NVIDIA Studio Driver 526.98, Game Ready Driver 526.47, NVIDIA RTX Enterprise Driver 526.67, and above |
| Internet | Internet connectivity during installation |
Don’t worry if your NVIDIA GPU doesn’t support the NVIDIA Broadcast tool. You can use NVIDIA RTX Voice for GTX GPUs, which allows you to remove background noise from the microphone and speakers in real time.
However, you may be wondering how to remove background noise from recorded audio if you don’t have an NVIDIA GPU. In that case, you can use Audacity, a free and open-source audio editing tool. Check out our guide on how to remove background noise using Audacity.
How to Install NVIDIA Broadcast
Utilizing the power of AI and NVIDIA’s hardware, NVIDIA Broadcast establishes a new benchmark for live streaming and video conferencing, supplying users with the resources to generate superior quality content and communicate with their audience in a more immersive and professional way.
Here are the steps you can follow to install and set NVIDIA Broadcast:
1. Open any browser on your PC, and search NVIDIA Broadcast.
2. Then open the link from nvidia.com
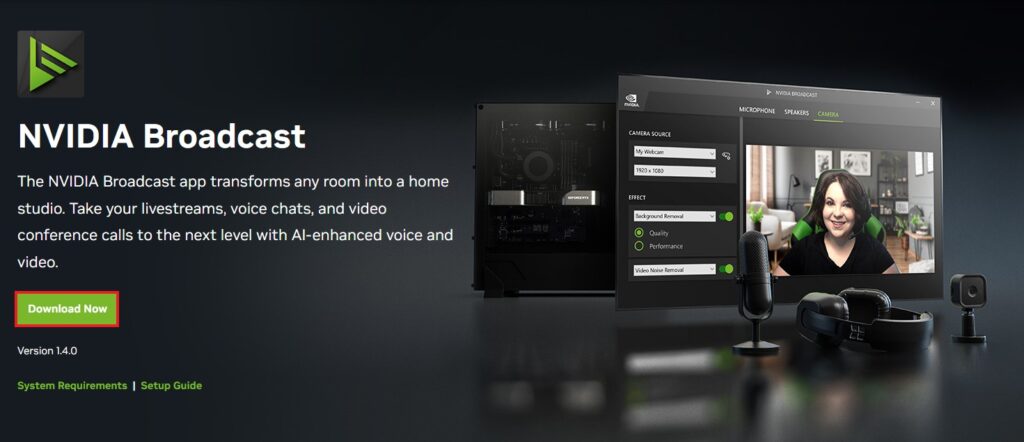
3. Now, click on the Download Now button to download the latest version of NVIDIA Broadcast software.
4. After the download has been completed, you are ready to install the NVIDIA Broadcast on your Windows operating system.
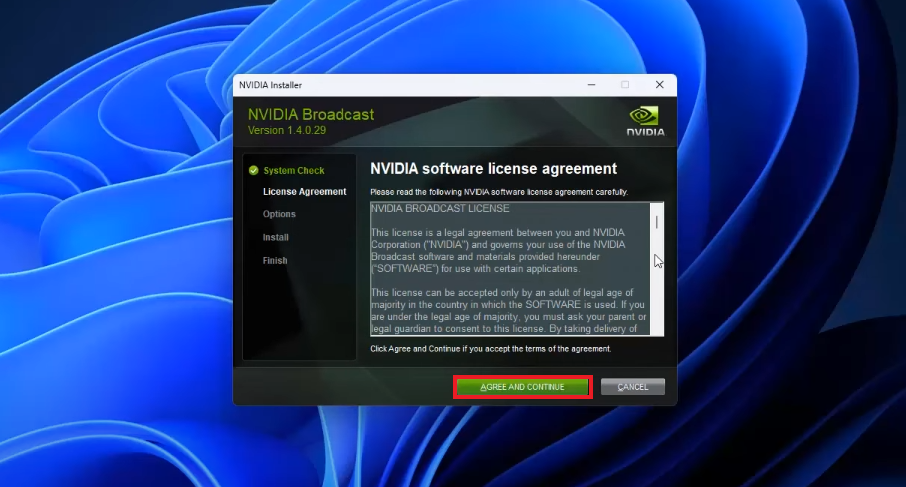
5. To proceed, open the downloaded file. You will get the NVIDIA Installer window. Read the software license agreement, and once you have done so, click on the Agree and Continue button.
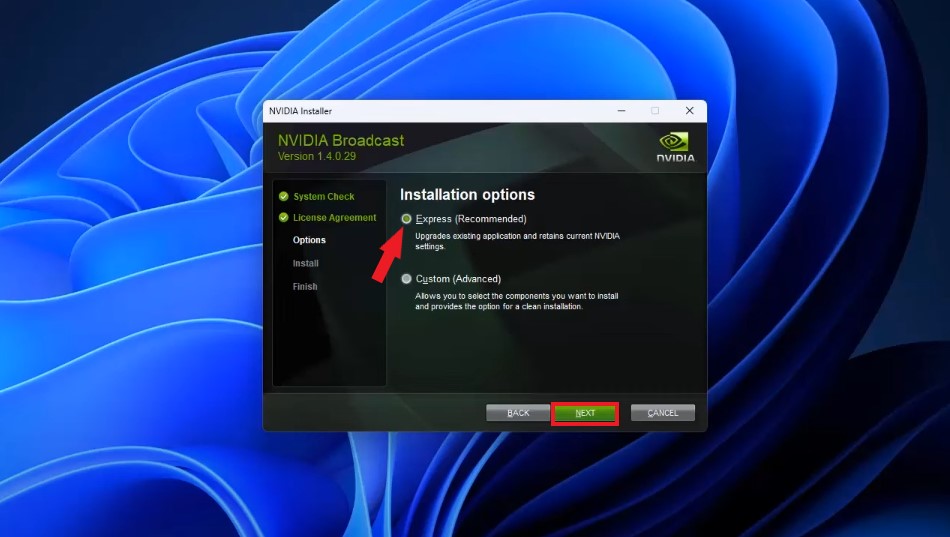
6. Next, you need to select the installation option. Choose the recommended option and click on the Next button to continue.
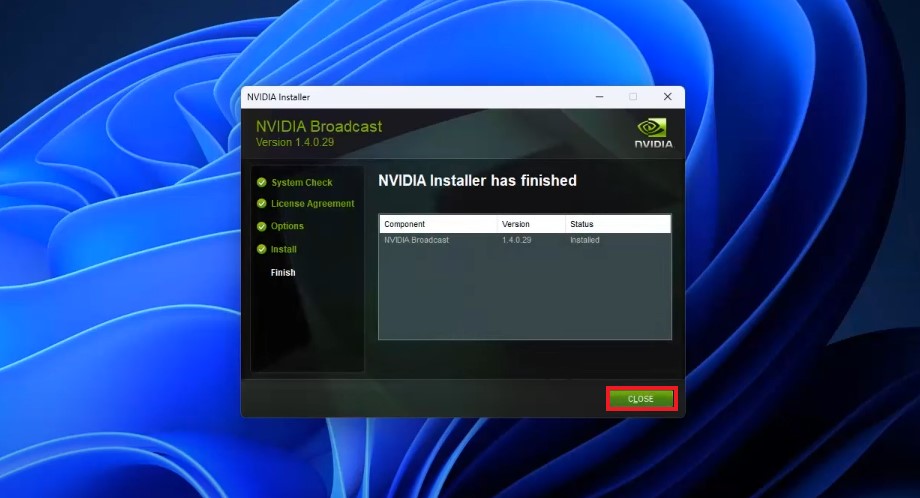
7. Now, wait for the installation process to complete.
8. Once it’s done, you can close the installer window by clicking on the Close button.
How to Setup and Use NVIDIA Broadcast
Now that you have successfully installed NVIDIA Broadcast, let’s explore how to use it to enhance streaming and video conferencing. Additionally, you can utilize it to remove background noise from both input and output devices.
To set up and use the NVIDIA Broadcast, follow the steps mentioned below:
1. Open the NVIDIA Broadcast software.
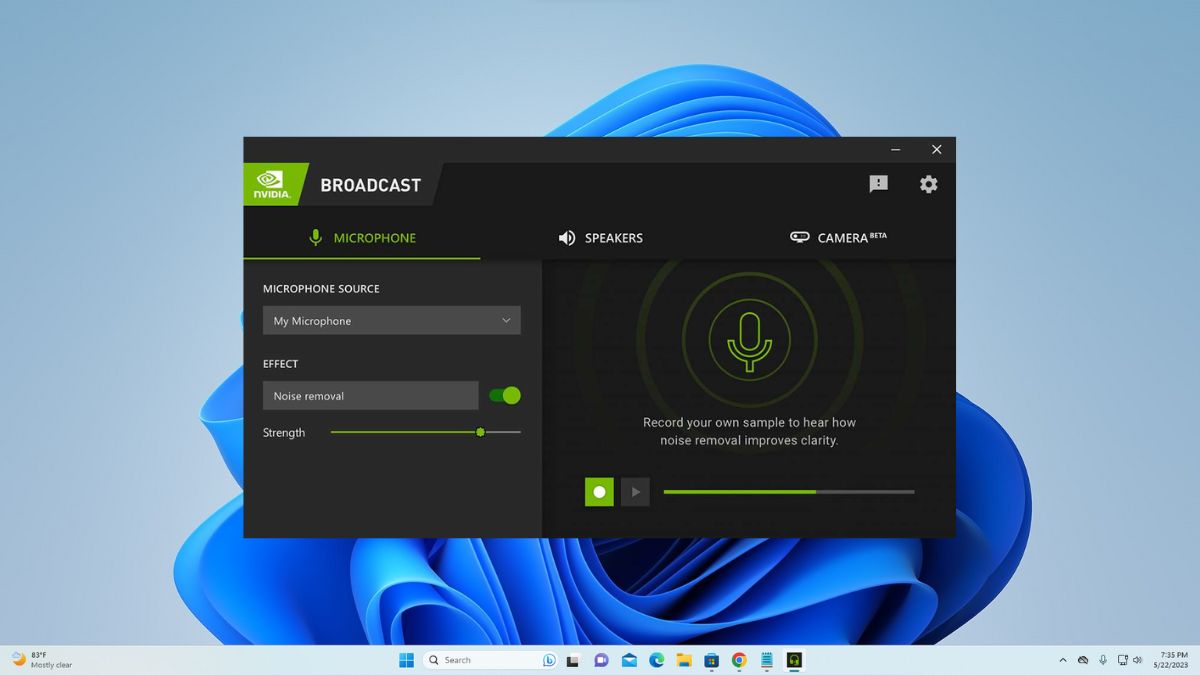
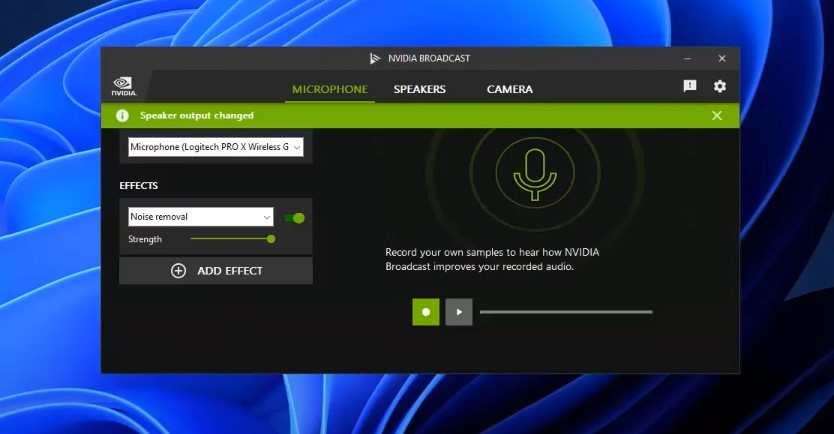
2. To remove the background noise and room echo, click on the Microphone tab.
3. Then from the drop-down select the microphone that you want to apply the effects and select the effects (Noise Removal and Room Echo Removal).
4. After that, turn on the toggle next to it.
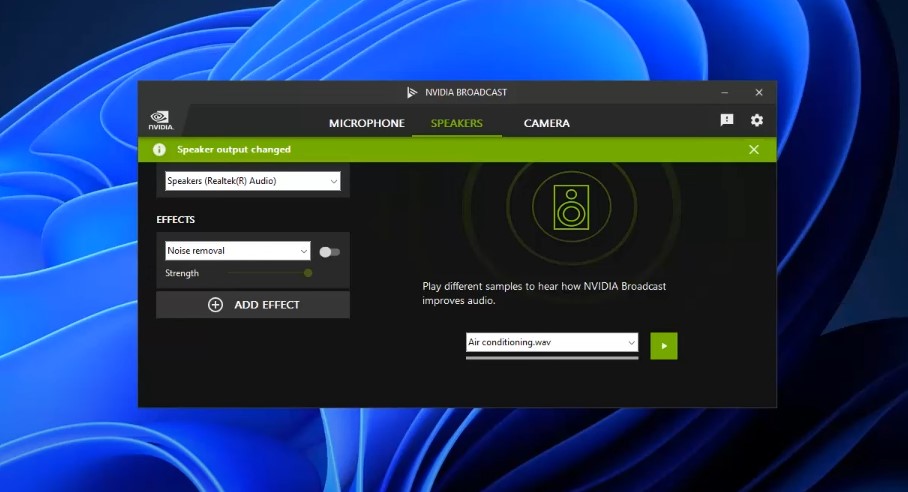
5. Now, if you want to remove background noise coming from the speakers, click on the Speakers tab. Select the output speaker from the drop-down menu and turn on the noise removal toggle.
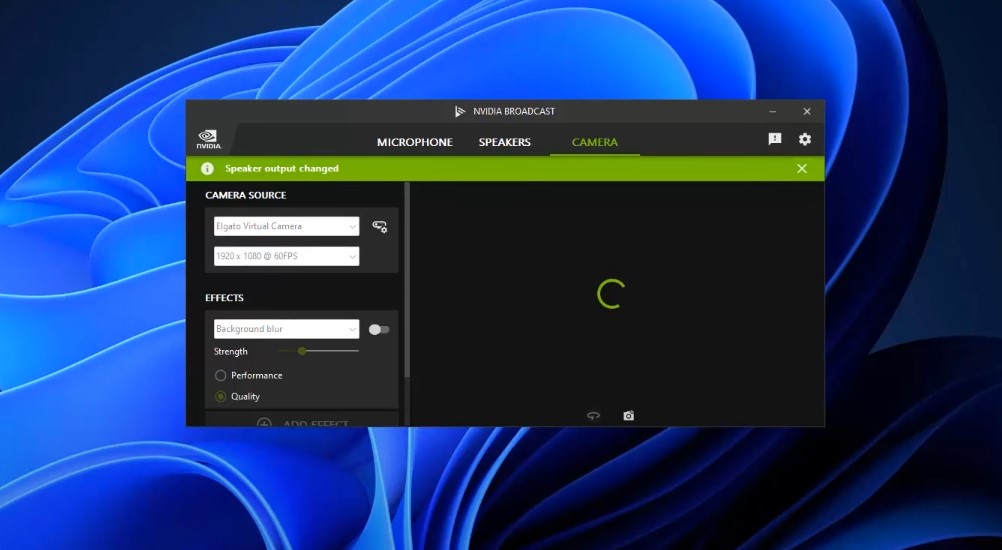
6. Finally, we have camera settings. From here, you can add different camera settings like removing background, background blur, Eye Contact, background replacement, auto frame, and more.
7. Once you have configured the NVIDIA Broadcast, open the software that allows you to record.
8. Then from the microphone and camera option, select the device with the NVIDIA Broadcast option.
NVIDIA Broadcast Supported Apps List
If you are wondering which applications support NVIDIA Broadcast, here is the list of apps you can modify. You can follow the official NVIDIA Broadcast Setup Guide to set up the below individual applications.
- Discord
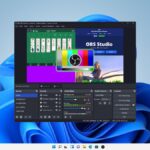
- OBS Studio
- Streamlabs
- XSplit Broadcaster
- Gamecaster
- Twitch Studio
- WebEx
- Zoom
- Slack
- Microsoft Teams
- Skype
- Google Chrome
Conclusion
That’s it; this is how you can install and use NVIDIA Broadcast on Windows 11. However, if you are having an issue with the software, you need to update the NVIDIA graphic card driver. For that, check our detailed guide on; how to update the graphics card driver using NVIDIA GeForce Experience.
I hope this article was helpful to you. However, if you have some suggestions, do not hesitate to leave them in the comments section. We are always there to assist you.