GIMP (GNU Image Manipulation Program) is a powerful open-source image editing software that provides a wide range of features for creative design and photo editing if you’re an Ubuntu user looking to install the latest version of GIMP on your system.
This guide will walk you through three different methods to do so. You’ll find step-by-step instructions below if you prefer using the Snap package, Flatpak, or the Software Center. If you are looking for the best photo editors for Ubuntu Linux, you can check out our linked list.
How to Install GIMP on Ubuntu 22.04 LTS
GIMP, which stands for GNU Image Manipulation Program, is a free and open-source software for editing and manipulating images. It’s like a powerful digital toolbox that allows you to make changes to your pictures, create artwork, and enhance your photos.
There are multiple methods, you can follow when it comes to installing GIMP in your Ubuntu system. Below we have mentioned three different ways you can follow any process to get your work done.
Let’s try to understand each way to install GIMP step by step:
1. Installing GIMP via Snap Package
Snap is a universal package format supported by Ubuntu, allowing for easy installation and updates. Follow these steps to install GIMP via the Snap package:
1. Open a terminal in your Ubuntu system. You can open it by pressing Ctrl + Alt + T Keyboard shortcut.
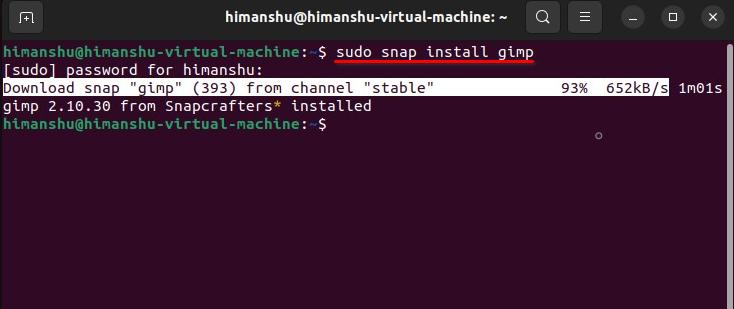
2. Enter the following command and hit the enter key.
sudo snap install gimp
3. Now, it will ask you to enter your user password, simply type in your password and again hit enter. After that, wait for the installation to complete.
Once GIMP is successfully installed, you can now launch GIMP either by searching for it in the applications menu or by running the command gimp in the terminal.
2. Installing GIMP via Flatpak
Flatpak is another package management system that enables you to install software across different Linux distributions. To install GIMP using Flatpak in your Ubuntu system, follow these easy steps:
1. Open the terminal in your Ubuntu device, you can use the keyboard shortcut Ctrl + Alt + T.
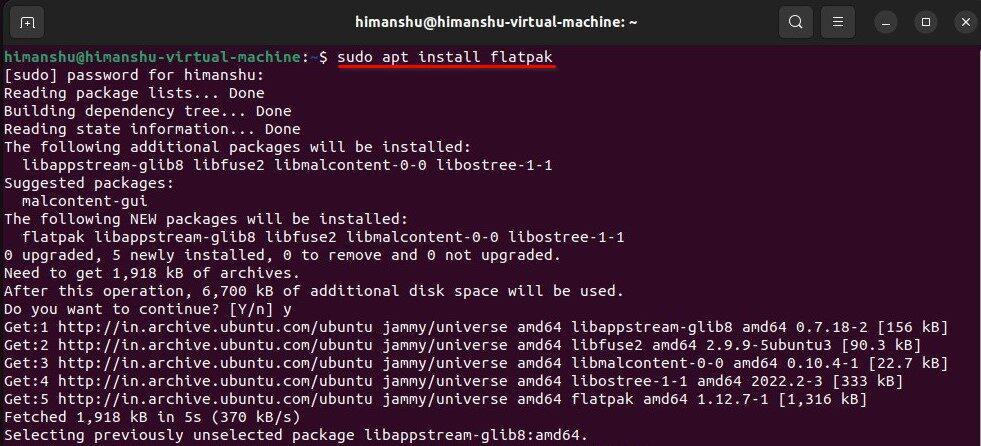
2. To install the Flatpak version of GIMP. First, you need to install Flatpak by running the command.
sudo apt install flatpak
3. Enter the user password when prompted and type Y when asked ‘Do you want to continue?’, then hit enter.
4. Once FLatpak is successfully installed, it’s time to install GIMP on Ubuntu. For that, run the following command in the terminal:
flatpak install flathub org.gimp.GIMP
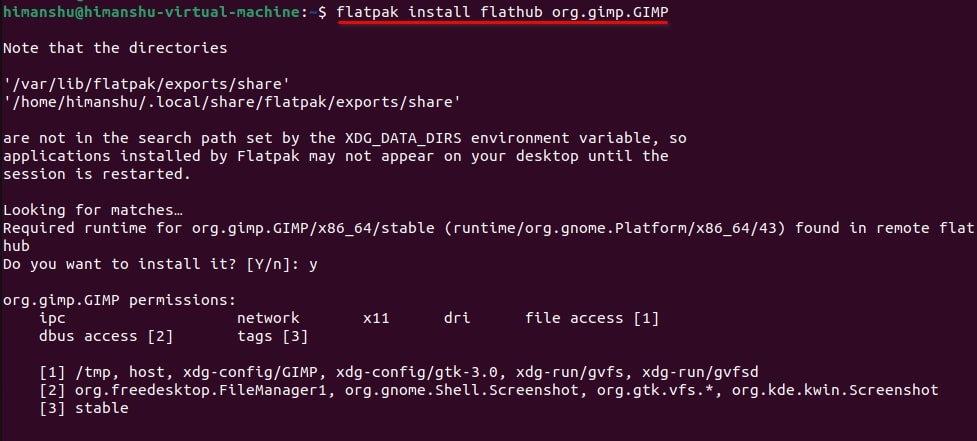
Once the installation is complete, you can launch GIMP from the applications menu or by running the command flatpak run org.gimp.GIMP in the terminal.
3. Installing GIMP from the Software Center
Ubuntu’s Software Center provides a graphical interface for installing applications on the Ubuntu operating system.
Here’s how you can install GIMP using the Software Center:
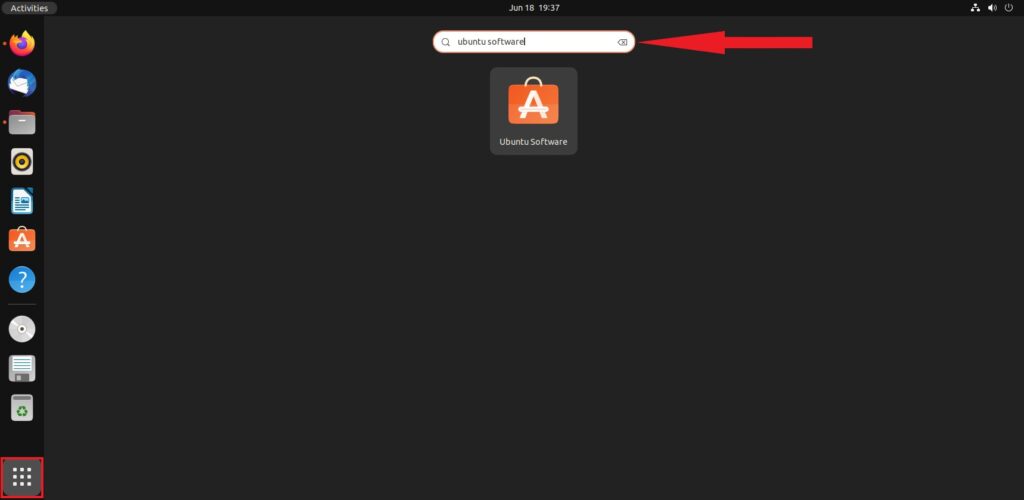
1. Click the Show Application button (with nine dots) at the bottom of the page. Now, search for Ubuntu Software and open it.
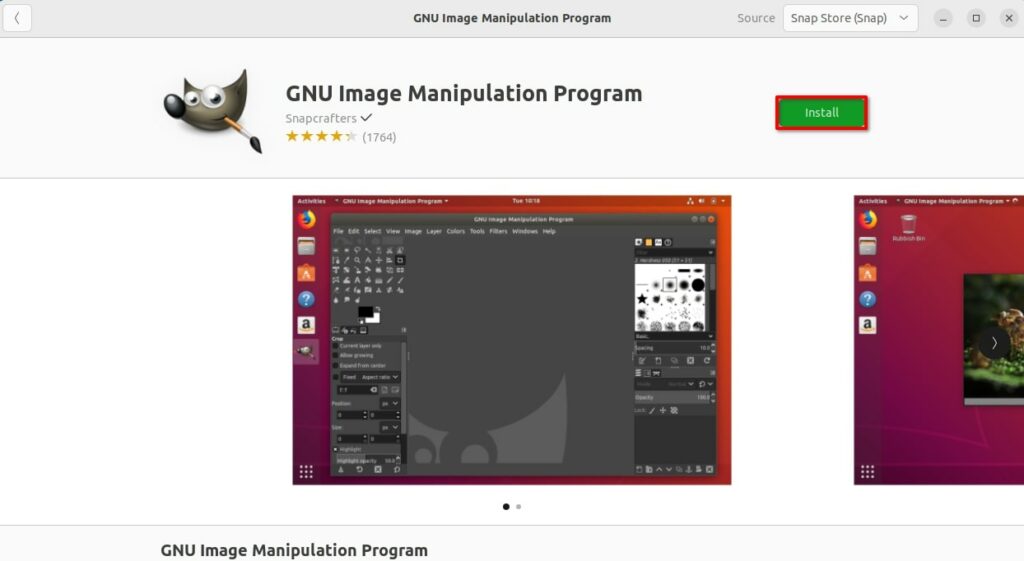
2. In the Software Center, click on the search icon and search for GIMP in the search bar. Click on the GUN Image Manipulation Program from the listing.

3. Then, select Install to begin the installation process. It may take some time to complete the installation process.
4. Once the installation is complete, you can launch GIMP from the applications menu. Now, you are ready to use it on your device.
Congratulations! Now, you have successfully installed GIMP in your Ubuntu system using three different methods. You can now start editing your images using GIMP.
How to Use GIMP on Ubuntu
Once installed, you can use GIMP for tasks such as capturing screenshots, resizing images, changing the size of images, and cropping images. Let’s understand how to use these features in GIMP one by one:
1. Capturing Screenshots
Using GIMP, you can not only edit images but also capture screenshots. To do so, follow these steps:
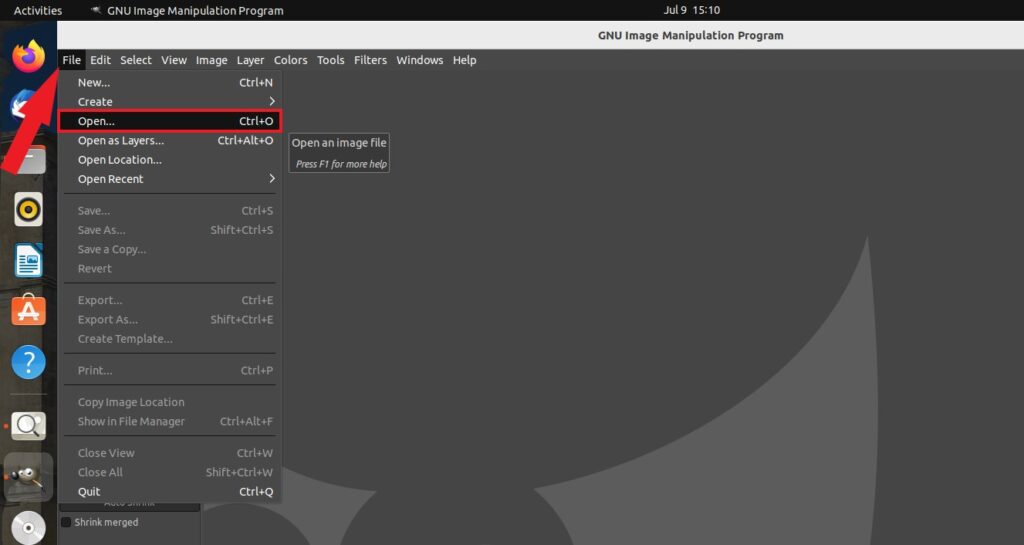
1. Open GIMP in your system and click on File > Create > Screenshot.

2. A new pop-up screen will open, here you can choose the area that you want to capture. GIMP gives you the flexibility to choose from taking screenshots of either a single window or the entire screen. You can also select the delay you want before it takes a screenshot.
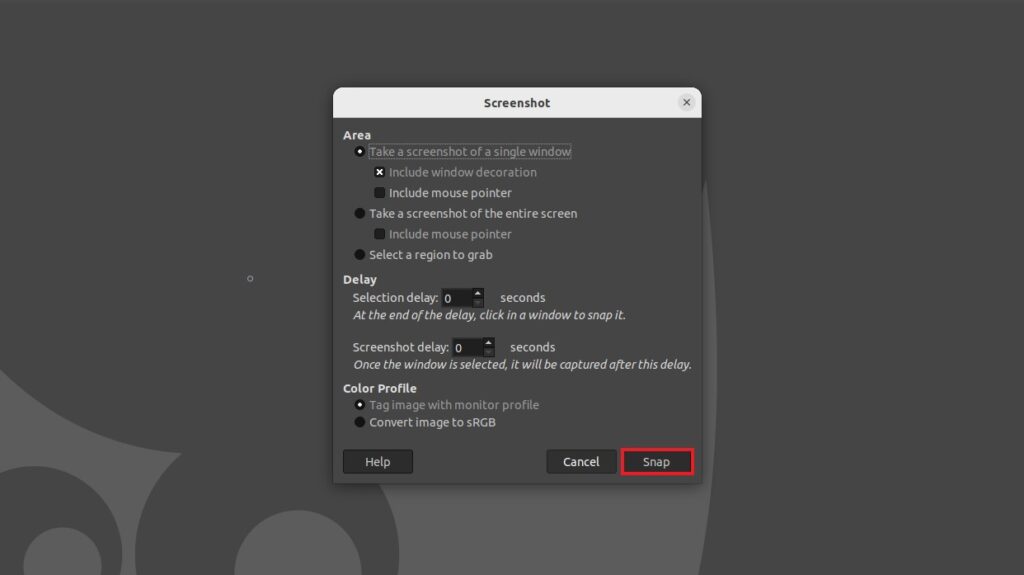
Once you have chosen the desired options click on the Snap button and select the area you want to capture a screenshot.
2. Resizing images
You can also use GIMP to resize images, to do so follow these steps:
1. First you need to import an image, to do so go to File > Open. Now, you can select any image that you want to resize using GIMP.
2. In the Image menu select the Scale Image option.
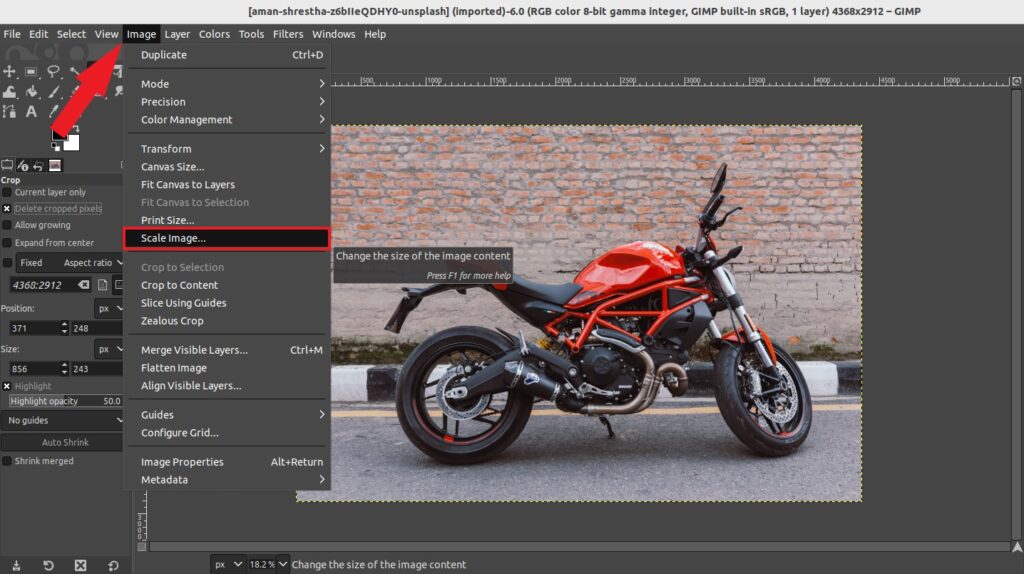
3. In the Scale Image dialog box, you can enter the desired width and height for the resized image. You can also alter image resolution and once you are satisfied with your selection click on the Scale button to resize your image.
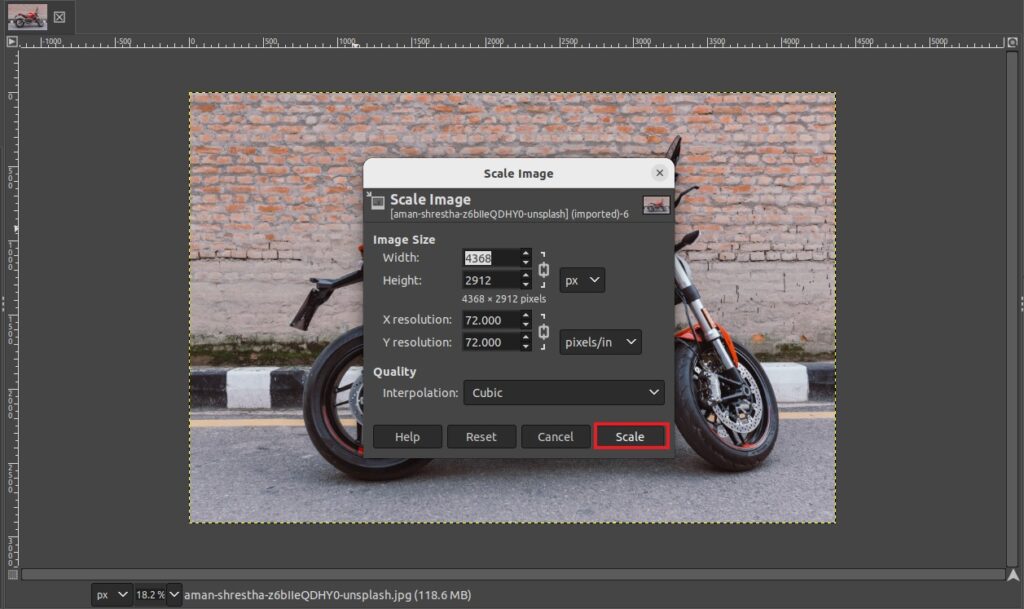
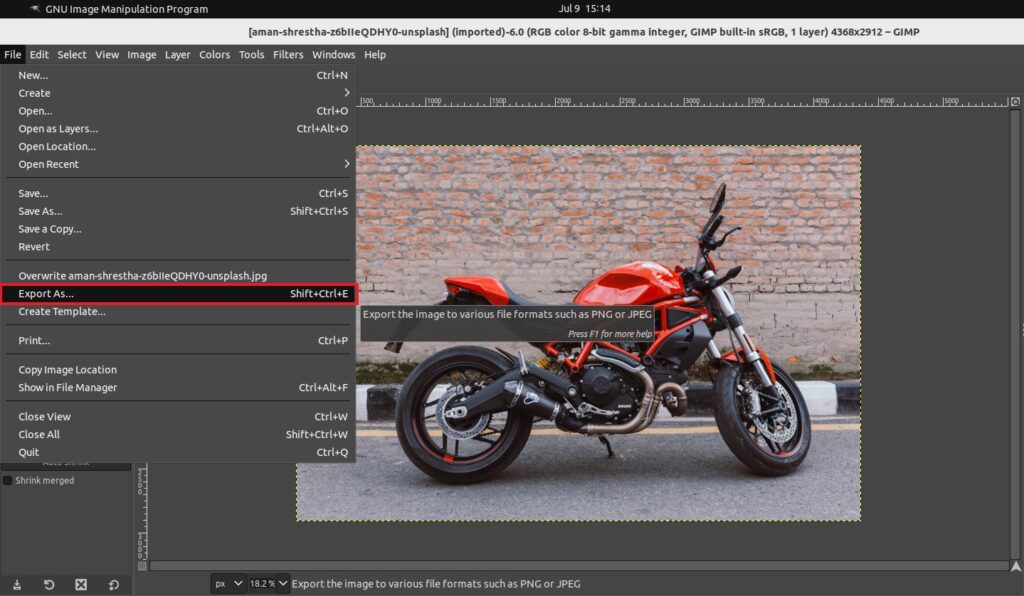
4. Finally, go to File and select Export As to save the resized image.
3. Changing the Size of Images
If you want to change the canvas size of an image (without resizing the actual image content), you can follow these steps:
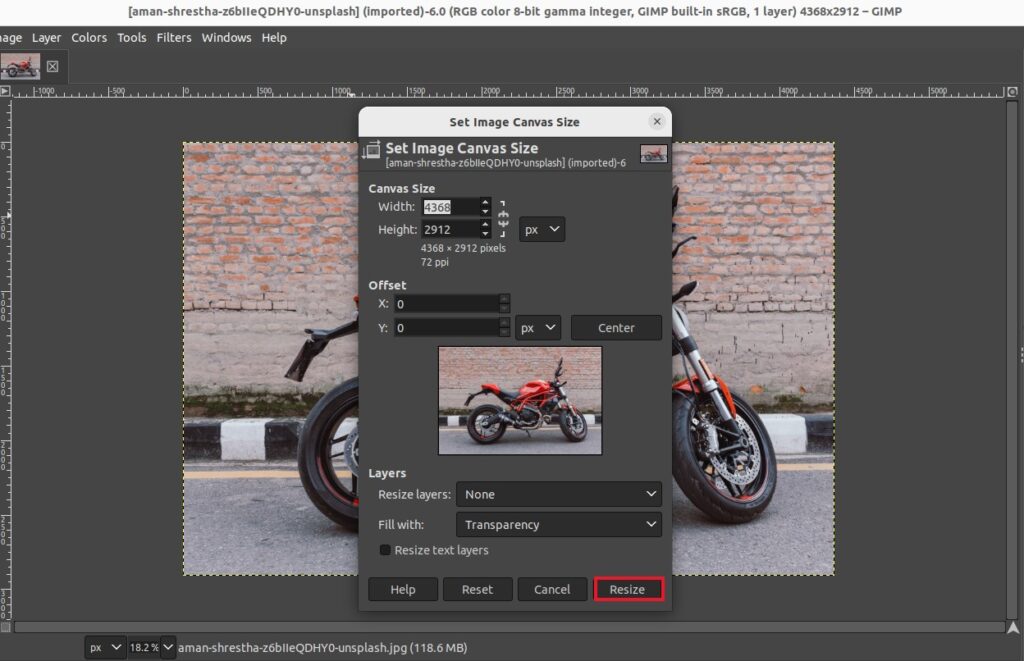
1. Open GIMP and load the image you want to modify. Now, go to Image in the menu bar and select Canvas Size.
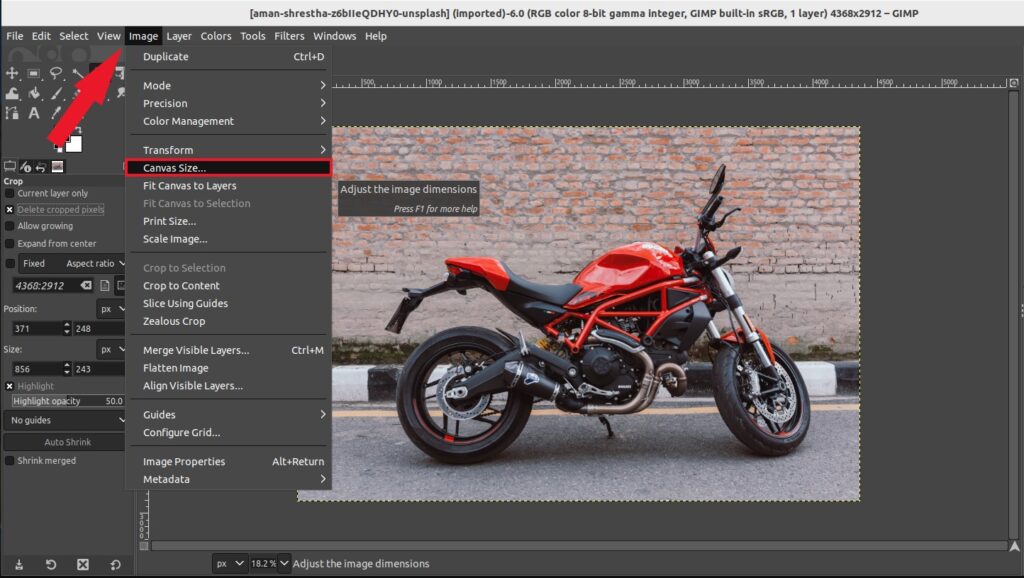
2. In the Canvas Size dialog box, you can enter the desired width and height for the canvas.
3. Once you’ve set the desired canvas dimensions, click Resize to apply the changes.
4. To save the image go to File and select Export As to save the modified image.
4. Crop an Image
If you want to crop any image using GIMP, you can follow the below-mentioned steps:
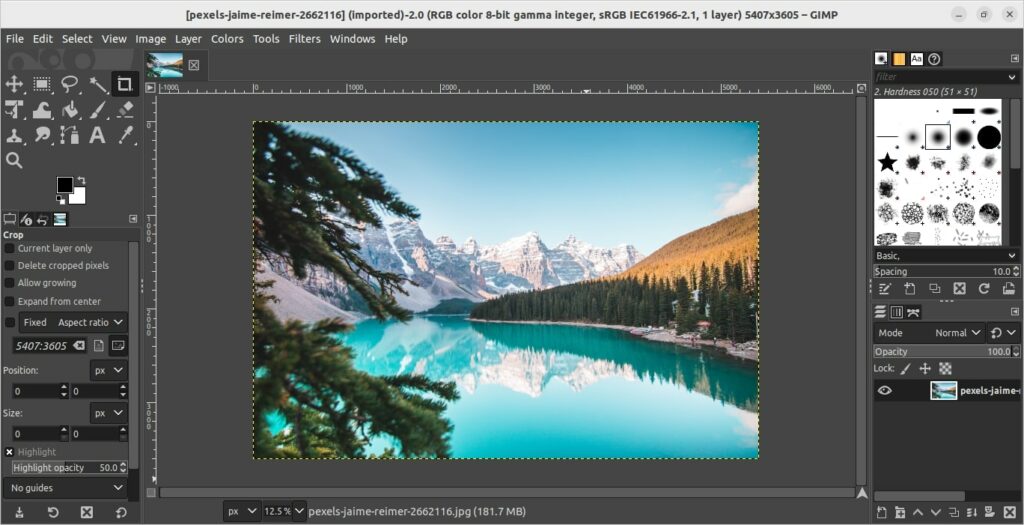
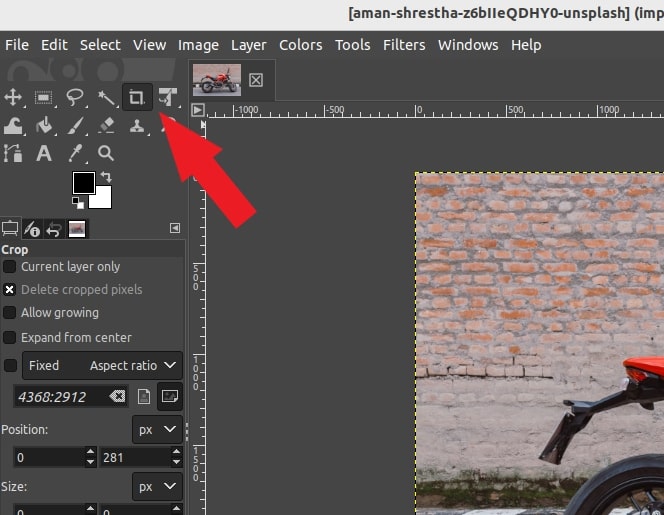
1. To crop an image open GIMP and load the image you want to crop. Then click on the Crop tool icon from the toolbar, this is what it looks like.
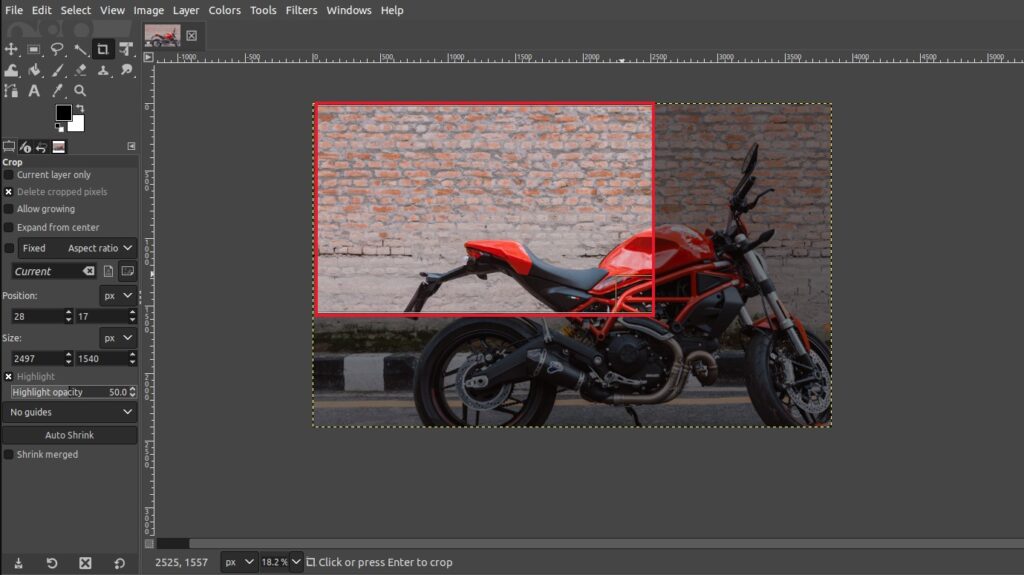
2. Click and drag around the area you want to keep in the image. Leave the cursor when you are done selecting the area to keep and hit Enter to apply the changes.
3. Finally, go to File and select Export As to save the cropped image.
Besides these image editing tools, there are other tools that you can use to edit your images. If you want to learn all the GIMP features, then you can follow the official GIMP tutorials.
Conclusion
Regardless of the method you choose, installing the latest version of GIMP on Ubuntu is a straightforward process. You can opt for the Snap package for a hassle-free experience, the Flatpak if you prefer a universal package format, or the Software Center for a graphical installation method.
Whichever option you go for, you’ll be able to enjoy GIMP’s rich features and unleash your creativity in no time. That’s it! This is how you can install and use GIMP on Ubuntu. However, if you still have any doubts regarding the installation process, you can leave them in the comments below.