Windows 11 offers users a sleek and modern interface, but like any operating system, it may encounter issues. One common problem faced by users is the brightness control not working on Windows. It can be a frustrating problem, making it difficult to adjust the screen brightness. Various factors, including outdated display and monitor drivers, compatibility issues, and corrupted system files, can cause the brightness control issue on Windows 11.
In this guide, we will discuss several effective troubleshooting steps to get your brightness controls working again on your Windows system. By the end of this guide, you should be able to fix the brightness control not working on Windows 11. So, let’s get started.
Ways to Fix Brightness Control Not Working on Windows 11
Excessively bright monitors as well as dim displays can strain your eyes. Here, you’ll find a step-by-step explanation of the different methods to resolve the brightness control not working issue on your Windows system. So, let’s discuss them one by one:
1. Change Your Display Brightness
Firstly, try if you can adjust the brightness using Windows 11 Action Center. To do so, follow these steps:
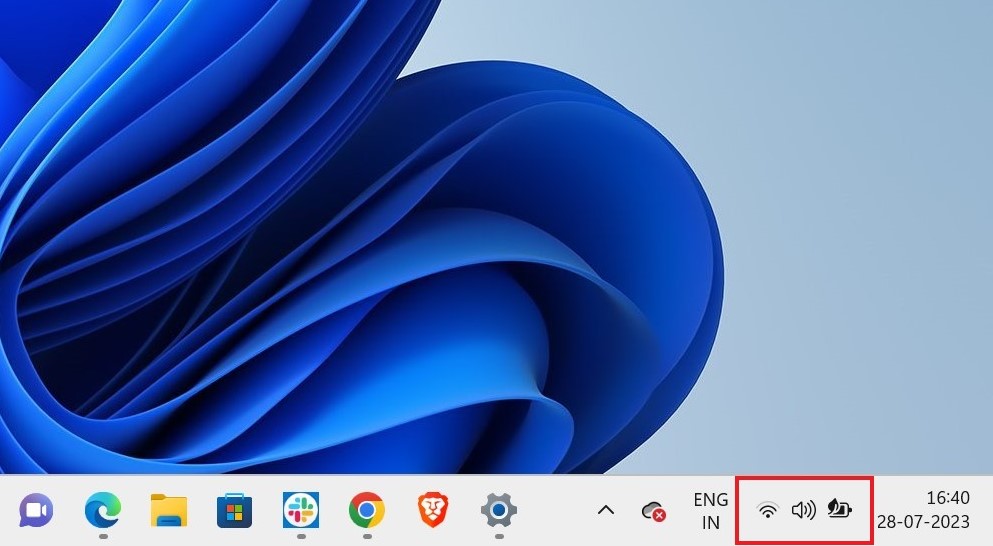
1. On the bottom right corner of your home screen, click on the wifi, volume, and battery icon area to open the Action Center. Alternatively, you can also press Win + A on your keyboard to launch Action Center (Quick Settings).
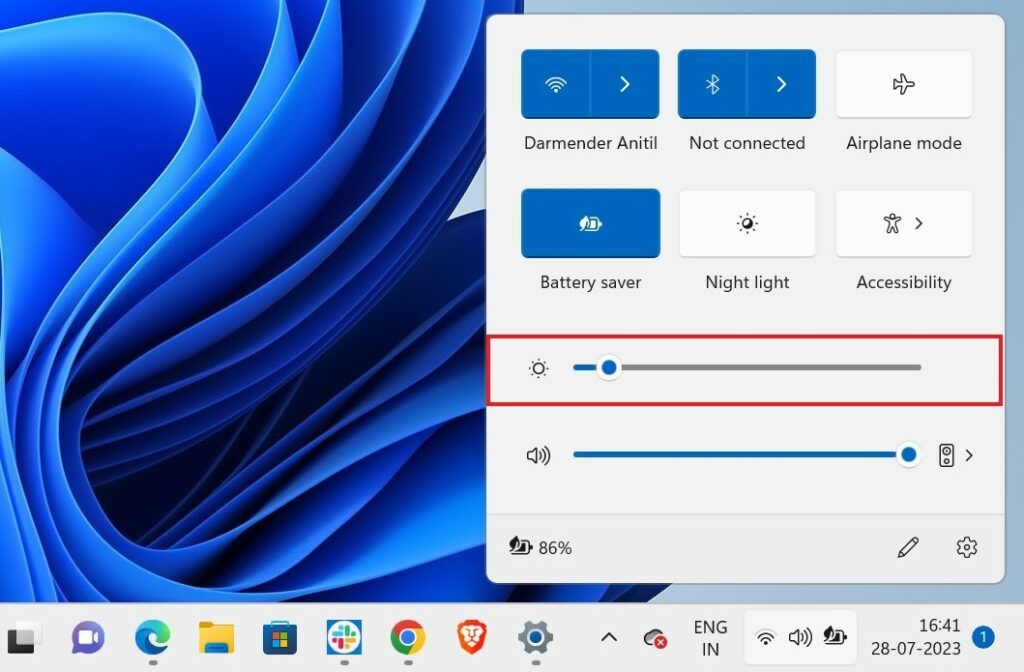
2. Check if you can adjust the brightness by moving the brightness slider left and right.
Sometimes, brightness control may not work directly from the keyboard but can be adjusted using the Action Center. Or, you can check out our guide on; how to change display brightness on Windows 11.
2. Disable Auto Brightness
If you find that the brightness on your Windows 11 device automatically adjusts without your input, the Auto-Brightness feature might be enabled. You can easily disable it from the Windows settings.
To disable it, you can follow these steps:
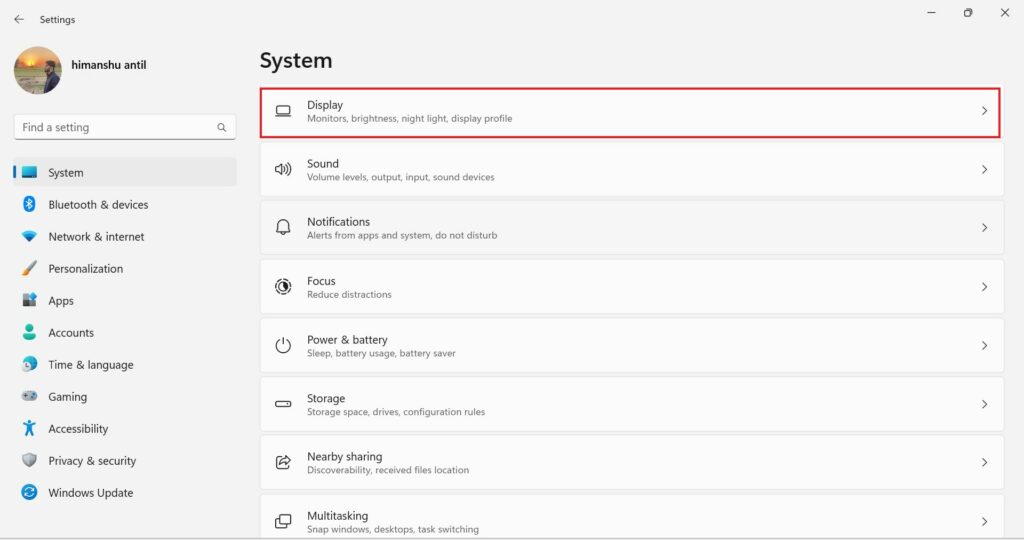
1. Open system settings by pressing the Win + I button together.
2. Now, select Display from System settings.
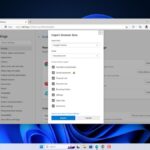
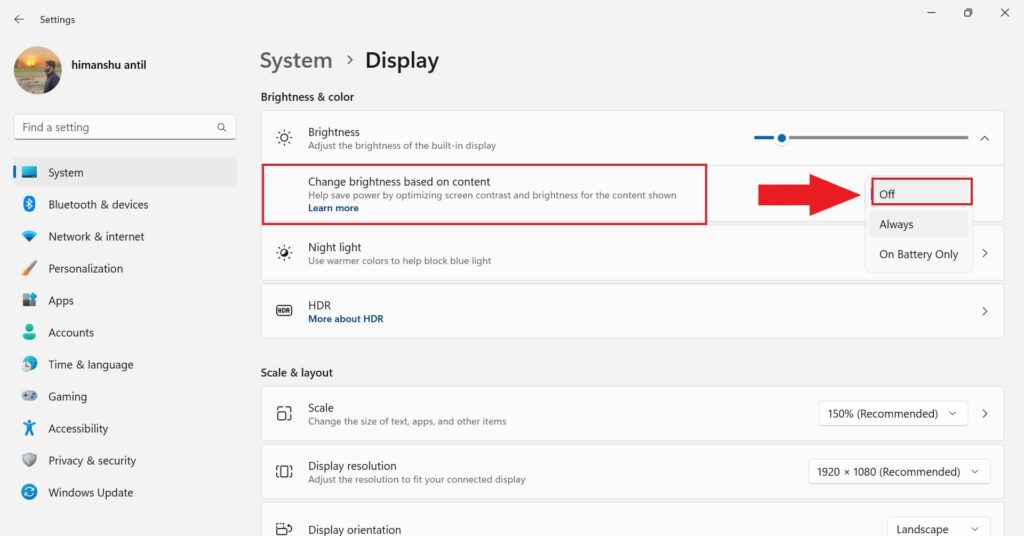
3. Inside Display settings look for the Change brightness based on content option. To find it, you can expand the Brightness option.
4. If this option is set to Always or On Battery Only; turn it to Off from the drop-down menu. This way you will disable auto brightness on your Windows 11 PC.
Once Auto Brightness is disabled, you should have full control over adjusting the brightness level according to your preference. You can try to change the display brightness level from the action center.
3. Reboot Your Device
If, despite following the above-mentioned steps, you are still unable to resolve the issue, there’s a simple yet effective solution to consider. Many times, a simple restart can resolve minor software glitches causing the brightness control issue. Restart your PC and check if the problem persists.
To do so, follow these steps:
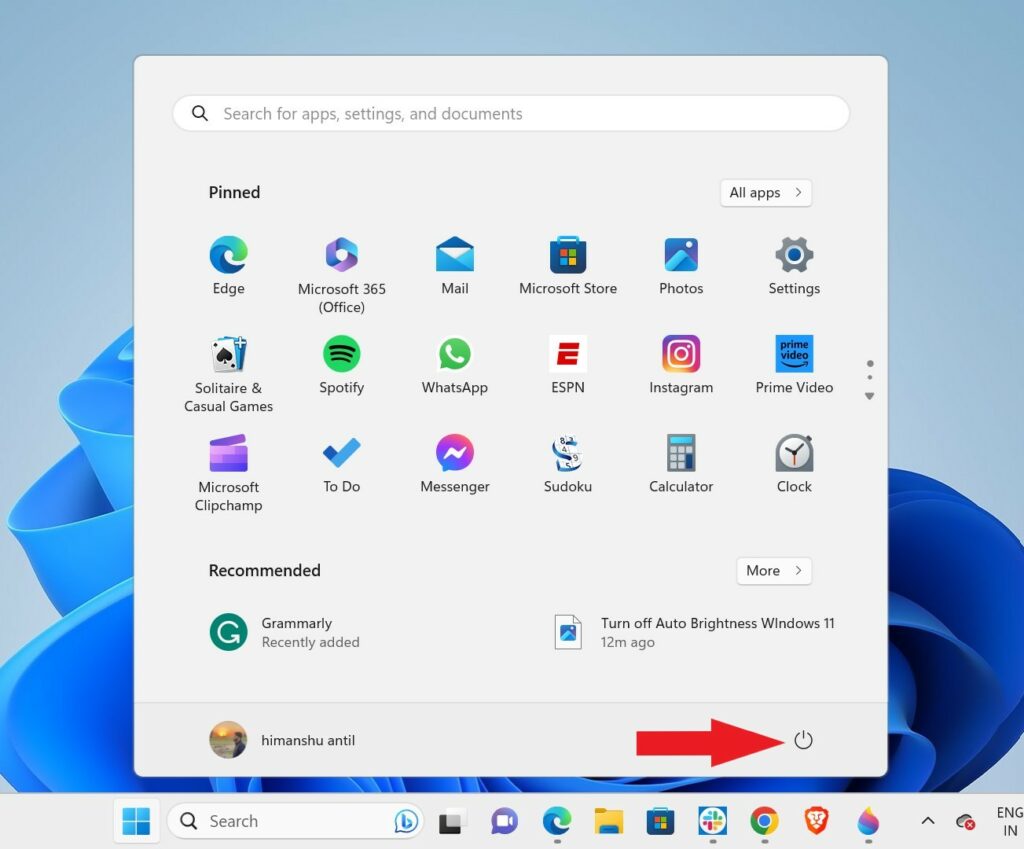
1. Click on the Windows button to open the search menu.
2. Here, locate the Power button and click on it.
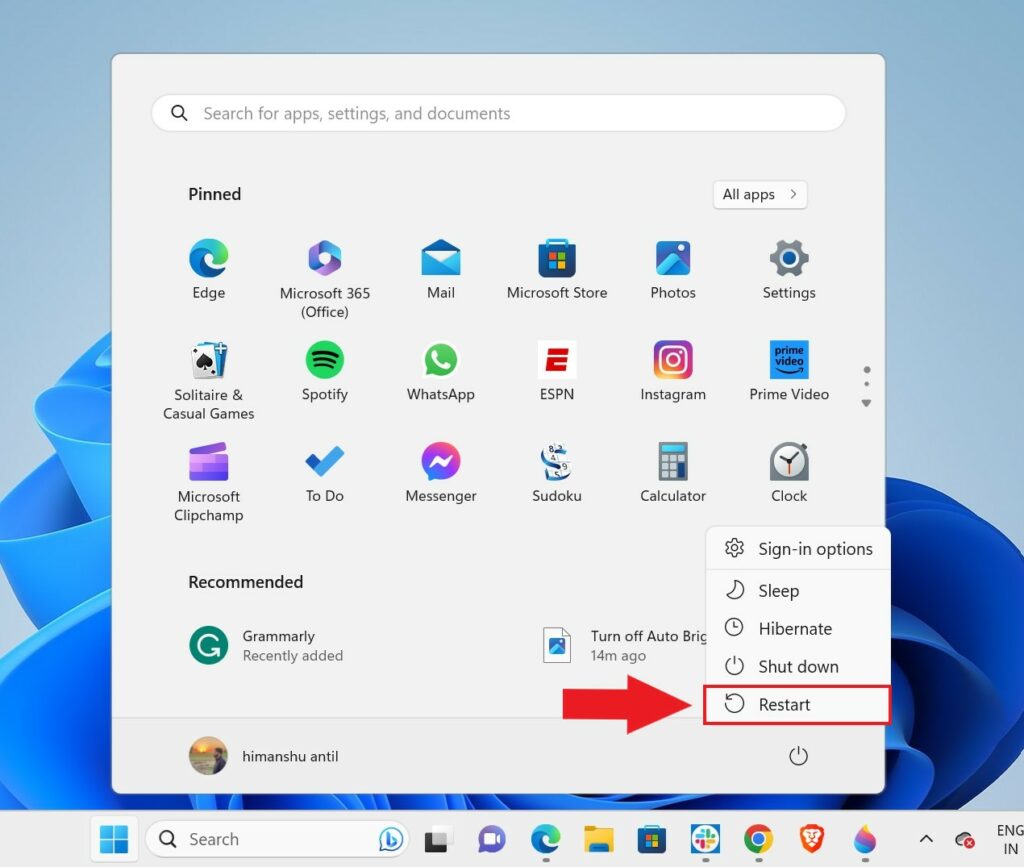
3. After clicking on the Power button you will see some options. Click on Restart and your PC will now restart.
4. Recharge Your Device
If you are using a laptop and find that the brightness control is not working, it could be related to the battery level. In some cases, if the battery charge is less for your laptop, it might dim the screen brightness and prevent you from changing it.
This happens to increase the usage time of your system. It can be easily fixed by charging your laptop. Once you’ve ensured that your laptop is sufficiently charged and not in any power-saving mode that could restrict brightness control, attempt adjusting the brightness. If the issue persists, proceed to the next troubleshooting step.
5. Update Display Driver
Sometimes, if you are using an outdated display driver can cause issues. Updating the display drivers can often resolve issues with brightness control not working.
Here’s how you can update your display drivers:
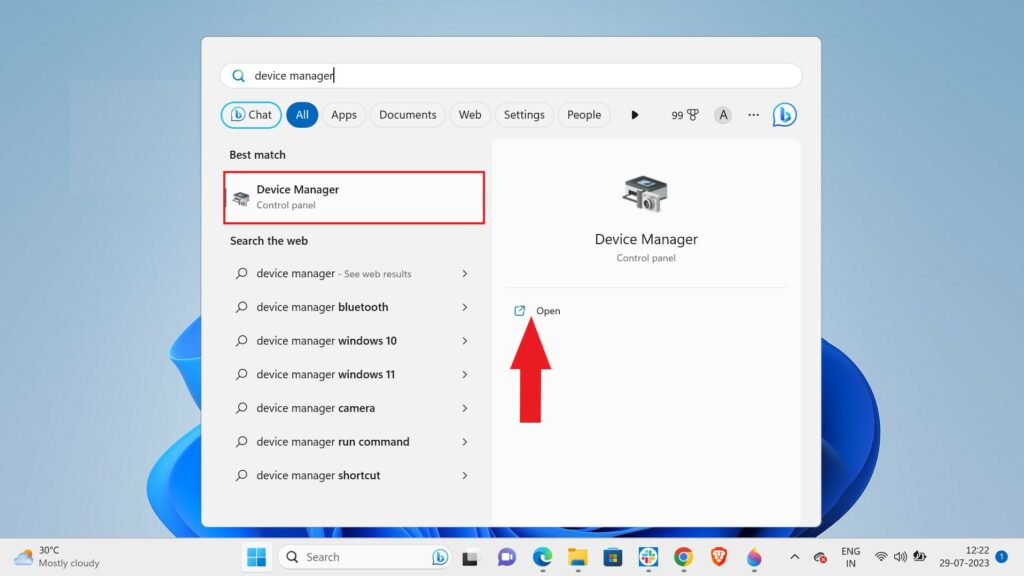
1. Press the Windows key to launch the search menu and search for Device Manager. From the search results, click the Open option to access the Device Manager settings.
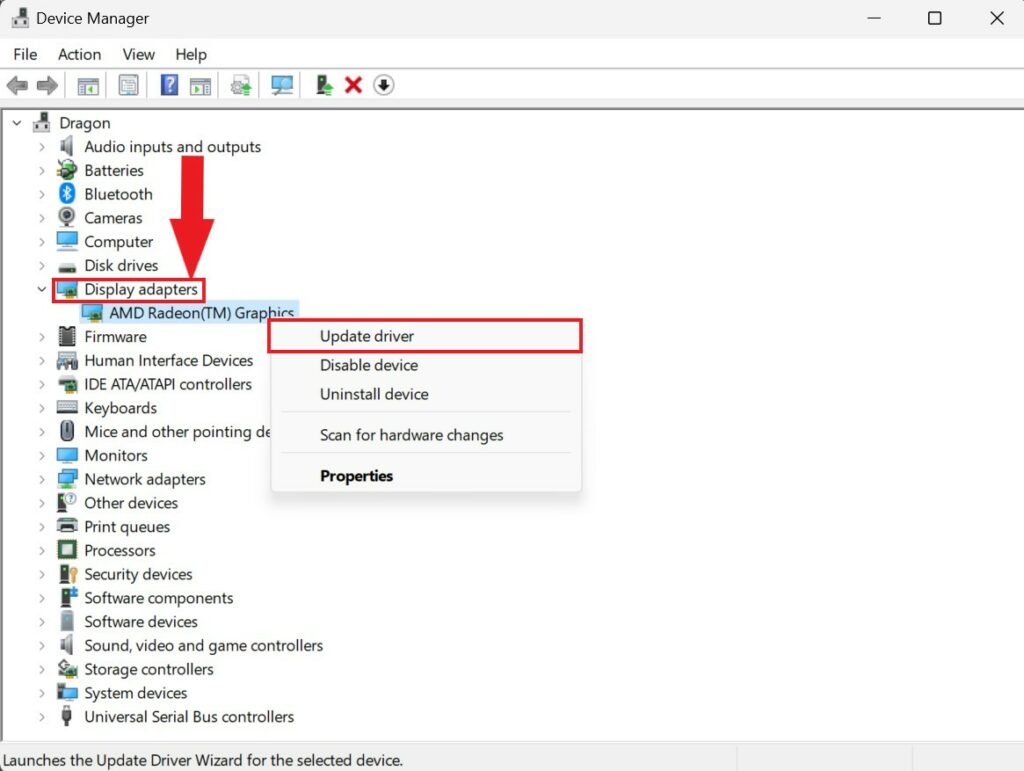
2. In the Device Manager window, expand the Display adapters category to see your graphics card.
3. Right-click on your Graphics card (In our case, it’s AMD Radeon Graphics). Now, choose Update driver from the context menu.
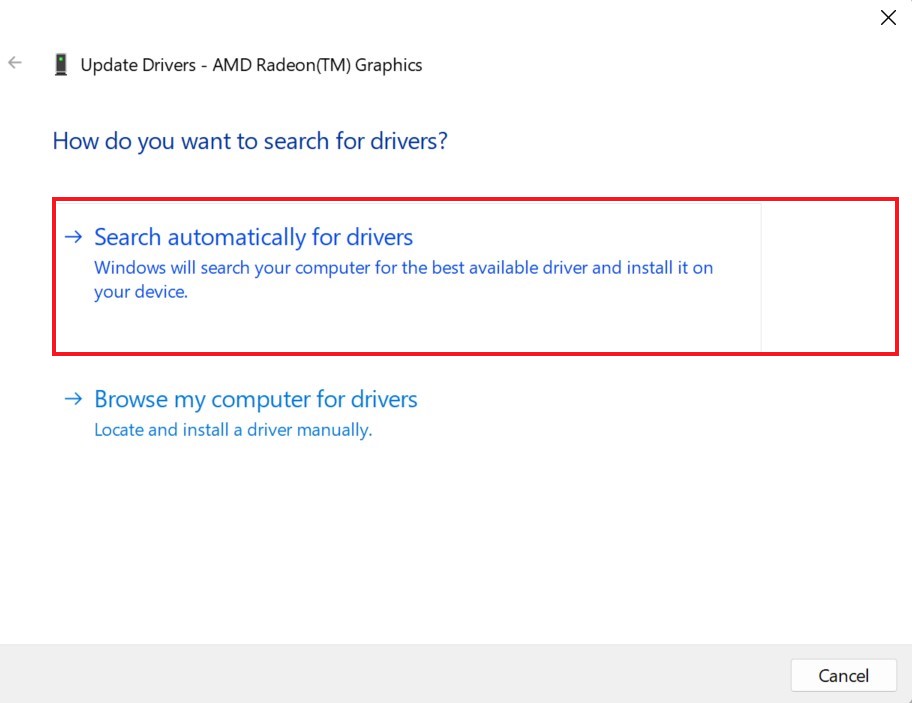
4. On the next screen select the Search automatically for drivers option.
5. Windows will now search online for the latest drivers for your graphics card. If it finds a newer version, it will automatically download and install it.
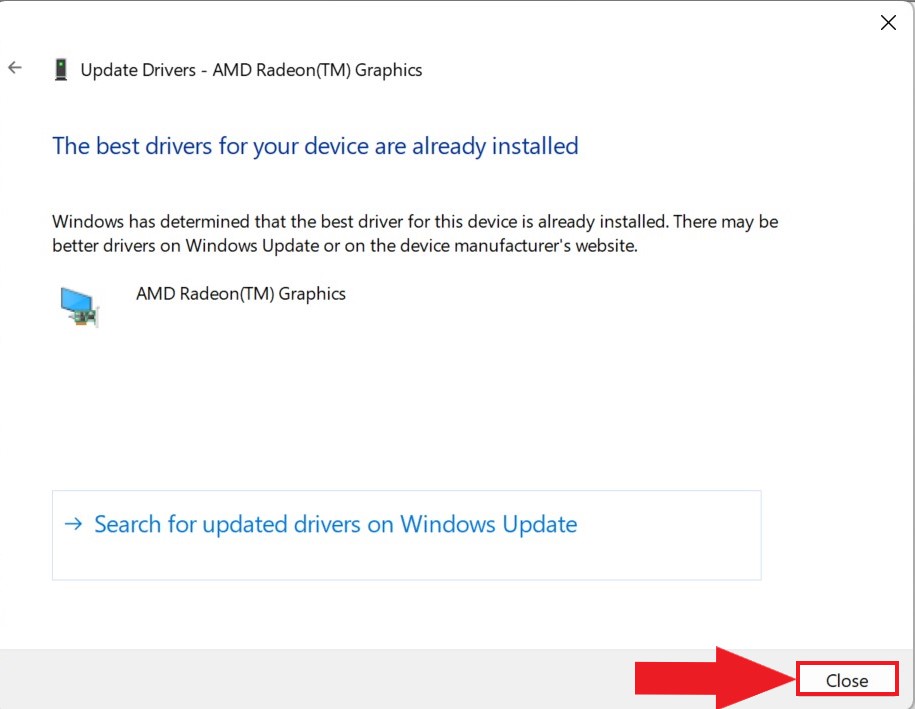
6. Once it is done updating, you will get the following screen. Simply, click on the Close button and restart your PC to apply the changes.
7. After the restart, check if the brightness control is now functioning correctly.
6. Update Monitor Driver
If you are using any external monitors, you also need to update the monitor’s driver to the latest version. For that, in the same Device Manager window, you will find an option to update it. To do so, follow these steps:
1. Open the Device Manager option.
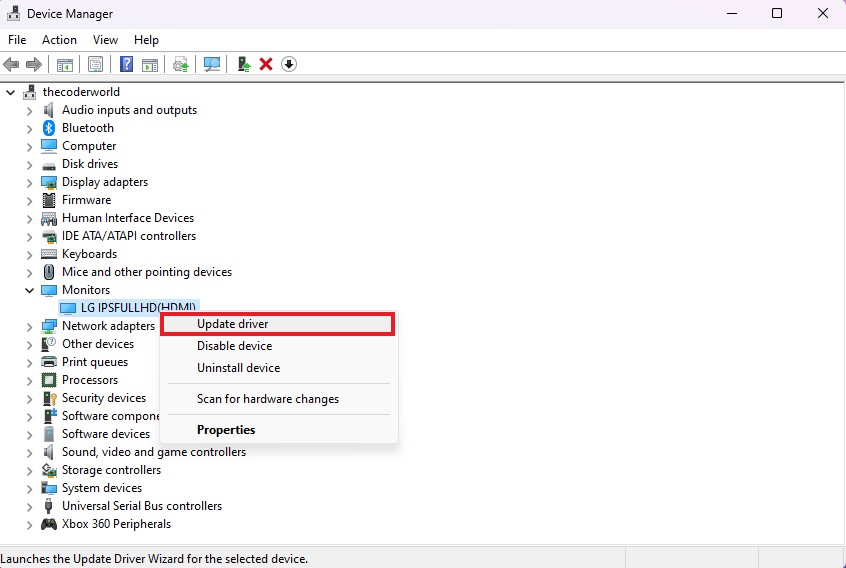
2. Expand the Monitor category and right-click on the monitor driver.
3. Next, click on the Update driver option from the context menu.
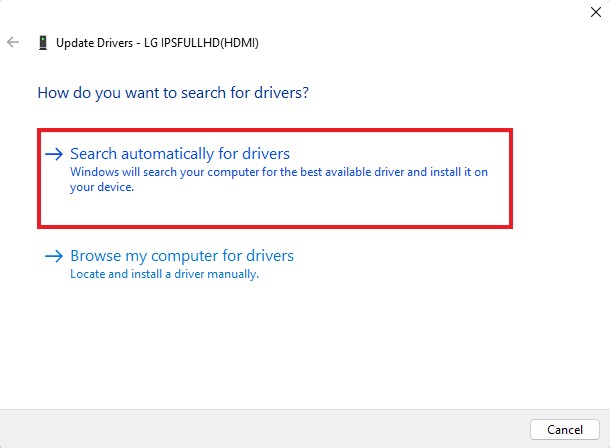
4. On the next screen, select the Search automatically for drivers option, and it will automatically install the latest monitor driver on your system. After that, restart your system.
7. Performing CheckDisk and SFC scan
Performing a CheckDisk (CHKDSK) scan and a System File Checker (SFC) scan can help identify and fix potential issues with your Windows 11 operating system that may be affecting the brightness control.
Here’s how to perform these scans:
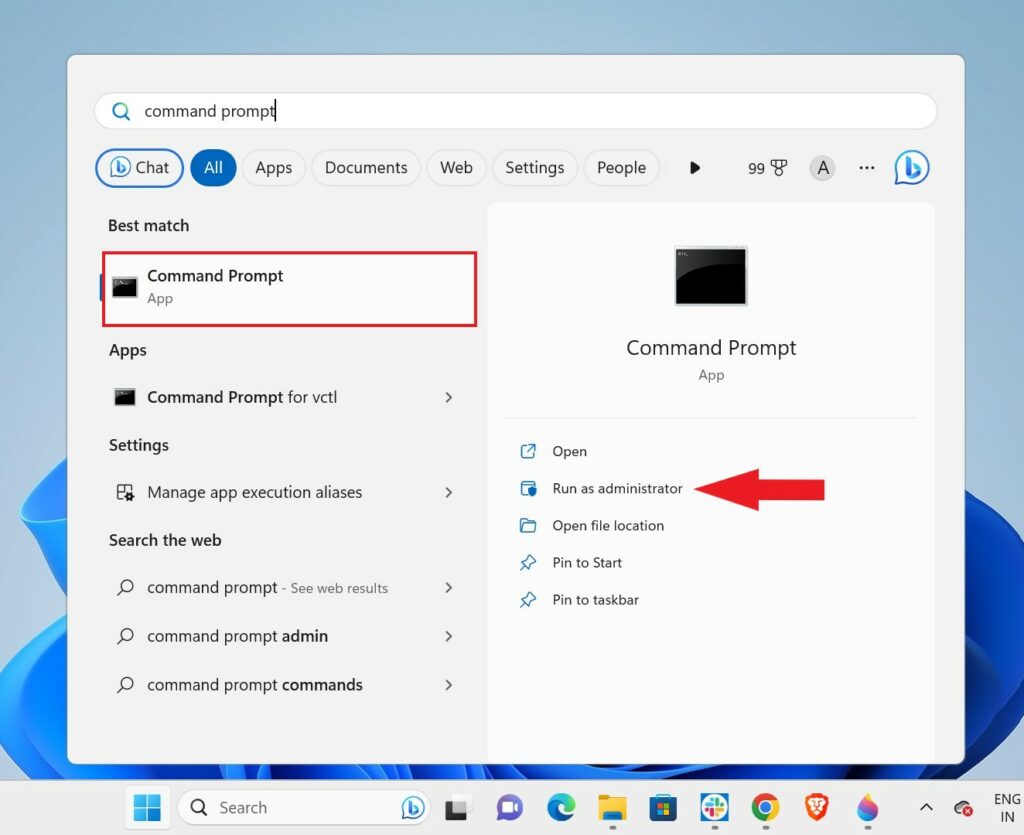
1. Search for the Command prompt in the search menu. Then click on the Run as administrator option to access it with admin authority.
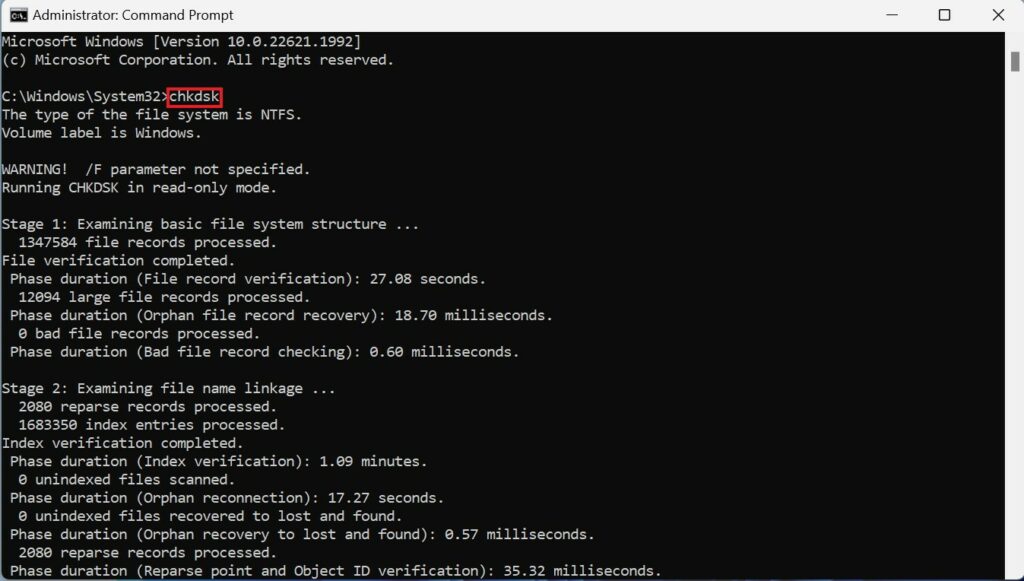
2. Now, on the command prompt, run the following command and press the [Enter] key. This command will run the CHKDSK scan.
chkdsk
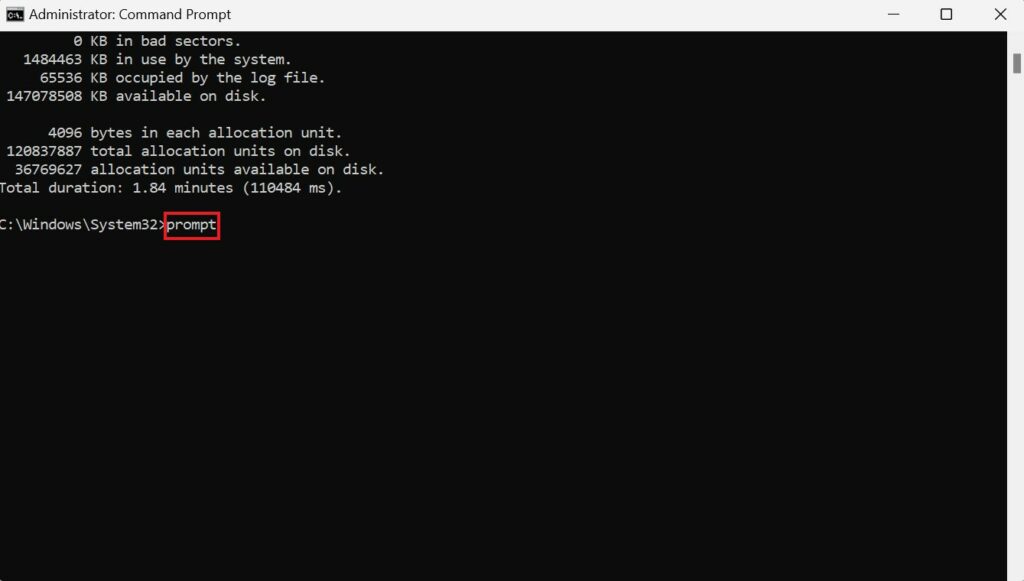
3. After that, type this command and hit Enter:
prompt
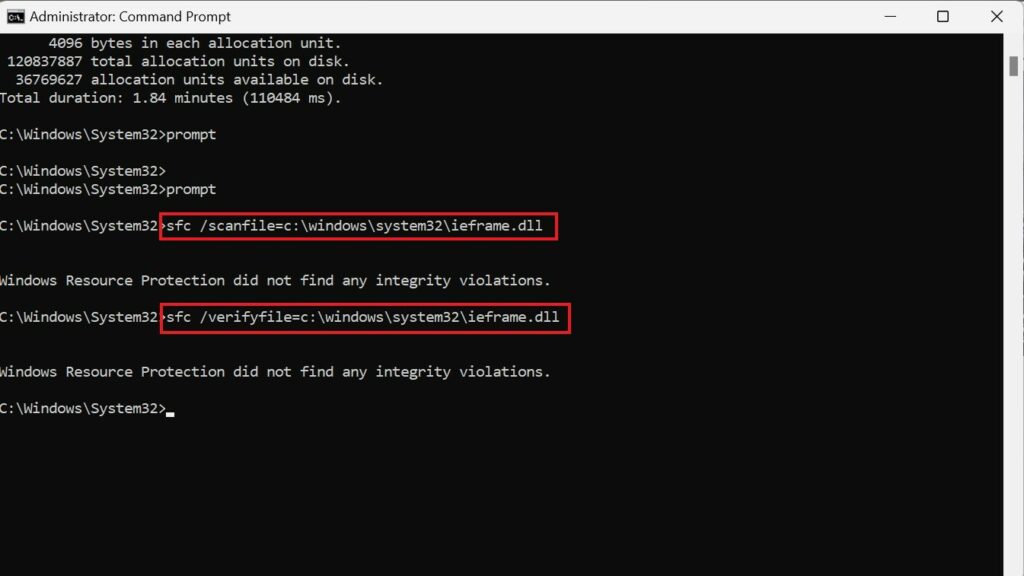
4. Execute these two commands one after the other and then hit Enter after each. This will scan and fix issues with the ieframe.dll file on your system.
sfc /scanfile=c:\windows\system32\ieframe.dll
sfc /verifyfile=c:\windows\system32\ieframe.dll
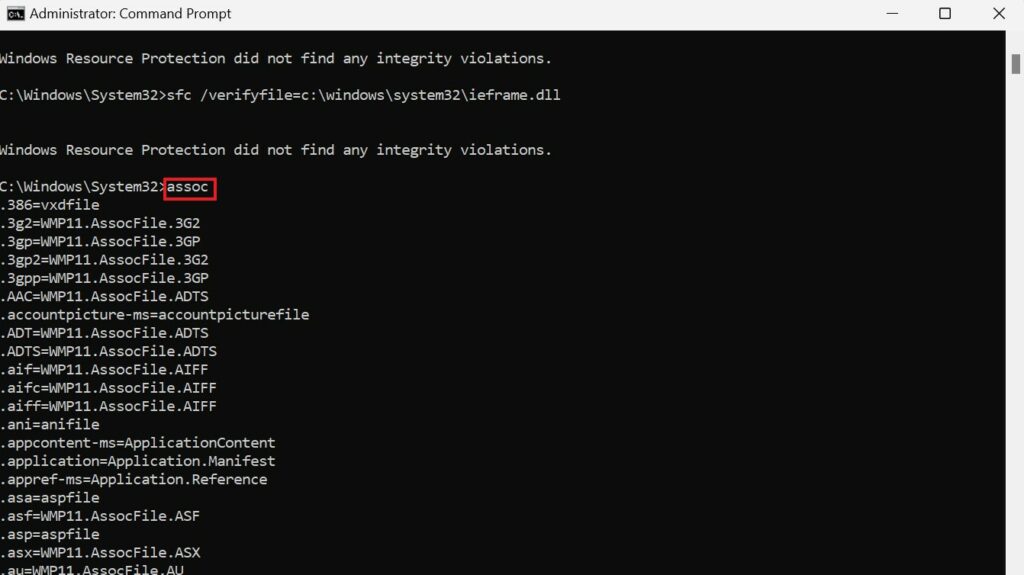
5. Now, run the following command:
assoc
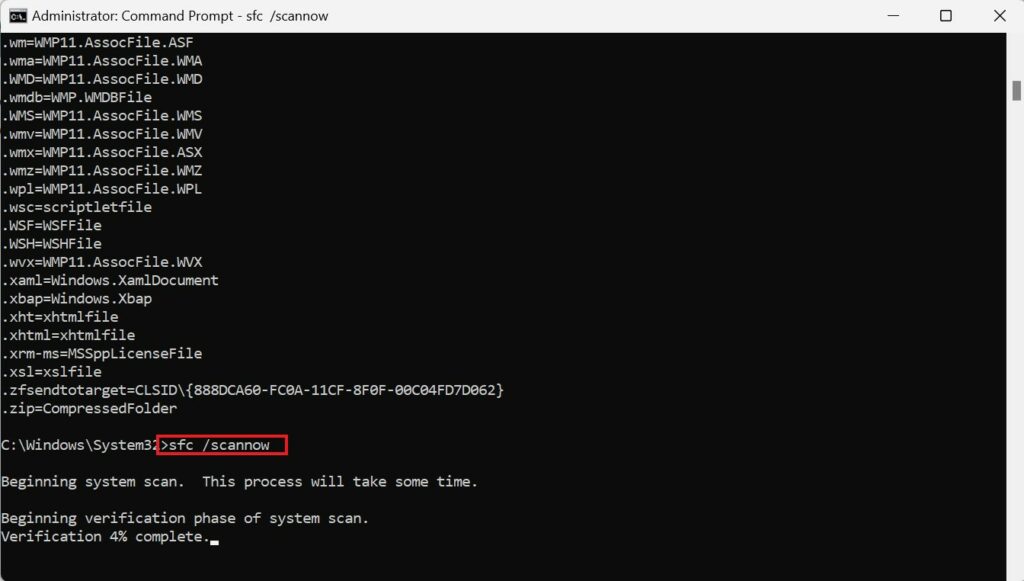
6. At last run the scannow command and hit Enter key to check the system files.
sfc /scannow
Once you have run all the above-mentioned commands, restart your PC again and check if the brightness controls are working.
8. Updating Windows 11
Updating Windows 11 to the latest version can fix many system-related issues, as the new updates on Windows operating systems come with bug fixes and security updates. Updates can also include fixes for brightness control issues.
Here’s how you can update your Windows 11 OS to the latest:
1. Press the Win + I to open the settings menu.
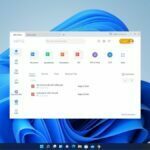
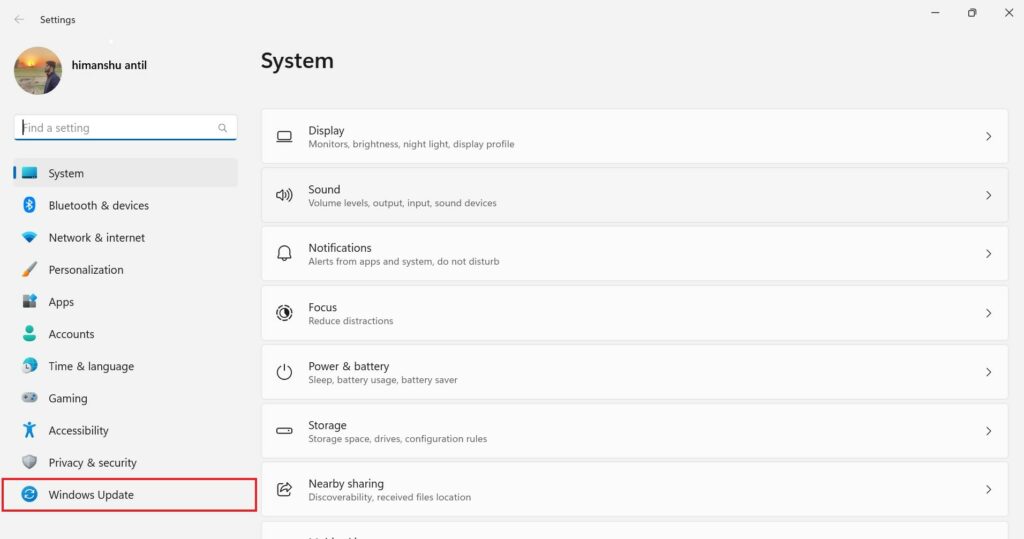
2. Click on Windows Update present on the left sidebar.
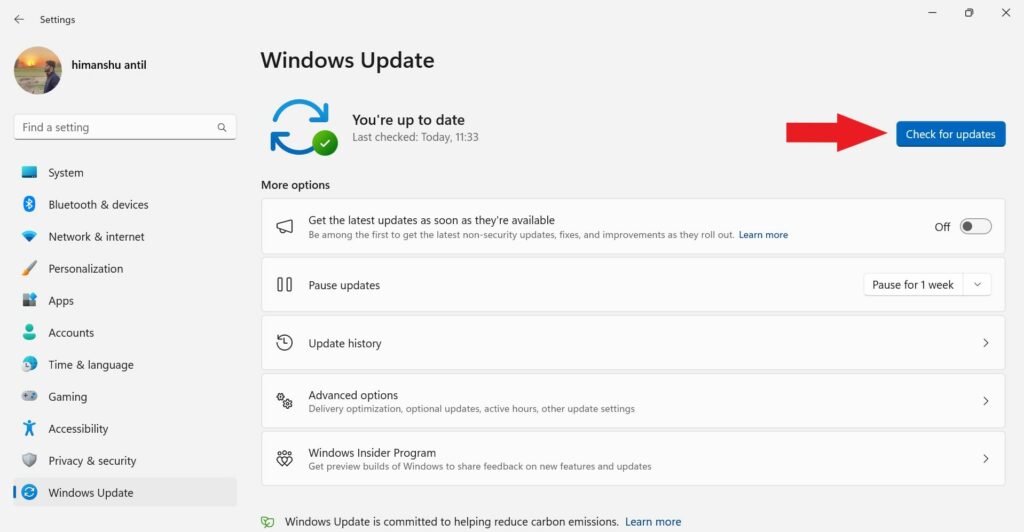
3. In the Windows Update menu click on the Check for updates button. Windows will now look for the latest updates online for your PC.
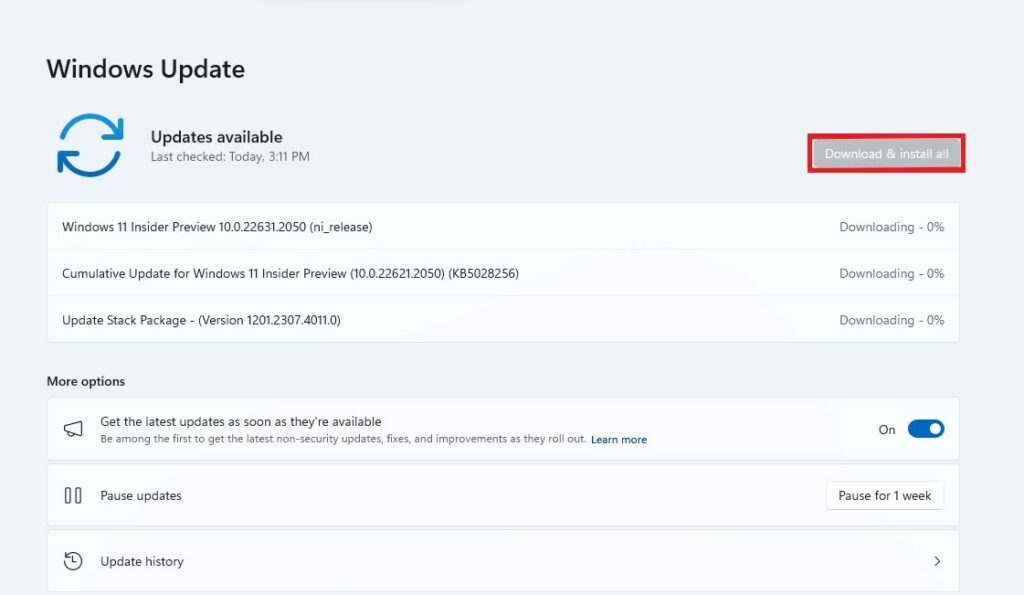
4. If there are any updates available for your Windows 11 PC, they will appear here. Simply click on Download & Install All and wait for some time.
5. Windows will now automatically download and install the updates in your system.
Note
Windows updates can take some time to install, depending on the size and number of updates available. Make sure your computer is connected to a stable internet connection and plugged into a power source during the update process.
6. After updating Windows 11, restart your PC and check if the brightness control issue is resolved.
9. Performing System Restore
After following all the mentioned methods and still facing the same problem, performing a System Restore can help revert your Windows 11 system to a previous state when the brightness control was functioning correctly.
Here’s how you can do it:
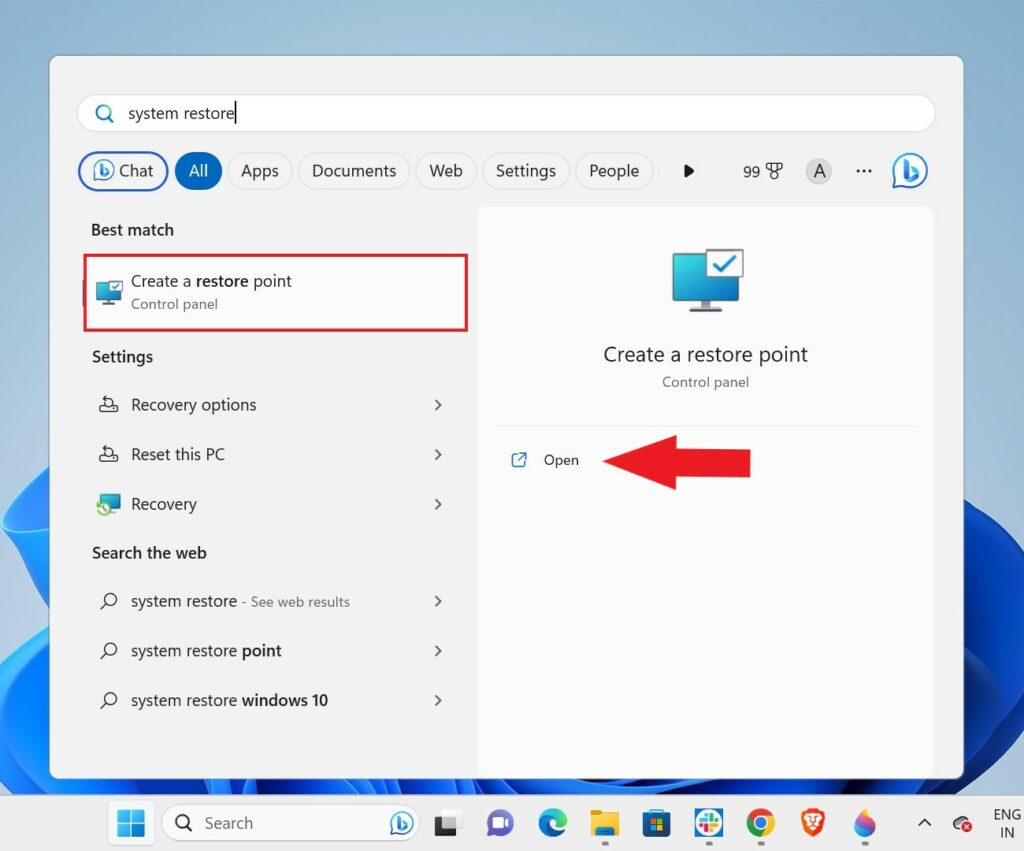
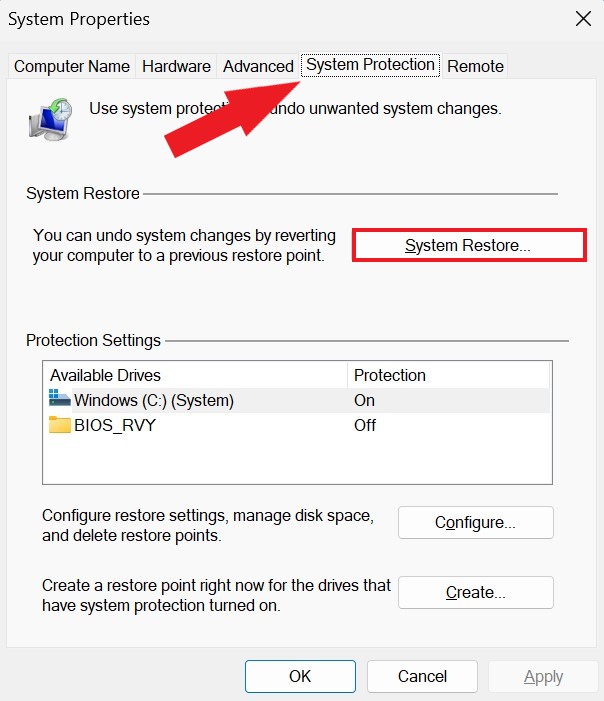
1. Click on the Windows key to open the Start menu. Type System Restore in the search bar and then click on Create a restore point from the search results.
2. This will open the System Properties window with the System Protection tab selected. Now, click on the System Restore button.
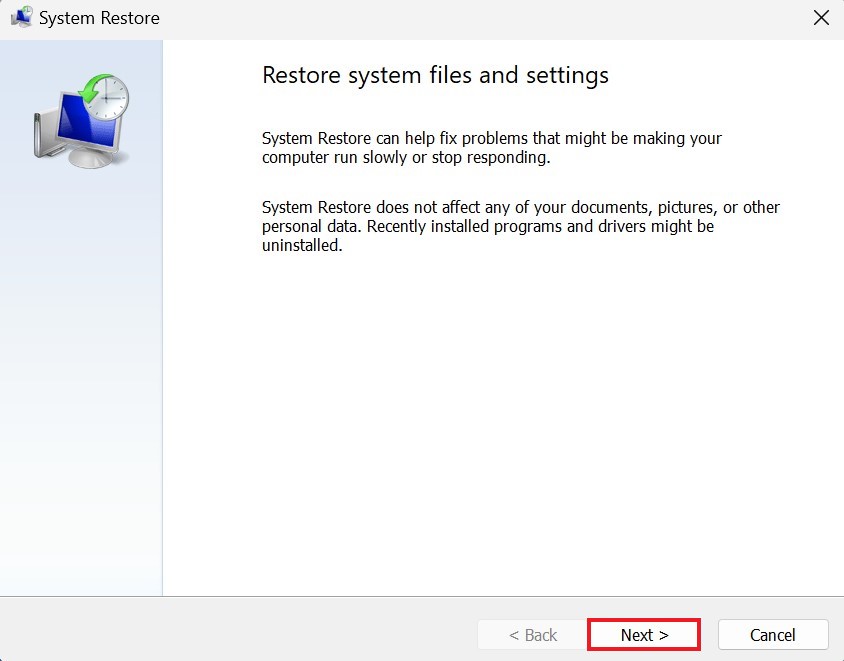
3. The System Restore wizard will open. Here, click Next to continue.
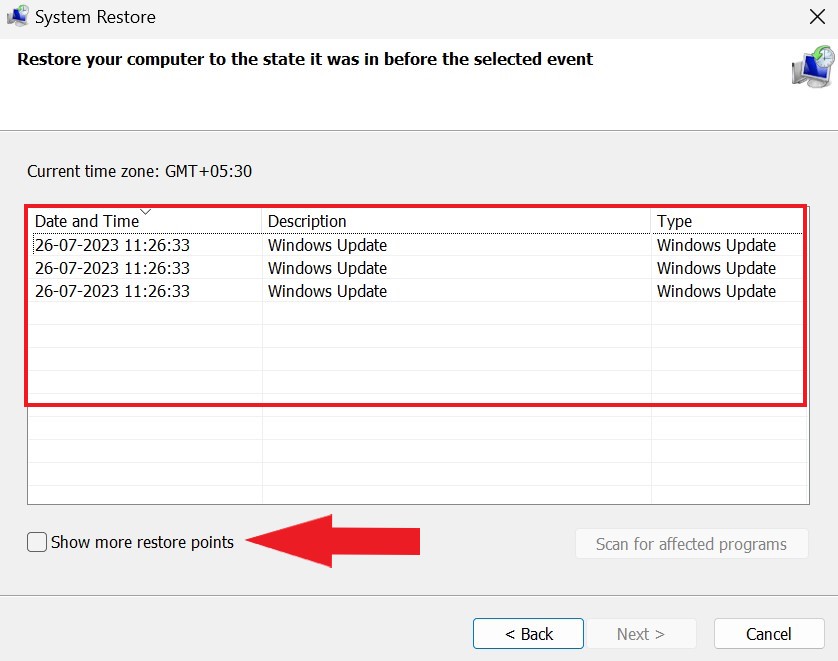
4. You will see a list of available restore points. Choose a restore point that was created when your brightness control was working correctly. If you don’t see a suitable restore point, check the Show More Restore Points box to view additional options.
5. After that, click Next when you are done selecting the restore point.
6. Click Finish to confirm your chosen restore point.

7. Before the System Restore begins, your computer will display a warning about potential data loss and changes that will be undone. Review the information, and if you’re ready to proceed, click Yes to start the restoration process.
8. Your computer will now restart and begin the System Restore process. It may take some time to complete, so be patient and let it finish.

Note
Performing a System Restore will undo any system changes made after the selected restore point, including software installations, updates, and settings changes. It’s suggested to back up any important files and data before proceeding with System Restore.
Conclusion
The brightness control not working issue on Windows 11 can be a frustrating problem for users. However, by following the solutions outlined in this guide, you can easily fix this issue and adjust the screen brightness according to your preferences. Updating display drivers, restoring corrupted system files, and using Command Prompt are all effective solutions to fix the brightness control issue on Windows 11.
It’s important to keep your device up-to-date and maintain it regularly to avoid any such issues. We hope this article has helped you resolve the brightness control issue on your Windows 11 PC. If you have any other suggestions or solutions, feel free to share them in the comments below.