The Netflix app for the Windows operating system is now officially available. Netflix, one of the best OTT platforms in the world, is accessible on a wide range of devices, including iPhones, iPads, and Android devices. It is a must-have app on any operating system.
Netflix for the Windows operating system can be downloaded via the Microsoft Store. Alternatively, you can also download and use it or install Netflix as a Progressive Web App (PWA) using the Edge browser or Google Chrome browser. In this article, we will discuss how to download and install the Netflix app on Windows 11.
How to Install Netflix App on Windows 11
If you have recently updated your system to Windows 11 and you want to have some of the best entertainment apps on your PC, then Netflix is one of them.
If you are wondering why you should install the Netflix app on Windows 11, then let me tell you that there are some features that only work on the Netflix app, such as the availability of the 5.1 audio channel, which is not available on the web version of Netflix.
Here are the steps to download and install Netflix on Windows 11. So, let’s get started:
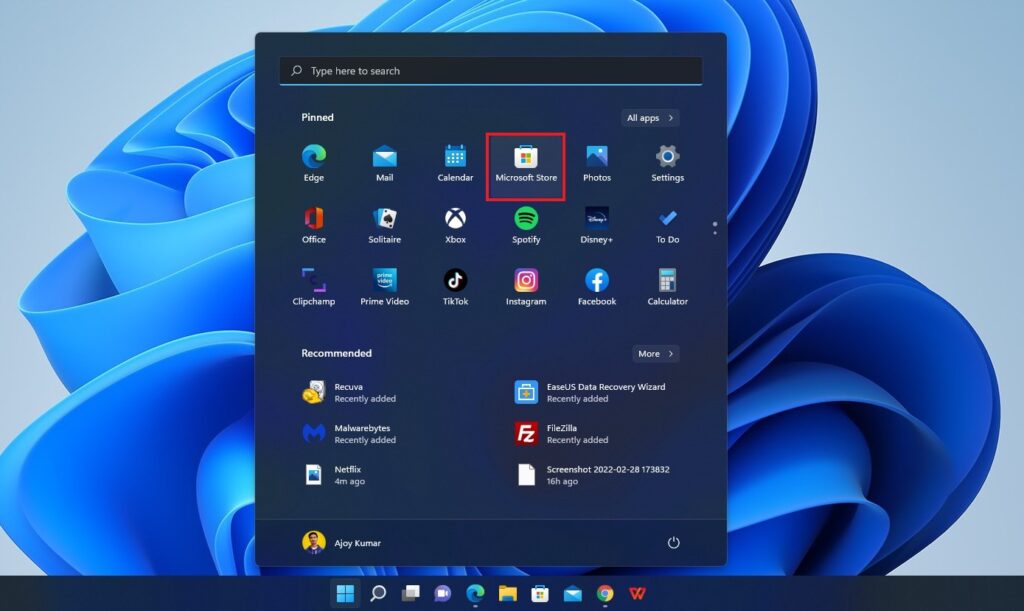
1. Search for the Microsoft Store on the search bar and open it. Or, On your Windows 11 PC, click the Microsoft Store icon on the taskbar to access the storefront.
2. Now on the search option, search for Netflix and press the Enter key.
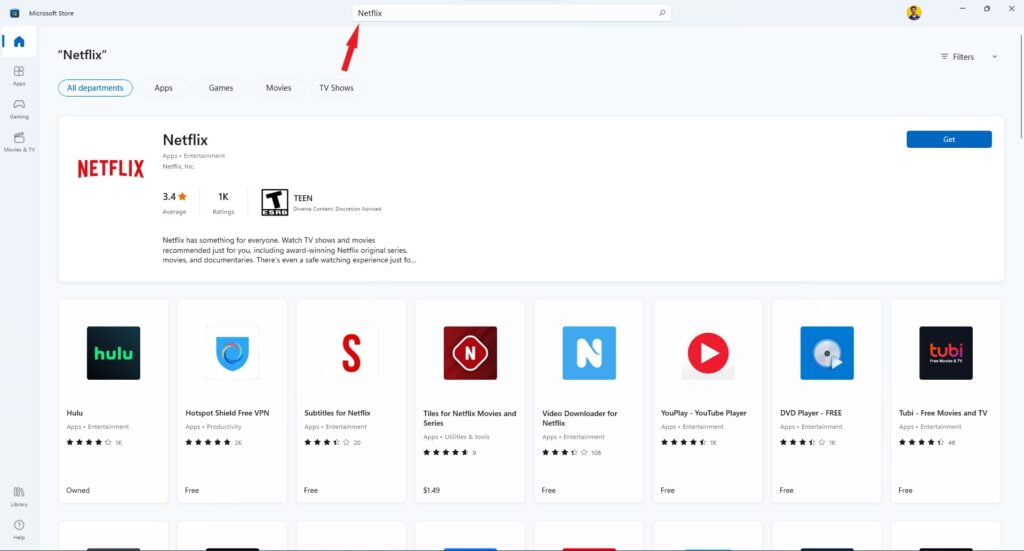
3. From the results, select the Netflix App.
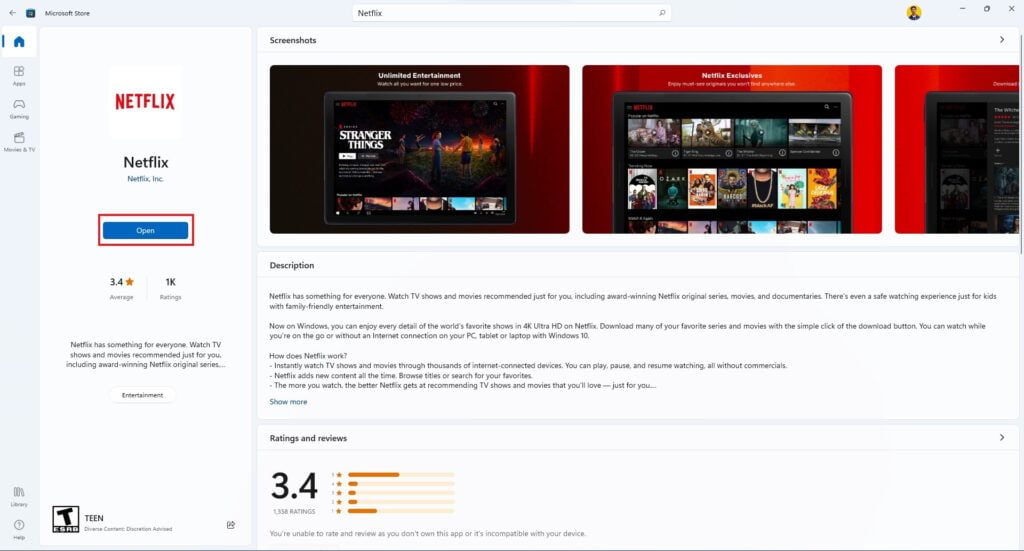
4. Now, to install it, click Get/Install and wait for the installation process to complete.

5. After the installation process is successfully completed, simply click on Open to launch the Netflix app. Or, you can search for the Netflix application on the search option.
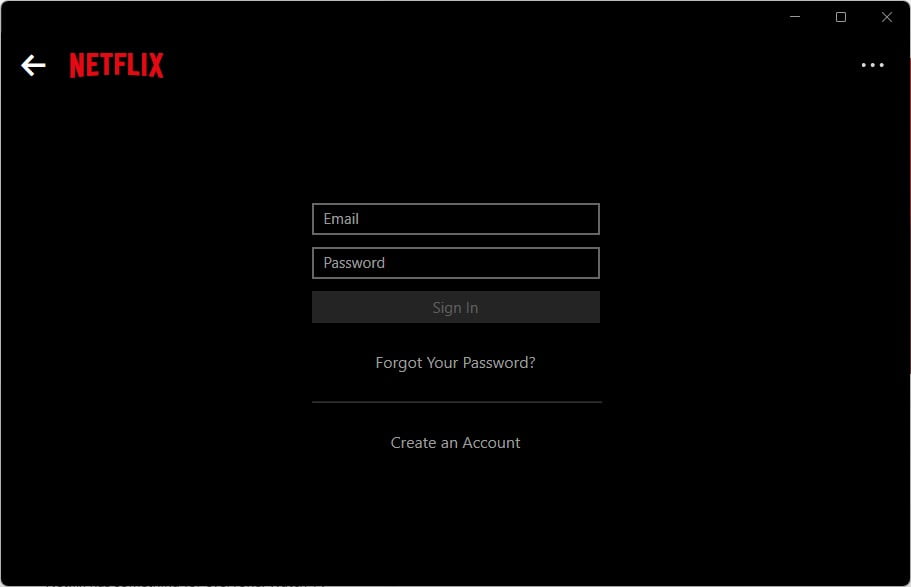
6. Now, log in to your Netflix account.
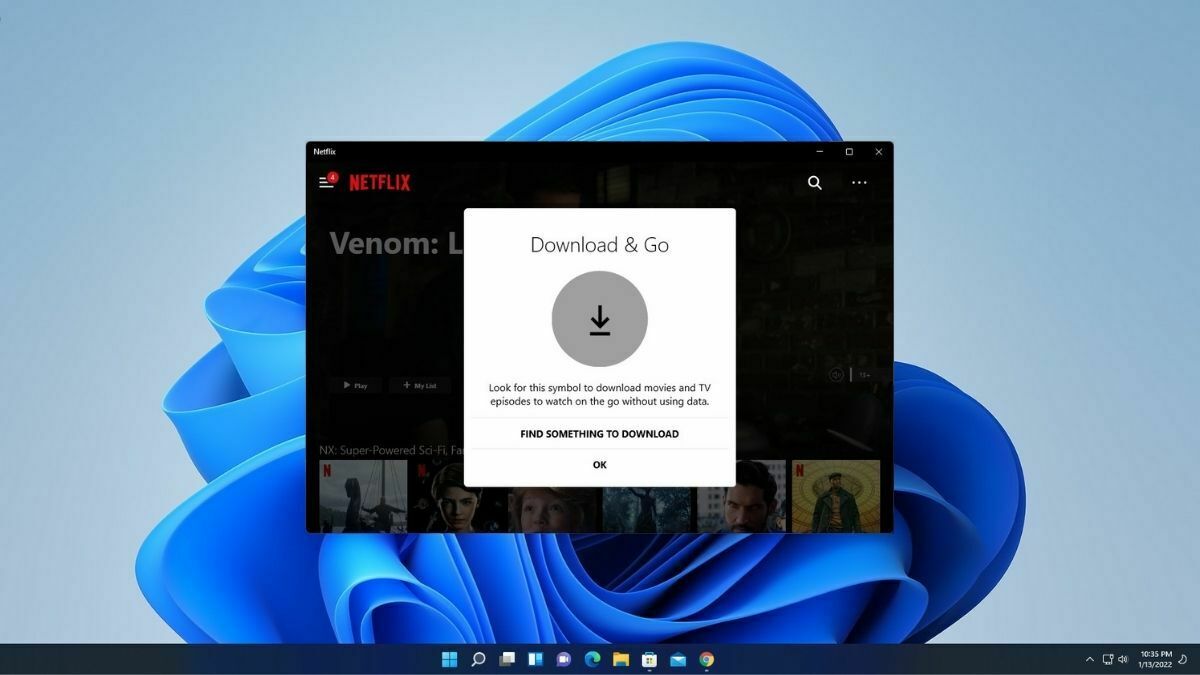
7. After that, you are ready to watch your favorite show on the Netflix Windows app.
Note
To use Netflix on a Windows operating system, you must have a Netflix plan that supports streaming on a computer.
How to Install Netflix as a PWA on Windows 11
Netflix app; can also be installed on Windows 11 as a Progressive Web App. You can use the app to stream videos on the desktop. It will work as a desktop app, but you will not get the native application feature like – downloading videos to watch offline.
Here is how you can install the Netflix progressive web app on Windows 11:
1. Open the new Chromium-based Microsoft Edge browser. If you are using the older version of the Edge browser, check our guide; to updating the Microsoft Edge browser.
2. After that, visit netflix.com to download the progressive web app.
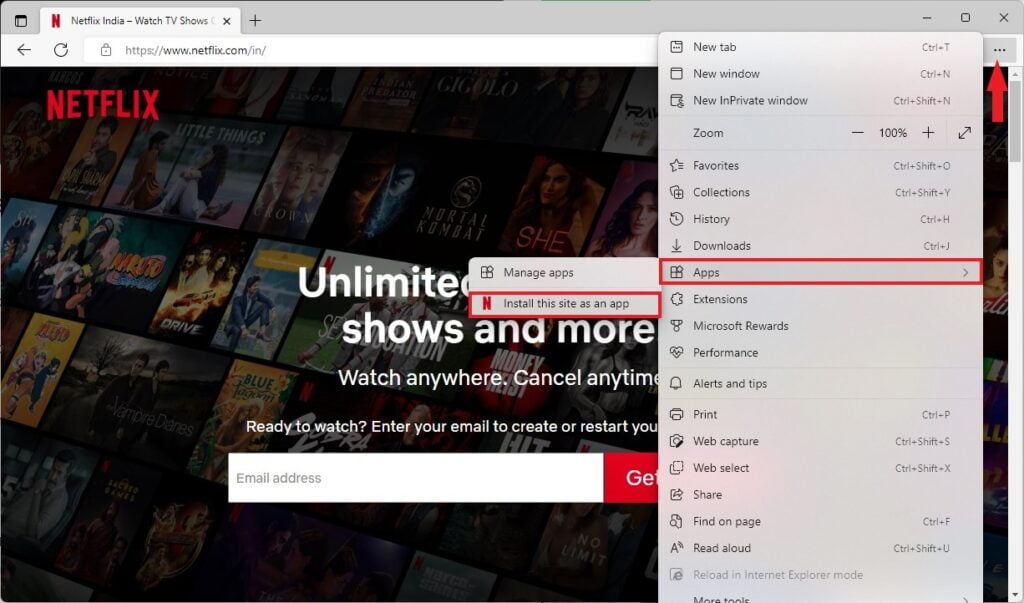
3. Click the menu icon (three dots) at the top right of the Edge browser.
4. Here, you will get an overlayer menu, click on the Apps option and select the Install this site as an app option.
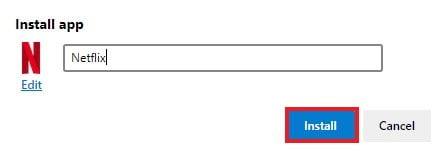
5. Now give a name to Netflix PWA and click on the Install button.
6. It will install the Netflix website as PWA on your Windows 11. Allows some permission to the app. After that, you are ready to use the app on your Windows system.
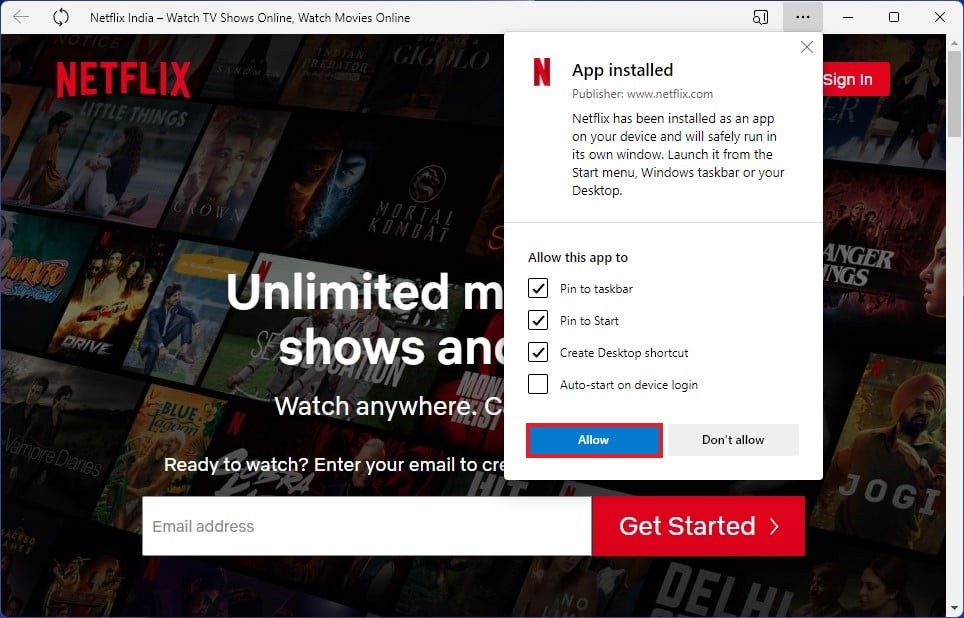
To open the app, you can search the app name on the Start Menu, or you will also find an entry for it in the All Apps list.
Conclusion
That’s it; this is how you can download and install the Netflix app on Windows 11. However, if you prefer to watch movies and shows on Amazon Prime, you can also check out our detailed guide on installing the Amazon Prime Video app on Windows 11. Both Netflix and Amazon Prime have a good collection of movies and shows.
We hope this article was helpful to you. However, if you’re facing issues like Netflix not working on Windows 11, then check out our detailed guide on how to fix Netflix not working on Windows 11. Here, we have explained the possible reasons for the issue and ways to fix it. Moreover, if you have any suggestions, do not hesitate to leave them in the comments section below.