Python is a versatile and popular programming language used for web development, data analysis, artificial intelligence, and more. If you’re a Windows 11 user and want to start coding in Python, you’re in the right place. This blog will guide you through the process of installing and setting up Python on your Windows 11 system.
Whether you’re a beginner or an experienced developer, this step-by-step guide will help you get Python up and running in no time, from installing Python to setting up PyGame and the PyCharm IDE for Python development.
How to Install Python on Windows 11
Before we start coding in Python, we need to install the Python interpreter. There are two different ways to install Python on Windows: using the official installer file and using the Microsoft Store. We’ll discuss both methods.
1. Using Official Installer
Python 3.11.3 is the newest major release of the Python programming language, and it contains many new features and optimizations. Python 3.11.3 has a lot of interesting new features and updates.
Now, to download and install Python, follow these steps:
1. Open any browser, search for Python, and visit python.org.
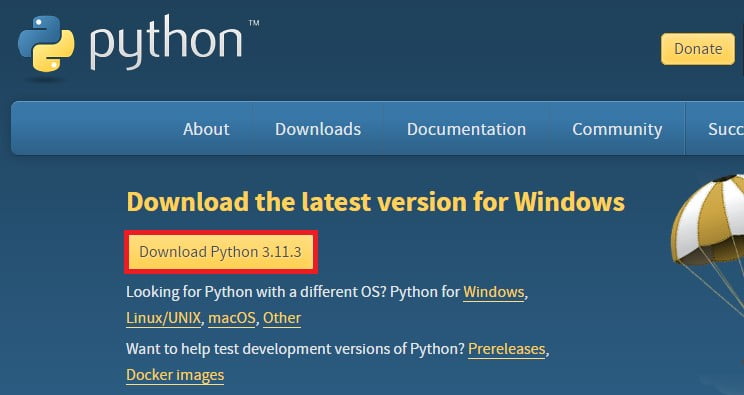
2. On the download page, click on the Downloads tab. This will take you to the download page for Windows. Here, click on Download Python 3.11.3 and wait for the download to complete.
3. After the download is complete. Open the installer file to install Python.
4. Now on the set-up window, you’ll find two installation options – Install Now and Customize Installation option. Here, click on the Customize Installation option, as we’re going to install Python with pip and IDLE.
Note
You can also go with the Install Now option for a simpler installation process. Before that, make sure to check the box called Add python.exe to PATH option.

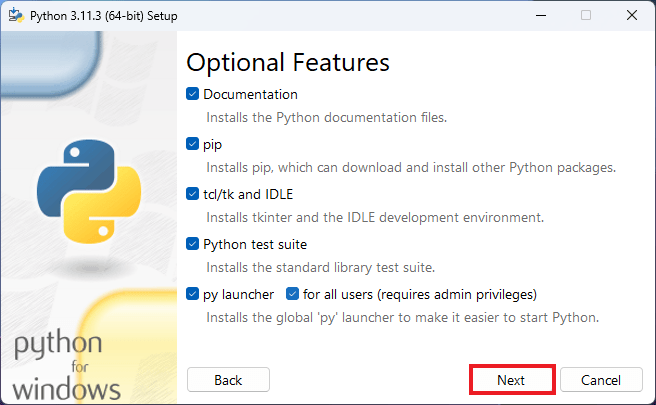
5. On the next window, select pip, tcl/tk and IDLE. pip helps you to download and install other Python packages and IDLE is the development environment for Python.
6. After that, click on Next.
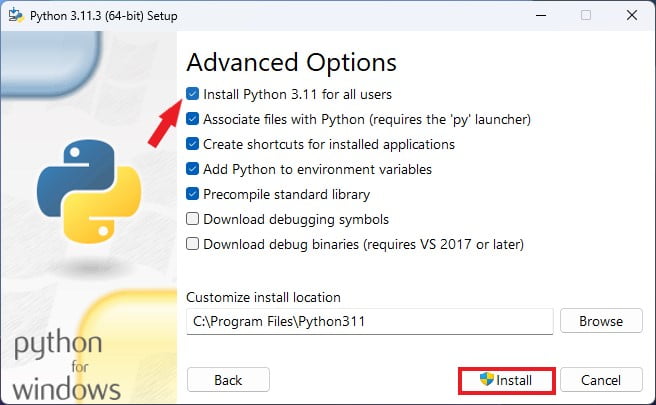
7. On the advanced options windows, select the Install Python 3.11 for all users option. This is helpful when you’ve multiple users on your Windows system.
8. Finally, click on the Install button to begin the installation process.
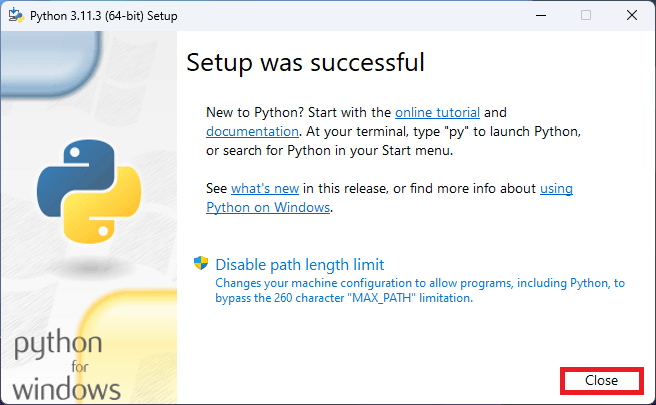
9. The installation will take some time, wait for the installation to complete.
10. Once done click on the Close button.
2. Using Microsoft Store
Windows also allows you to install Python using the Microsoft Store. For that, you can follow the below-mentioned steps:
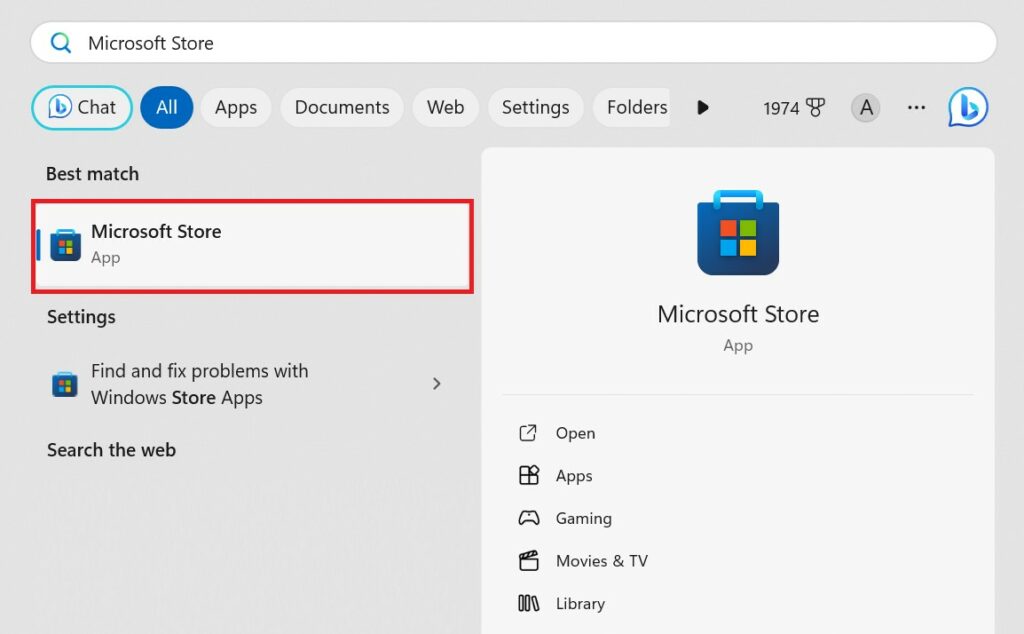
1. Click on the Start button, type Microsoft Store, and open it.
2. Type Python on the search bar and select the version of Python you want to install.
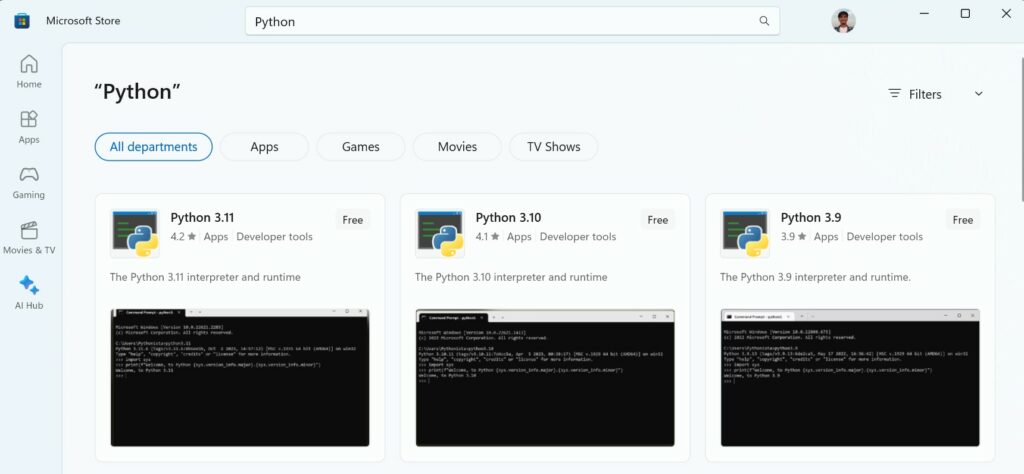
3. After that, click on the Get/Install button.

How to Add Python Path to Environment Variable
At the time of installing Python, if you’ve not selected the option to add the Python path to the environment variable, then you need to add the Python path to the environment variable that locates the installation location of Python on your system.
If you fail to add Python to the PATH on your Windows OS, you can’t run the Python interpreter. Here’s how to add the Python path to environment variables on Windows 11.
To do that, follow the following steps:
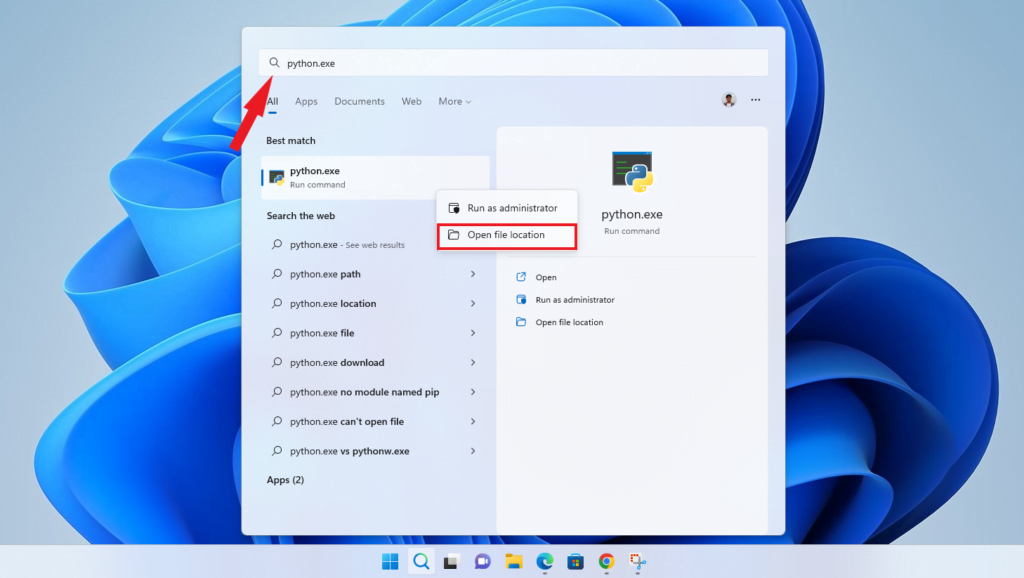
1. Click on the search option and search for python.exe. Right-click on it and select the open file location option.
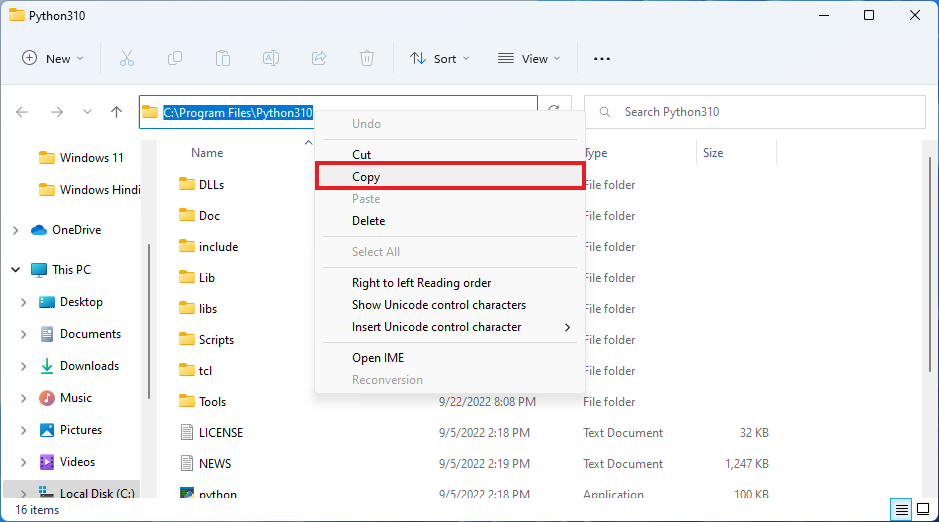
2. Copy the installation path of Python.
3. Then continue with the next steps below.
4. Open the Settings using the Window + I key.
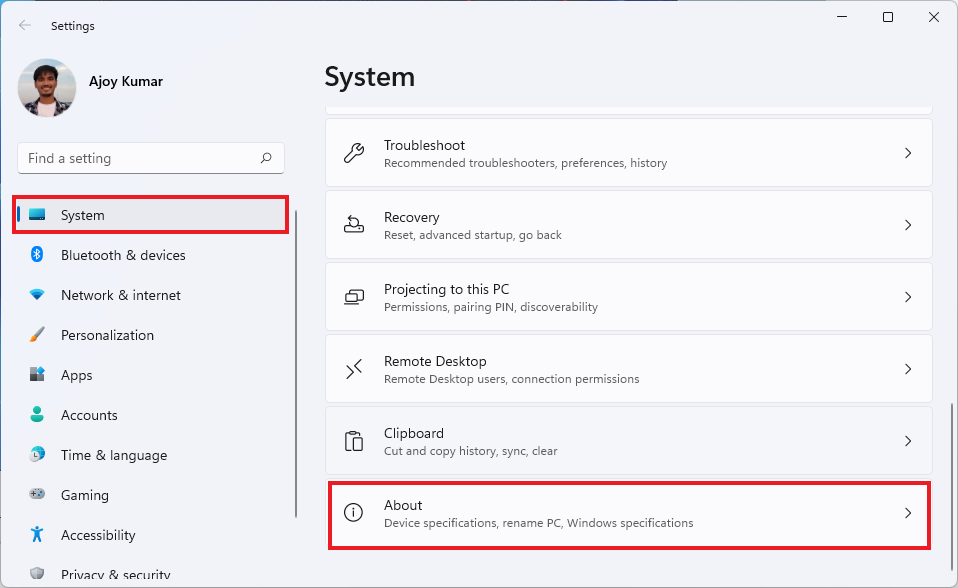
5. Click on the System tab from the left panel and click on the About option present to the right of your screen.
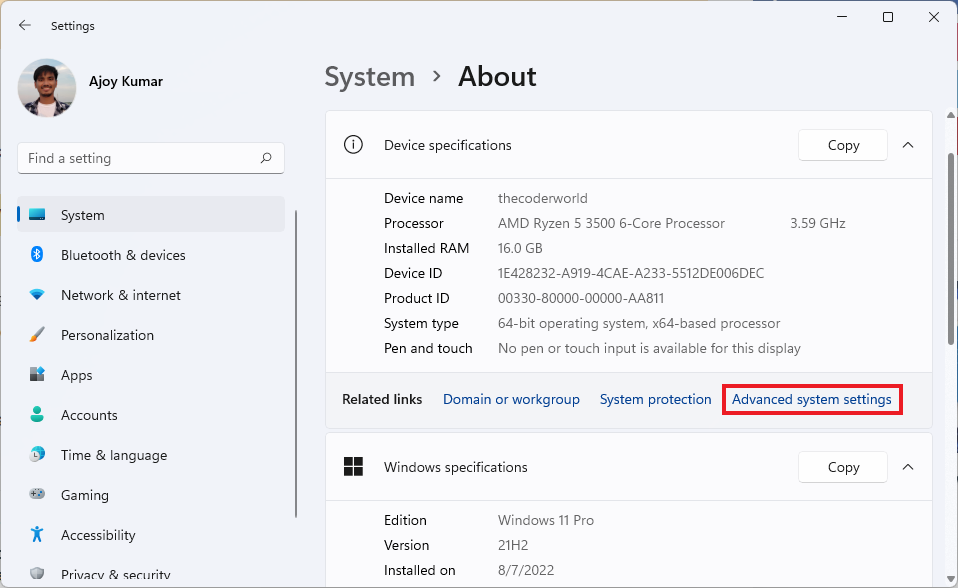
6. Now, click on the Advanced system settings option to access the System Properties.
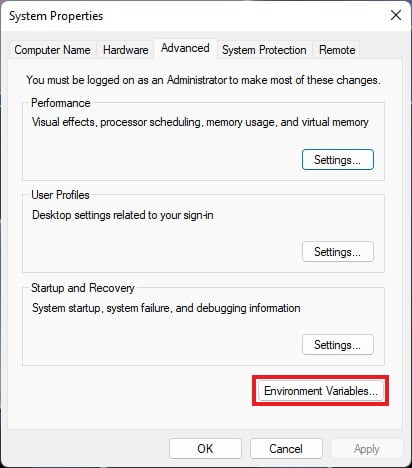
7. It will open the system properties window. Here, click on the Advanced tab and select the Environment Variables button.
8. Here, you’ll get two variable options. One is for user variables and another one is for system variables. Under the system variable section, select the Path variable and click on the Edit button.
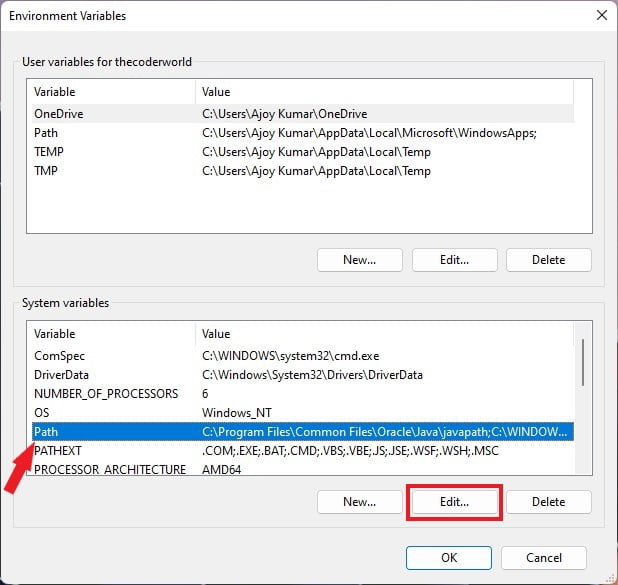
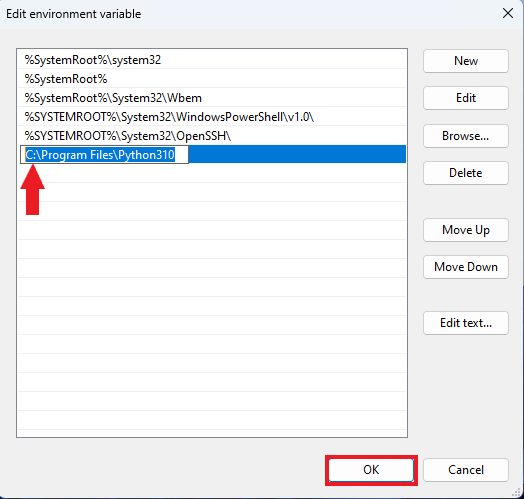
9. Now click on New and add the Python installation location.
10. After that, click on OK to save the changes.
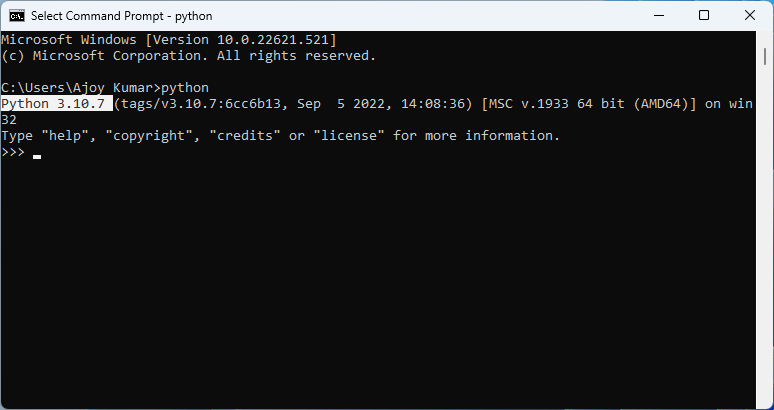
11. To verify, open the Command Prompt and type python, then press the [Enter] key. If the command returns the currently installed version of Python, it means that you’ve successfully added the Python path to the environment variables.
How to Install PyGame on Windows 11
After you’ve set up the Python installation, you can start Python programming. However, if you want to develop Python games on Windows 11, you need to install the Python PyGame libraries. PyGame is a Python library used for developing 2-D games. It is a user-friendly platform that helps build games quickly and easily.
PyGame includes computer graphics and sound libraries for the Python programming language.
Here are detailed steps to install and set up PyGame on Windows 11:
1. Open Command Prompt and type the following command:
python --version
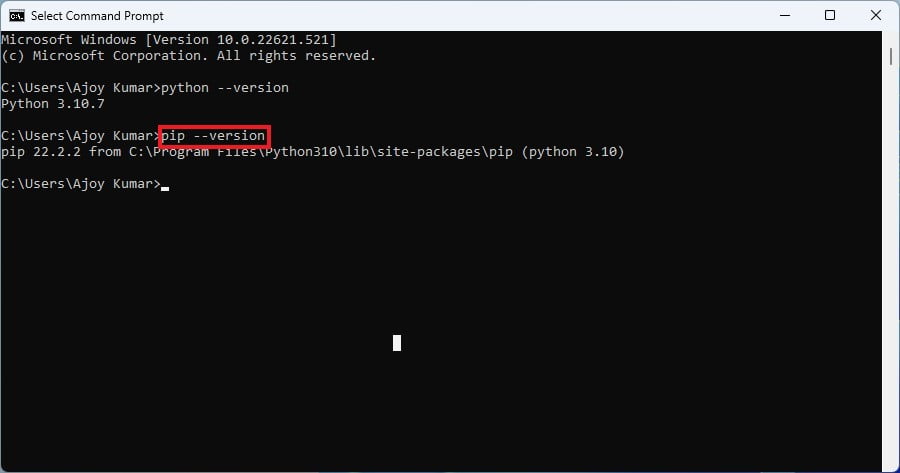
2. After that, you need to check whether pip is installed or not, along with your Python installation. PIP is automatically installed with Python. To check, run this command:
pip --version
3. If the command returns the currently installed version of pip, it means; you’ve pip installed on your device.
Note
PIP is a package manager for Python packages. It allows you to download and install other Python packages.
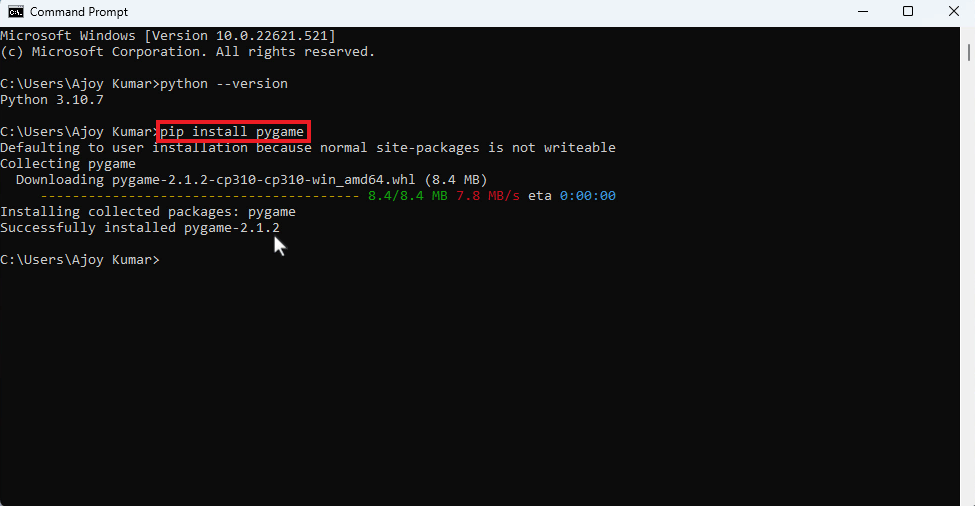
4. After you’ve confirmed Python and pip installation. Run the following command on the command prompt to install PyGame on Windows 11.
pip install pygame
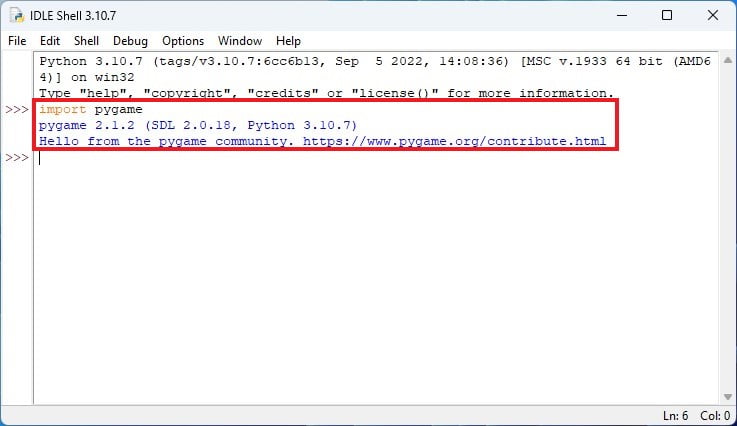
5. Now check whether PyGame is Working or not. Open Python IDLE Shell and import the PyGame library. For that, run the following command on Python IDLE Shell:
import pygame
6. If it returns the Pygame version installed on your system, then you can be sure that it is installed on your system.
With Pygame successfully installed on your Windows 11 system, you’re ready to start creating games. You can use your preferred code editor or integrated development environment (IDE) to write your Pygame code. While you can use the IDLE Shell for Python programming, using IDEs like PyCharm is also a great choice.
How to Do Python Programming on Windows 11
IDLE is the default IDE that comes with Python, and you can use it for basic Python programming. However, you may want to use a dedicated integrated development environment for more complex Python programs. PyCharm is one of the most popular IDEs (Integrated Development Environments) for developing Python programs, making it an excellent choice for Python programming on Windows 11.
Here’s how you can install PyCharm IDE and create your first Python program:
1. Install PyCharm IDE
To install PyCharm IDE on Windows 11, follow these simple steps.
1. Open any browser and visit jetbrains.com to download PyCharm IDE for the Windows operating system.
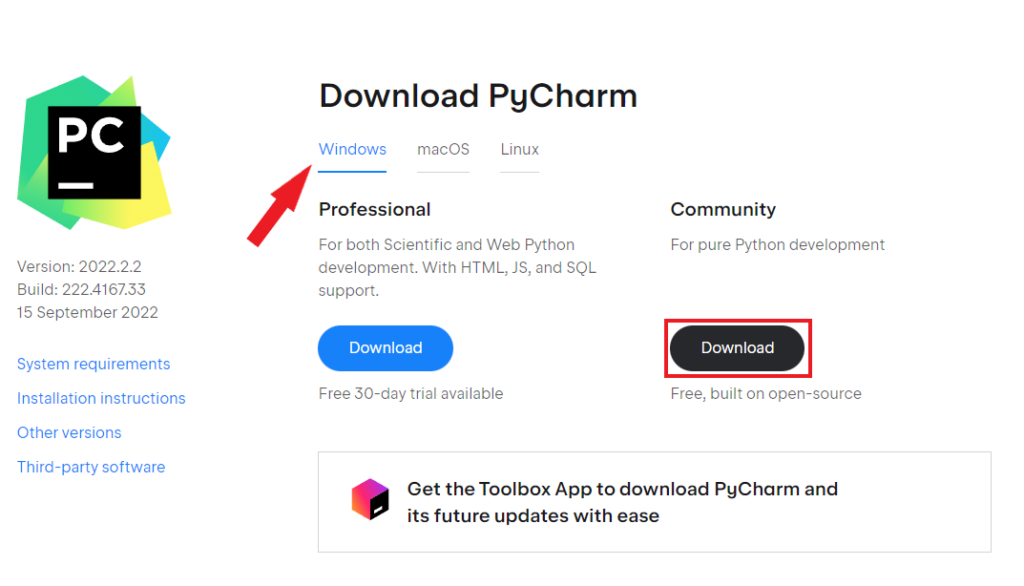
2. Select your operating system as Windows and download the Community version of PyCharm IDE.
Note
There are two versions of PyCharm IDE – Professional and Community. The professional version is paid and used for both Scientific and Web Python development. With HTML, JS, and SQL support. But for Python development, the Community version is best.
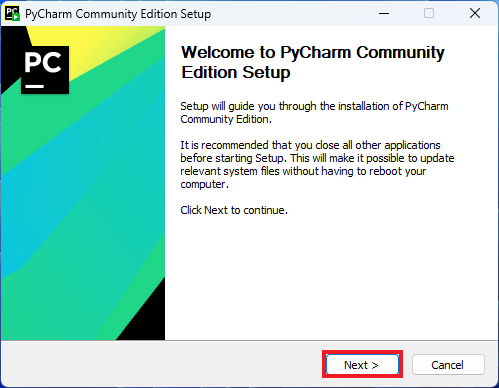
3. Once the download process is complete. Open the installer file and click the Next button to continue the installation process.
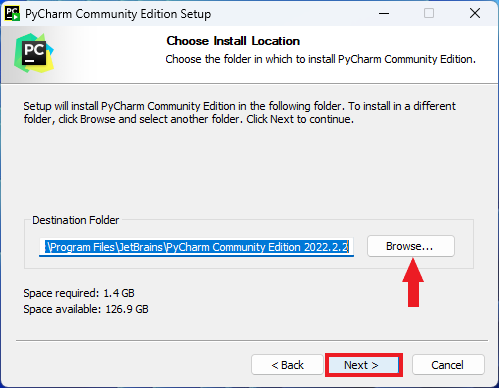
4. Select the installation location where you want to install PyCharm IDE. For that, click the Browse button and select the location. If you want to go with the default location, click Next to continue.
5. Here, you’ll find some additional options. If you want to create a desktop shortcut, check the box and click on Next to continue.
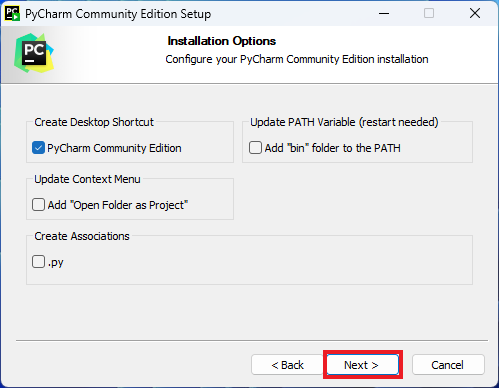
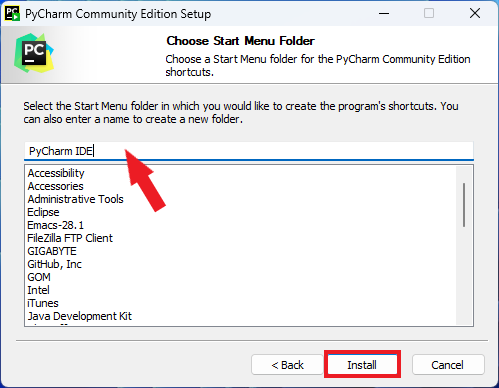
6. Select the start menu folder in which the PyCharm IDE shortcut will be created.
7. After that, click on the Install button to install the PyCharm IDE.
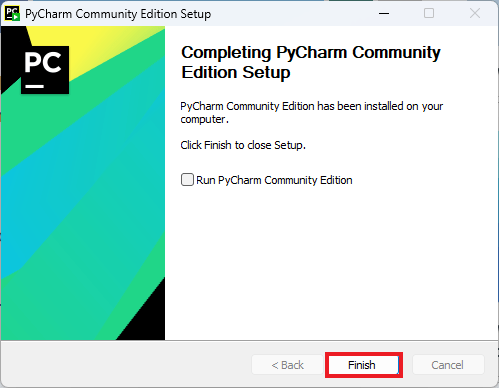
8. Now, wait for the installation process to complete. Once PyCharm IDE is installed, click on the Finish button and you’re ready to develop Python programs on your Windows device.
2. Create a Python Project in PyCharm
We had successfully set up PyCharm IDE on Windows 11. Now let’s learn how to create a Python project in PyCharm IDE. For that, follow the below steps:
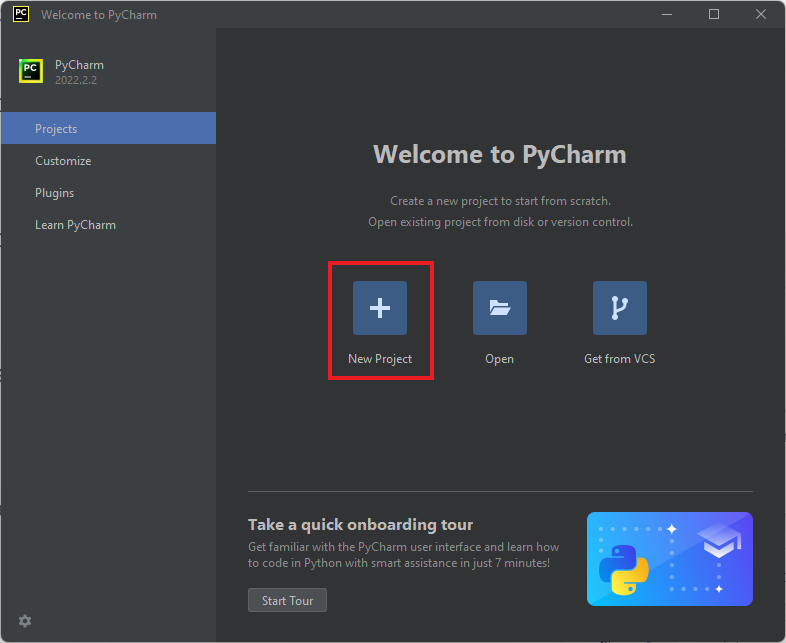
1. Open PyCharm IDE and accept the JetBrains Privacy Policy and the Data Sharing.
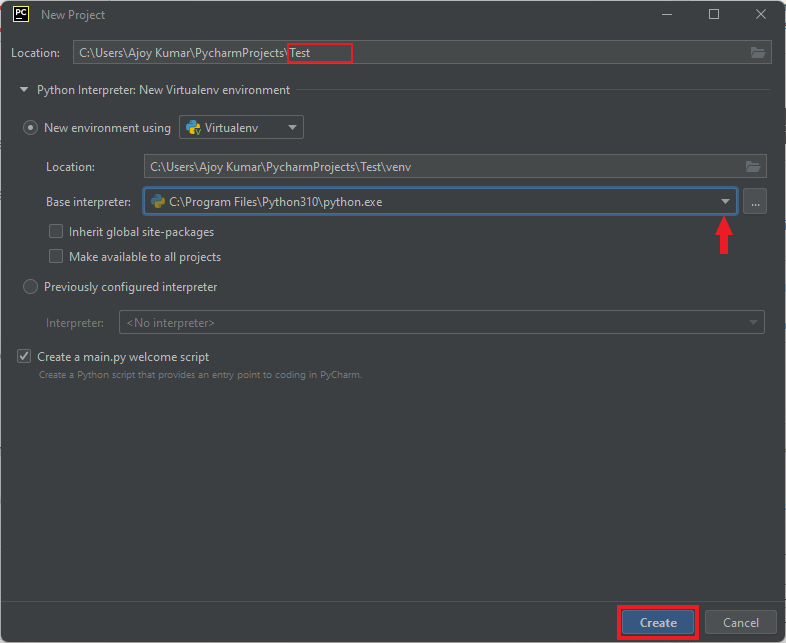
2. Click on the New Project button to create a Python project.
3. Next give a name to the project and select the Python installation location from the Base Interperter drop-down menu.
4. After that, click on the Create button to create the project.
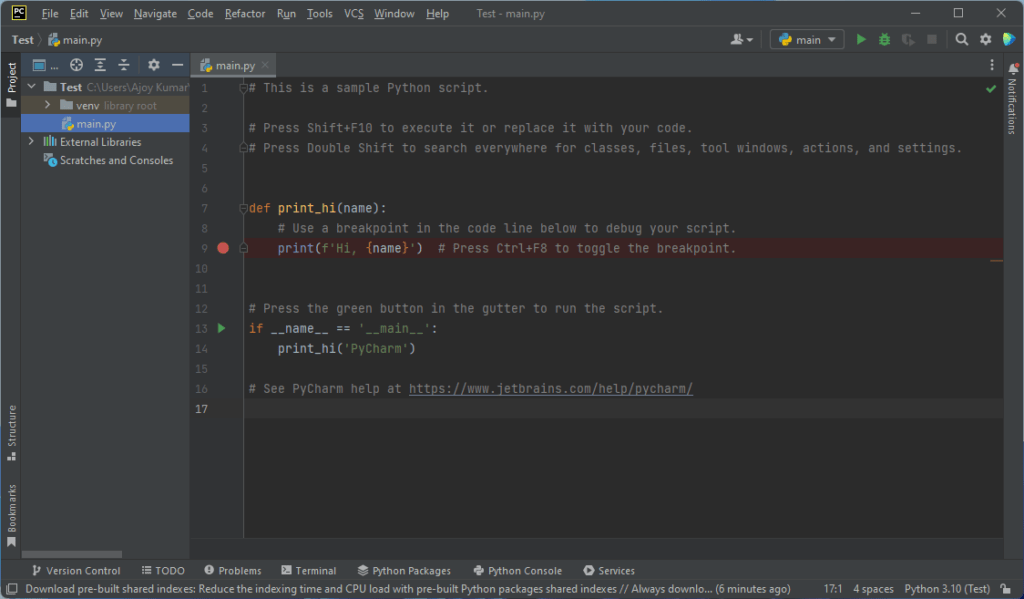
5. Once the project is created, you can start developing your Python program.
Conclusion
Python programming on Windows 11 is a straightforward process. By installing Python, selecting a development environment, and commencing to write and execute Python code, you can initiate your journey as a Python programmer. Whether you’re striving for a career in software development or simply delving into coding as a hobby, Python provides a robust and user-friendly platform for learning and creating. You can explore PyCharm tutorials to enhance your Python programming skills.
We hope you find this article helpful. If you’ve any more questions regarding the installation process, please don’t hesitate to leave them in the comments section below.