Recently, Microsoft released an AI assistant called Copilot with the Windows 11 23H2 update, which integrates with Bing AI and ChatGPT. Although it’s a newly released AI feature, many Windows users don’t know how to enable and use it on their computers.
If you’re one of them, worry not. In this guide, we’ll show you how you can enable and use Copilot on Windows 11. So, without any further ado, let’s get started.
What is Microsoft Copilot?
Microsoft Copilot is a new feature in the Windows 11 operating system that utilizes AI to assist you with your tasks. Copilot is integrated with various Windows settings, including Photos, Outlook, and Paint. You can interact with Copilot through text commands, and it provides simple, step-by-step answers to your queries.
With Copilot, you can customize your settings, summarize web content, troubleshoot problems, create images, and more. This feature was recently released by Microsoft, and it enhances user productivity and creativity.
How to Enable Microsoft Copilot in Windows 11
Before moving on, it’s important to make sure that you’re using Windows 23H2 on your computer. Copilot is not available on the previous Windows version, so you can’t access it anymore until you update your Windows to the latest version.
Once you’ve updated your Windows operating system, you can easily get it on the taskbar. In case the Copilot isn’t available on the taskbar, follow the mentioned methods to enable it.
1. Using the Windows Settings App
If you have already received the Windows 11 23H2 update and installed it on your computer but can’t find Copilot in the taskbar or in the Microsoft Edge browser, then follow these steps:
1. Press the Windows + I keys to launch Settings.
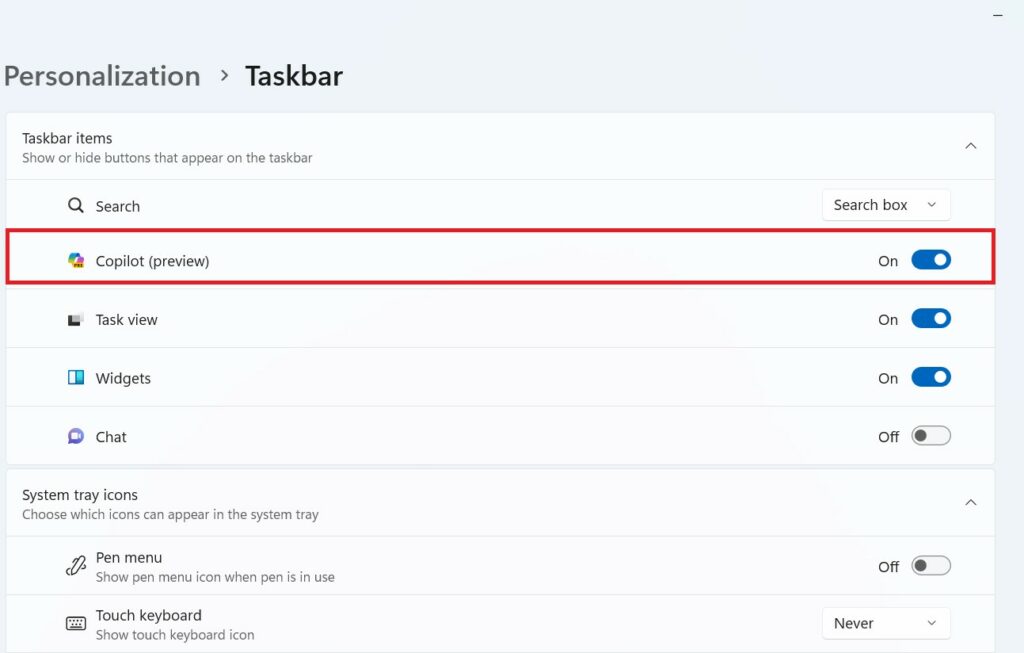
2. Click on the Personalization tab on the left pane.
3. Then, click on the Taskbar option on the right side.
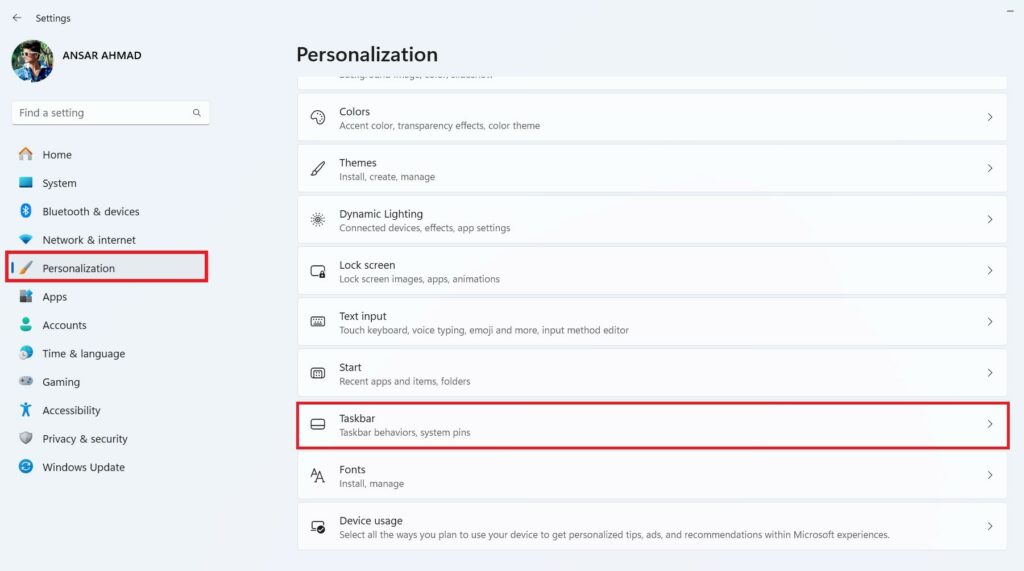
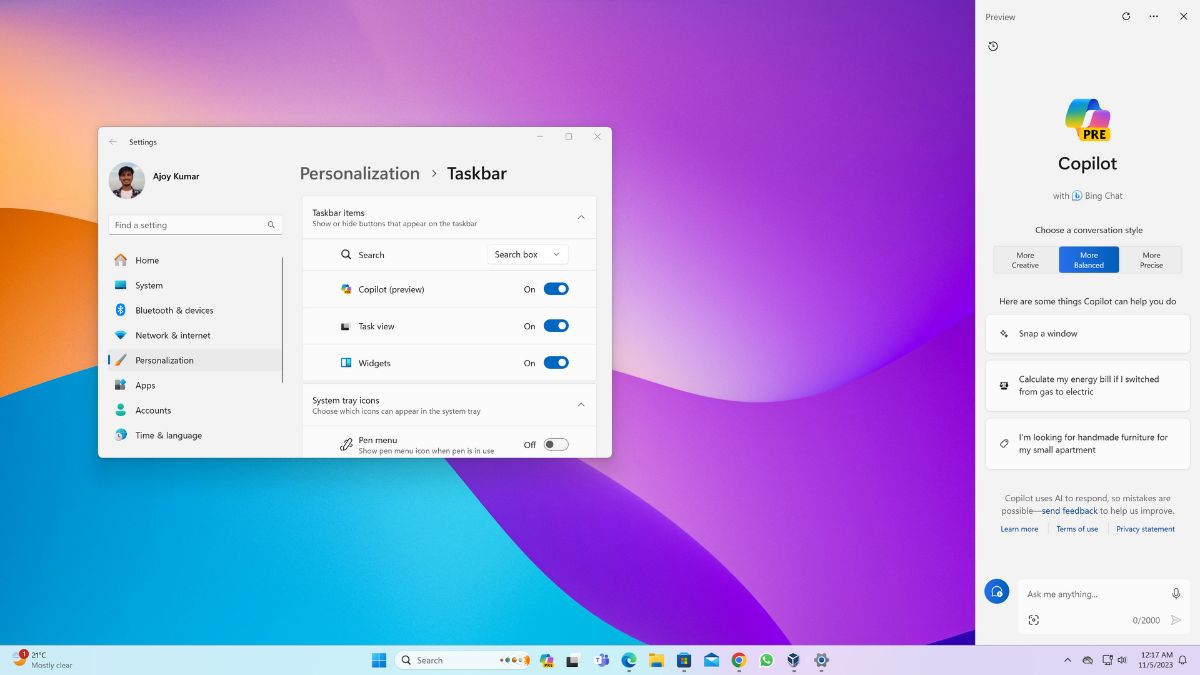
4. Here, you’ll get taskbar-related settings options. Now, to enable the Copilot (Preview), click on the toggle next to it.
Once you’ve enabled this option, you’ll get the Copilot option in the taskbar. From the taskbar, you can directly access it.
2. Using the Registry Editor
Another best way to enable the Copilot on your Windows 11 computer is by using the registry editor. The Registry Editor serves as a critical database that provides various configurations; users can easily make the changes according to their preferences.
Here are the steps to enable Copilot using the Registry Editor:
1. On the taskbar, click the Windows Search.
2. In the search bar, type Registry Editor and click Open.
3. A User Account Control menu will prompt, click Yes to launch the Registry Editor.
4. Navigate to the following path in the Registry Editor:
Computer\HKEY_CURRENT_USER\Software\Microsoft\Windows\CurrentVersion\Explorer\Advanced
5. Here, double-click on the ShowCopilotButton.
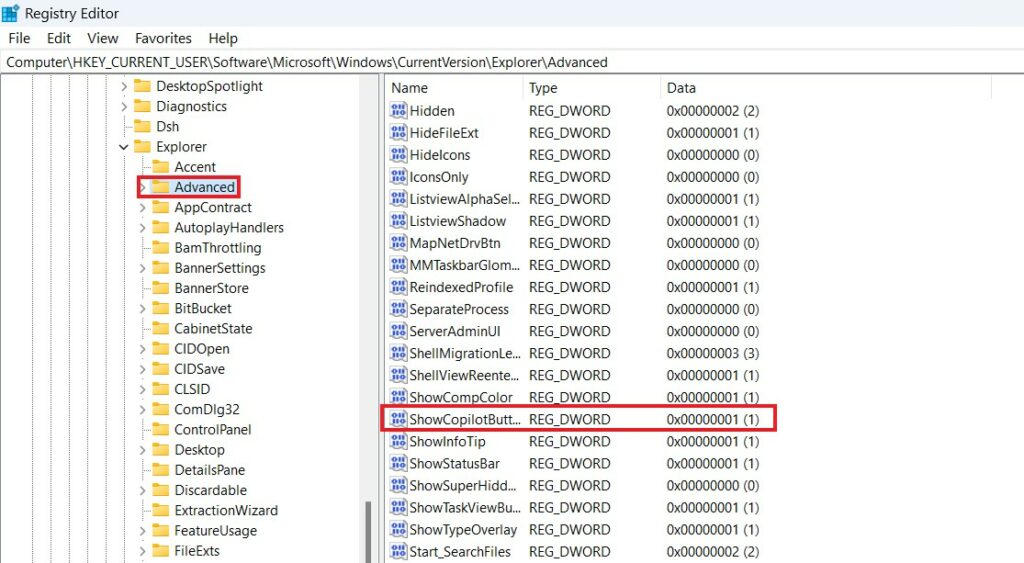
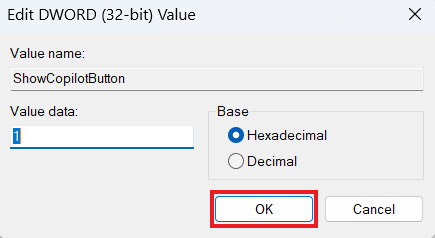
6. Set the ShowCopilotButton Value Data to 1.
7. Then, click on the OK button to apply the changes. After that, restart your computer.
Once you set the Value Data to 1, you will see the Copilot in the taskbar at the bottom of the screen. But if you want to disable it, revert the ShowCopilotButton value data to 0.
3. Using the Group Policy Editor
If you are using Windows Pro Edition, you can also enable Copilot on your Windows 11 computer by using the Local Group Policy Editor (LGPE).
Here are the steps to enable Copilot using the Local Group Policy Editor:
1. Press the Windows + R keys to open Run.
2. Type gpedit.msc and hit OK.
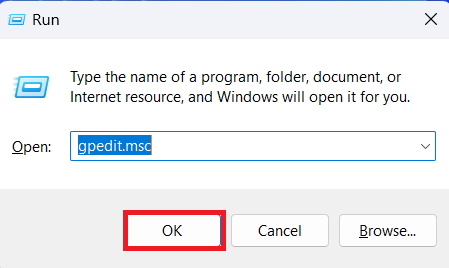
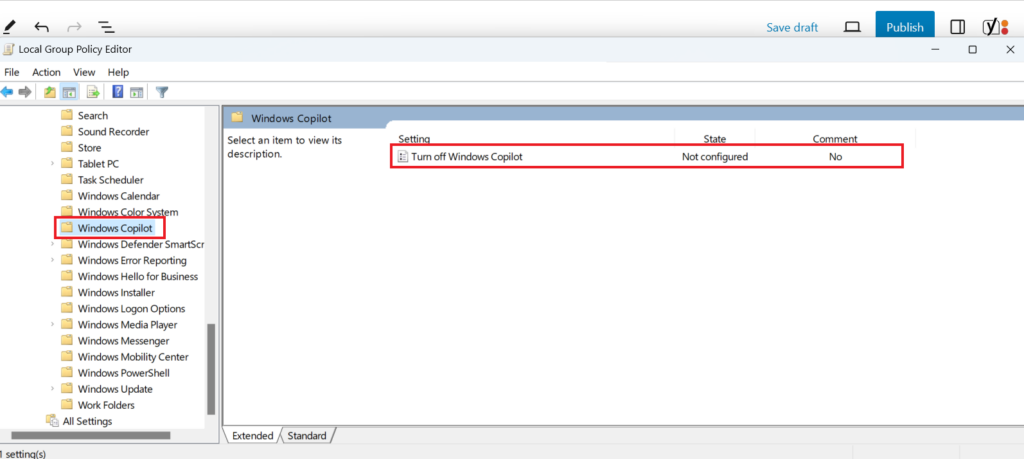
3. It will open the Group Policy Editor. Here, navigate to User Configuration > Administrative Templates > Windows Components > Windows Copilot.
4. Double-click on the Turn off Windows Copilot policy on the right side.
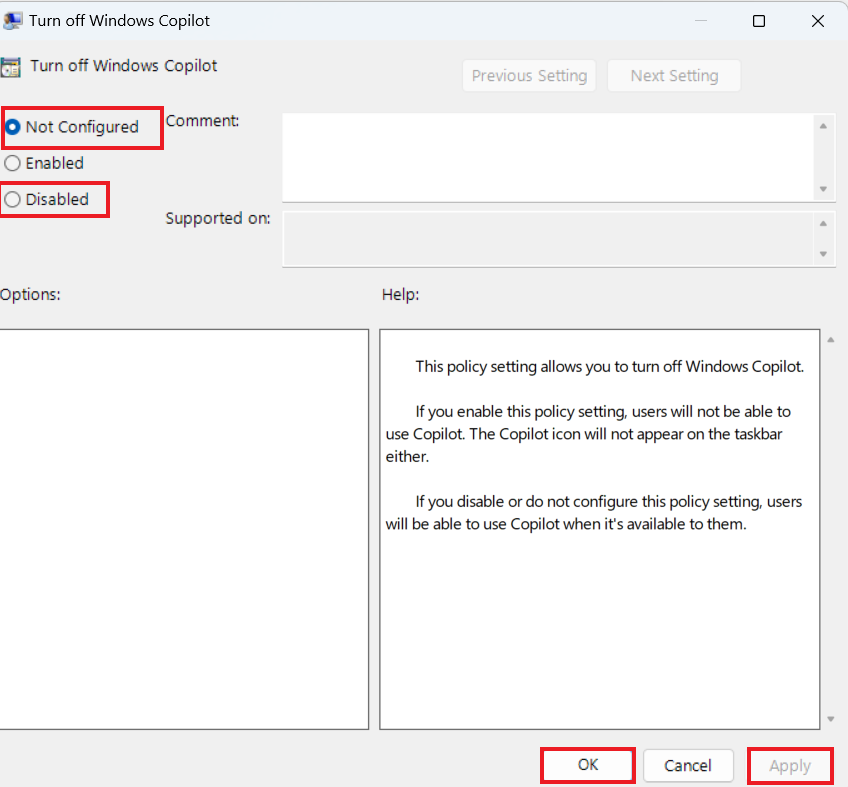
5. Click on the Not Configured or Disabled option.
6. Click Apply and OK button to apply changes.
7. After that, restart your Windows system and you’ll notice that the Copilot appears in the taskbar.
How to Use Microsoft Copilot in Windows 11
Once you enable the Copilot feature on your Windows 11 computer, you can easily use it without any hassle. Accessing Copilot on Windows 11 is quite simple.
Here’s how you can use Microsoft Copilot in Windows 11:
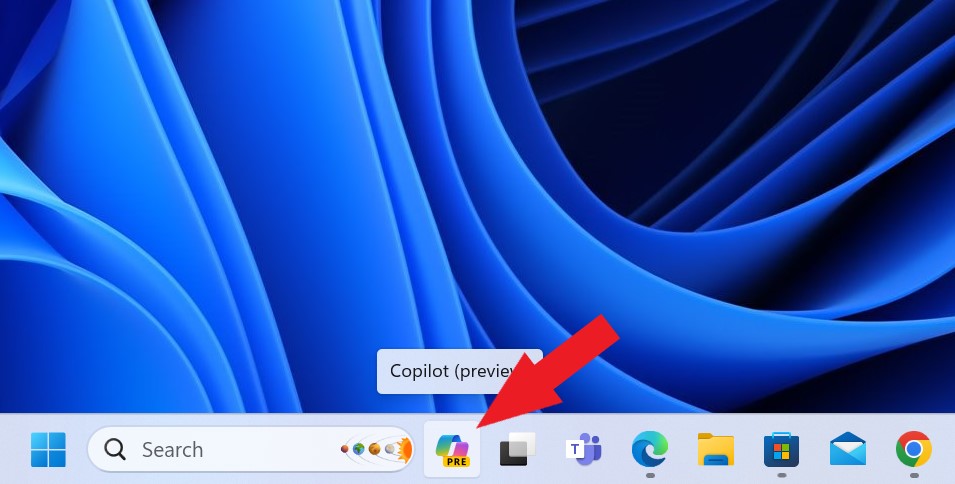
1. Click on the Copilot icon in the taskbar to launch it on your Windows 11. Alternatively, you can also launch Copilot by pressing the Windows + C keys together on the keyboard.
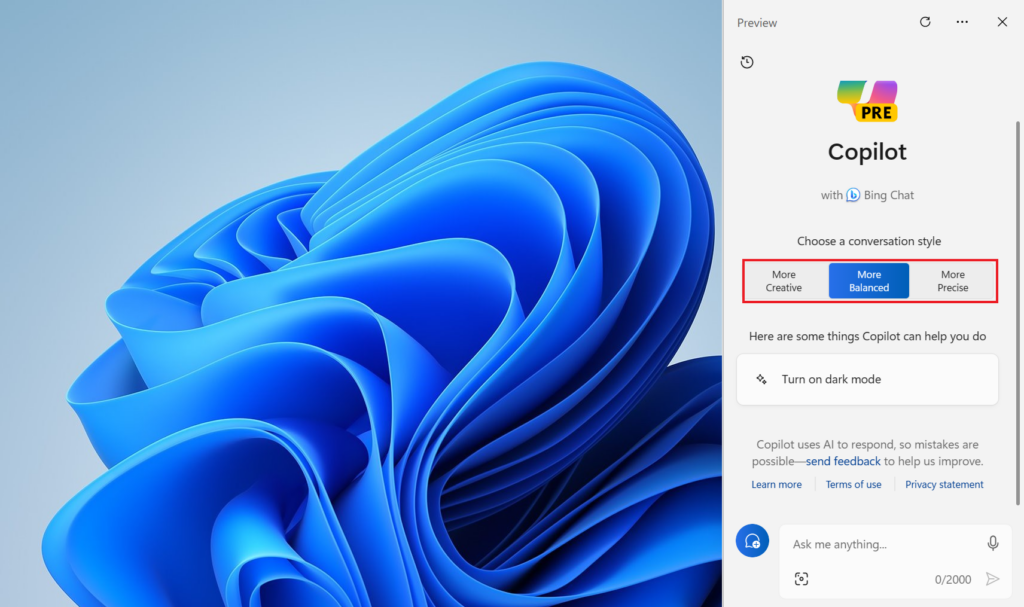
2. Once launched, Copilot will show you three conversation modes to choose from:
- More Creative: This mode allows Copilot to generate imaginative and innovative content such as essays, songs, celebrity parodies, and more. This mode is especially for those who want to have some fun or get inspired.
- More Balanced: This is the default Copilot mode, suitable for most general queries and tasks.
- More Precise: This mode makes the Copilot feature focus on objective information. The Precise mode is mainly useful for users who want accurate and reliable answers to their questions.
3. Select the Copilot options that best suit your preferences.
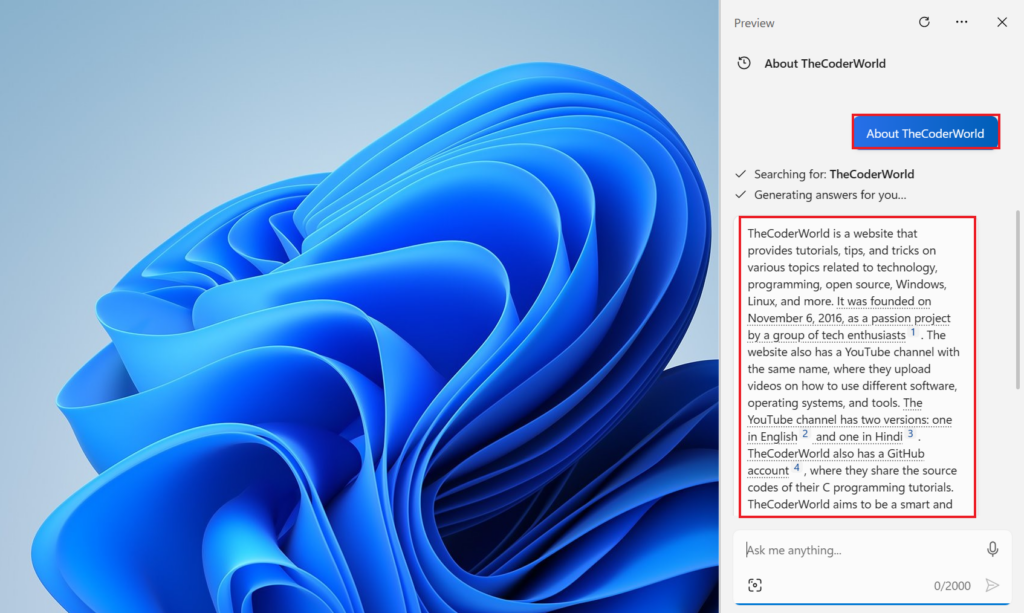
4. Once you select the modes, you can start asking your questions, and Copilot will provide accurate results.
5. Here, you can see that this is how Copilot will respond to your given prompt.
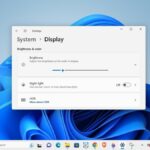
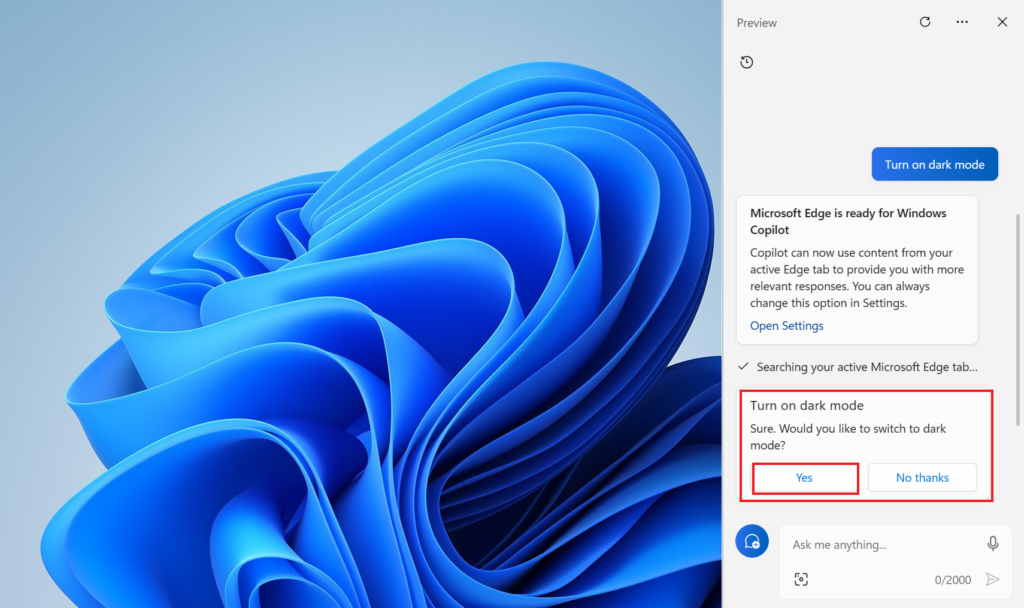
6. Besides this, you can also use Copilot to customize the Windows settings. For example, if I want to turn on dark mode on my device, I will give it the command – ‘Turn on dark mode.’
7. After that, it will ask you for confirmation. Click Yes to confirm turning on dark mode, or you can click on the No thanks option.
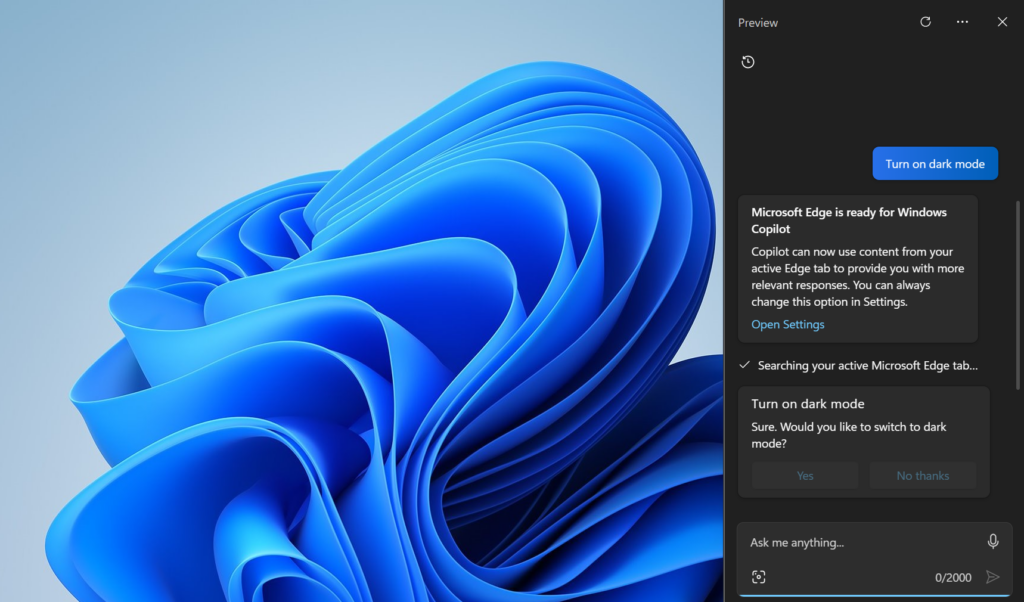
8. Now, the Copilot will automatically turn on the dark mode for you on your device.
Therefore, this is how you can easily use Copilot on your Windows 11 by choosing any of the conversation modes. Depending on the questions or modes, Copilot will provide answers that integrate with Bing AI and ChatGPT.
Conclusion
That’s it. That’s how you can easily enable and use Copilot on your Windows 11 computer. However, Copilot is a newly released tool, and it will take some time to enhance the entire user experience and to function seamlessly. With time, updates and improvements will be made to optimize its performance, making it even more efficient and user-friendly.