Dolby Atmos is a cutting-edge audio technology that takes your listening experience to a new level with its immersive and three-dimensional sound. So, if you want to experience a theater-like sound on your Windows 11 system, you can use Dolby Atmos.
For that, you have to install Dolby Access, which will allow you to enable the Dolby Atmos feature on your headphones, home theater, and external speakers. Here’s a step-by-step guide on installing and setting up Dolby Atmos on Windows 11.
What is Dolby Atmos?
Dolby Atmos is an advanced sound technology surpassing traditional surround sound capabilities. It recreates a three-dimensional or spatial sound experience, making it feel as if you are in a realistic environment. The sound comes from all directions, creating a more engaging and immersive experience.
To experience this incredible surround sound technology, all you need to do is install it on your system and witness the magic yourself.
How to Install Dolby Atmos on Windows 11
You can easily download and install it from the Microsoft Store. For that, follow these steps:
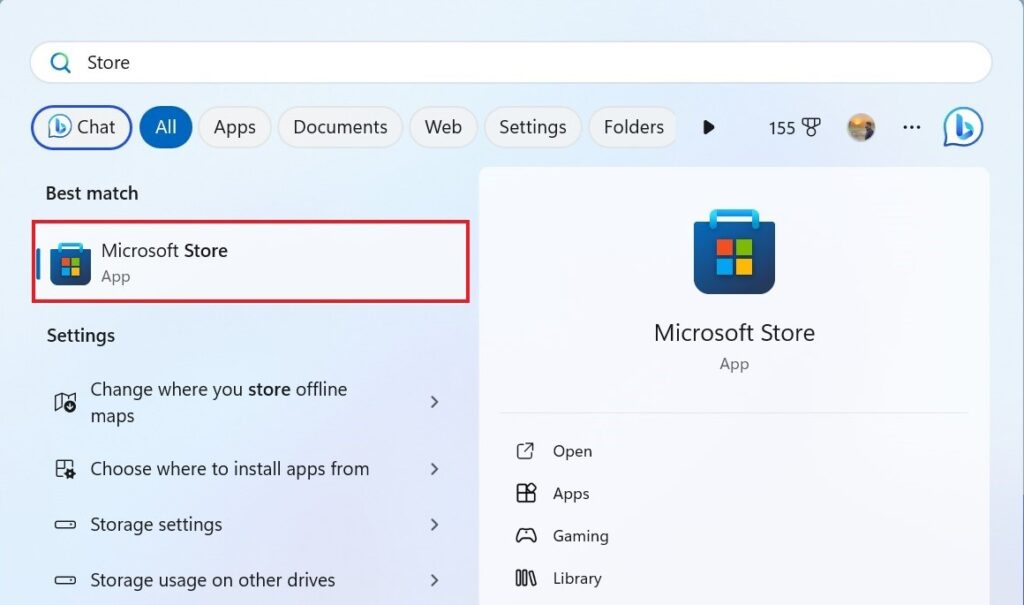
1. Click on the Start Button, type Microsoft Store in the Search bar, and select it to open the Microsoft Store.
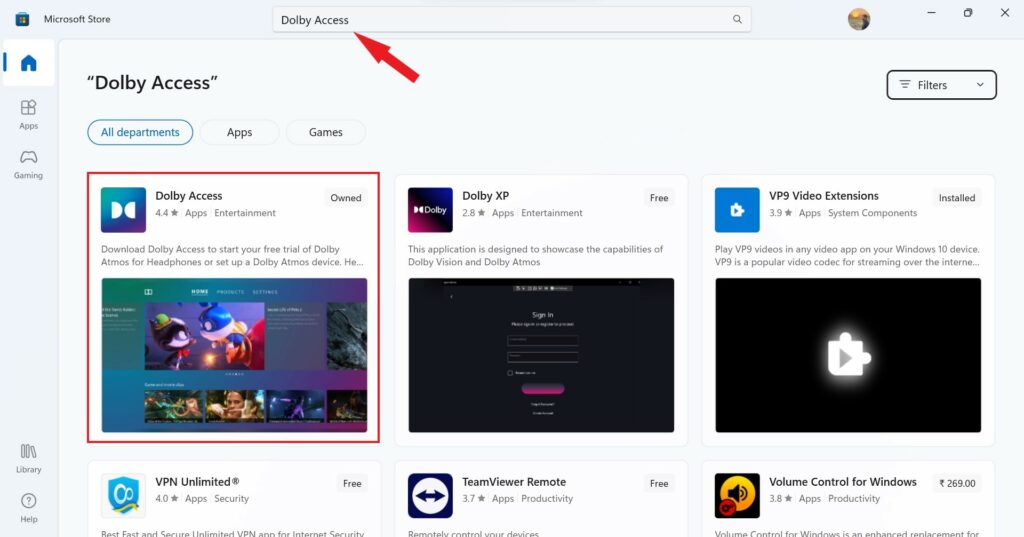
2. In the search bar of the Microsoft Store, type Dolby Access and press Enter.
3. Select the Dolby Access app from the search results.
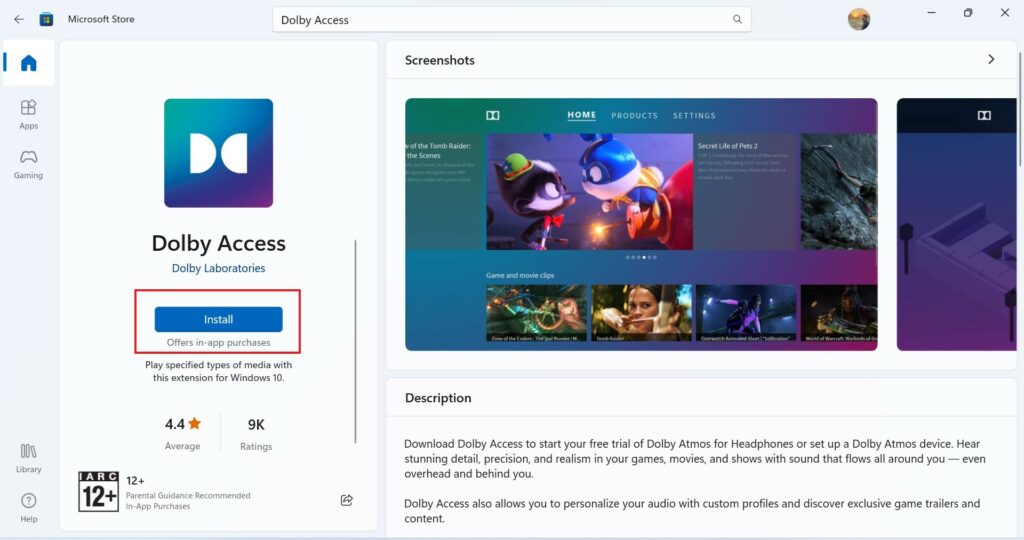
4. To install it, click on the Get/Install button and it will get downloaded and installed on your PC.
Note
The app is free to download, but additional features may require a fee of $14.99. However, the good news is that before purchasing it, you can try it for free for 7 days.
How to Setup Dolby Atmos on Windows 11
On the Windows operating system, you can use Dolby Atmos technology for headphones and home theater systems. Here are the steps you can follow to enable it.
1. Dolby Atmos for Headphones
To set up Dolby Atmos for your headphones, first of all, you have to connect it to your system. After that, follow the following steps to set it up.
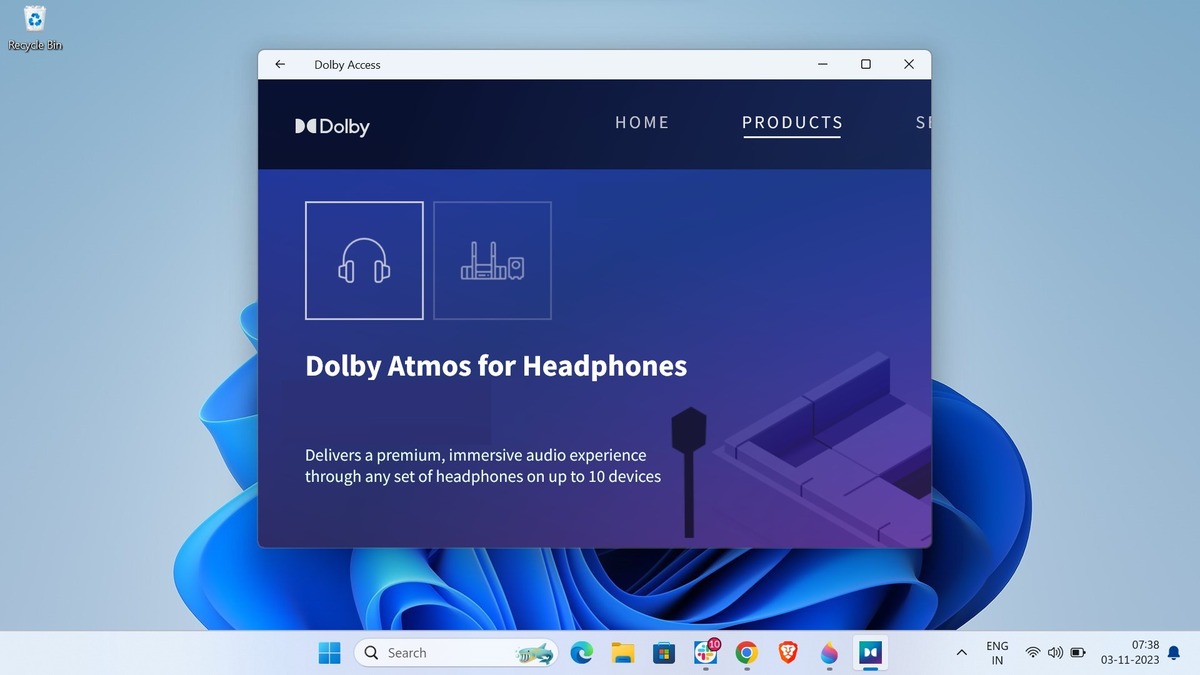
1. Open the Dolby Access app.
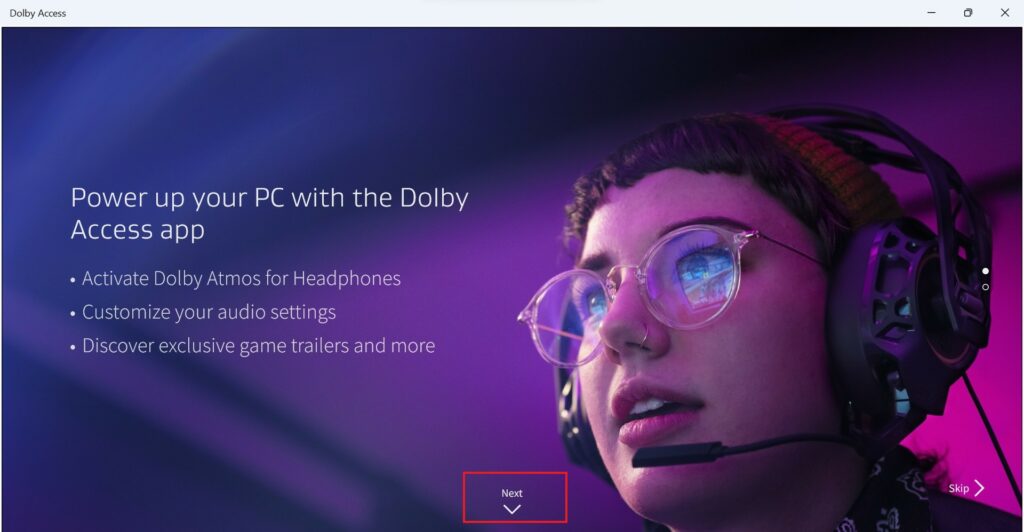
2. You’ll be greeted with a welcome screen. Here, click on Next to proceed.
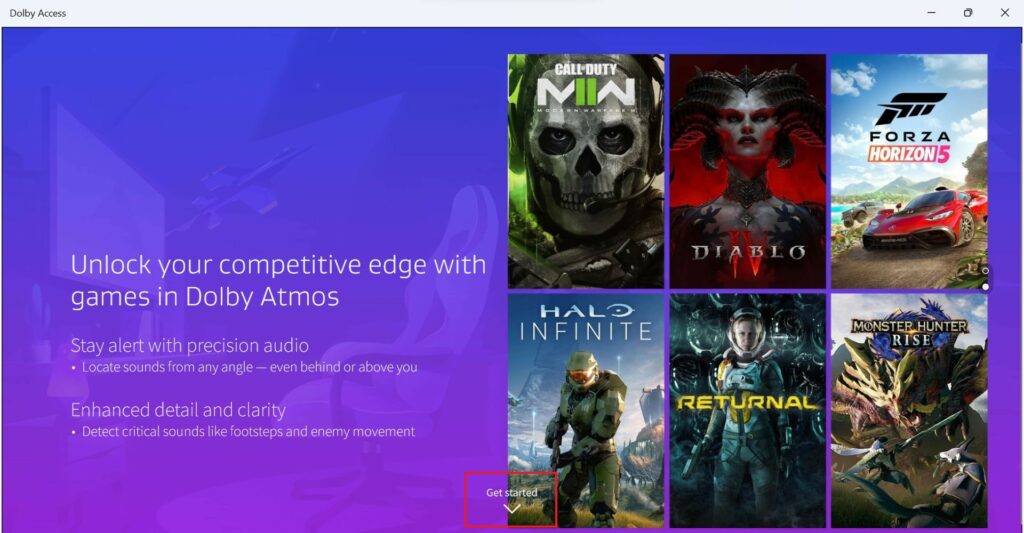
3. On the next screen, click on Get Started to begin setting up Dolby Atmos on your PC.
4. Now, you’ll get a Free Trial or Buy screen. If you want to try it for free then you have to sign in to the Microsoft Store. Here, enter your Microsoft account credentials and sign in. If you don’t have an account, you can create one.
5. However, if you want to make a purchase, click on the Buy button.

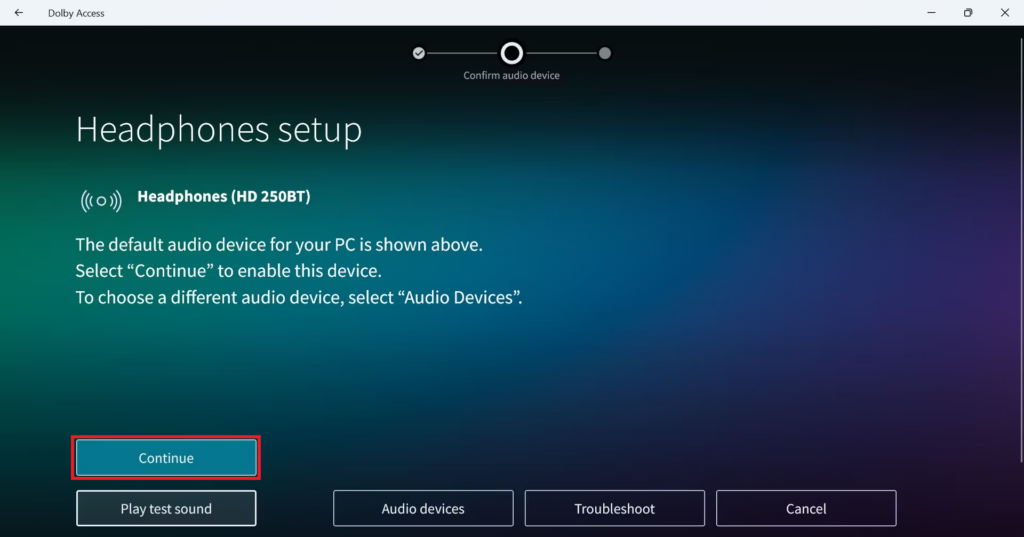
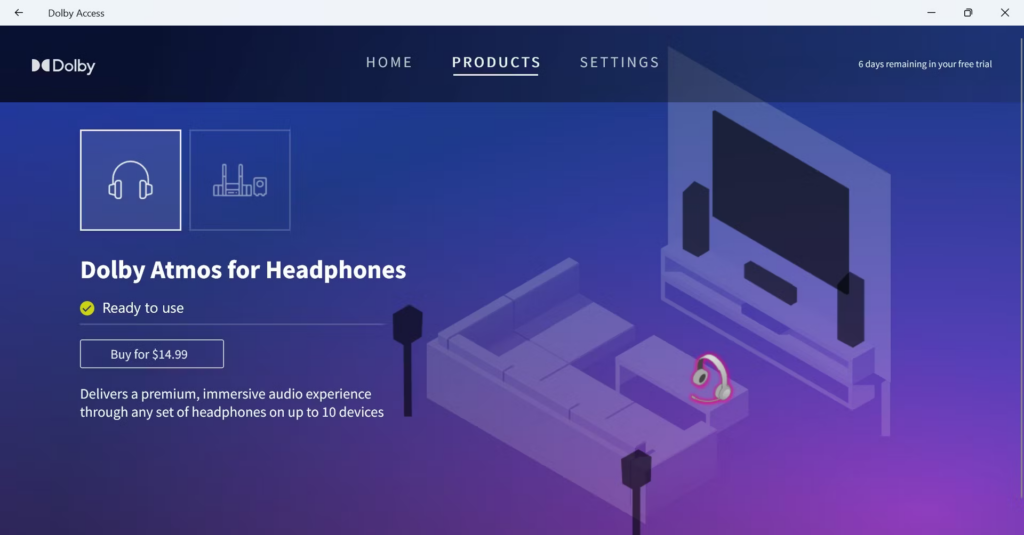
6. After that, you will get the setup screen for headphones. Here, click on Continue and/or select Audio Devices to choose another headphone.
7. Once done, click on the Experience Now button.
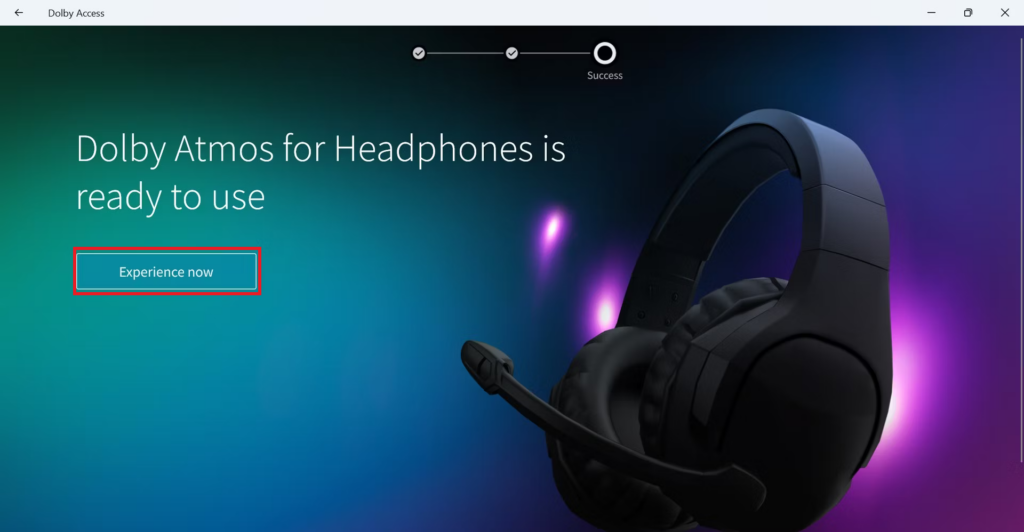
8. Now, you are ready to use Dolby Atmos for Headphones, and you can enable it for any set of headphones on up to 10 devices.
2. Dolby Atmos for Home Theater
If you’re looking to use Dolby Atmos for your home theater system, you don’t need to purchase a license. It’s available for free for home theater system use.
To set up Dolby Atmos for your home theater, follow these steps.
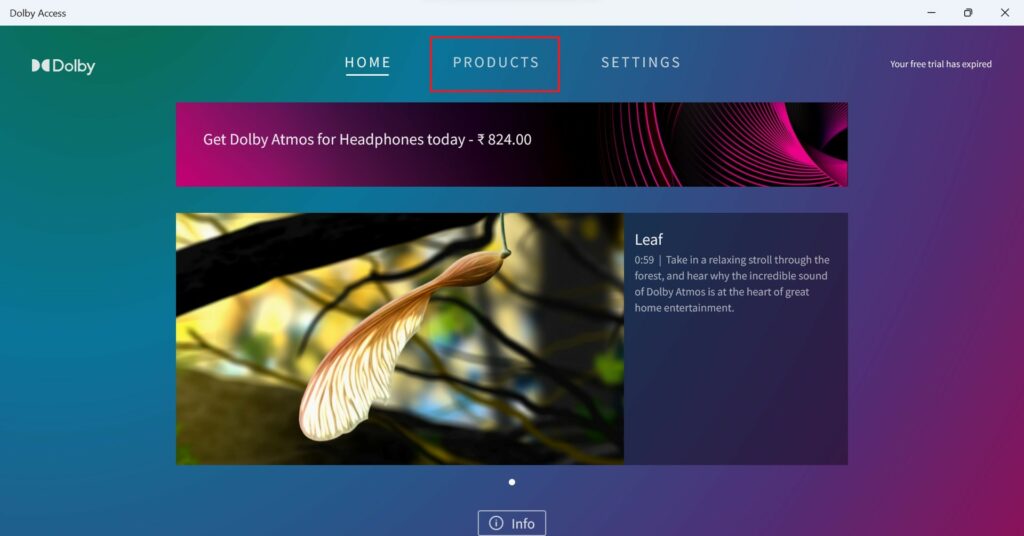
1. Launch the Dolby Access app and from the home screen select the Products tab.
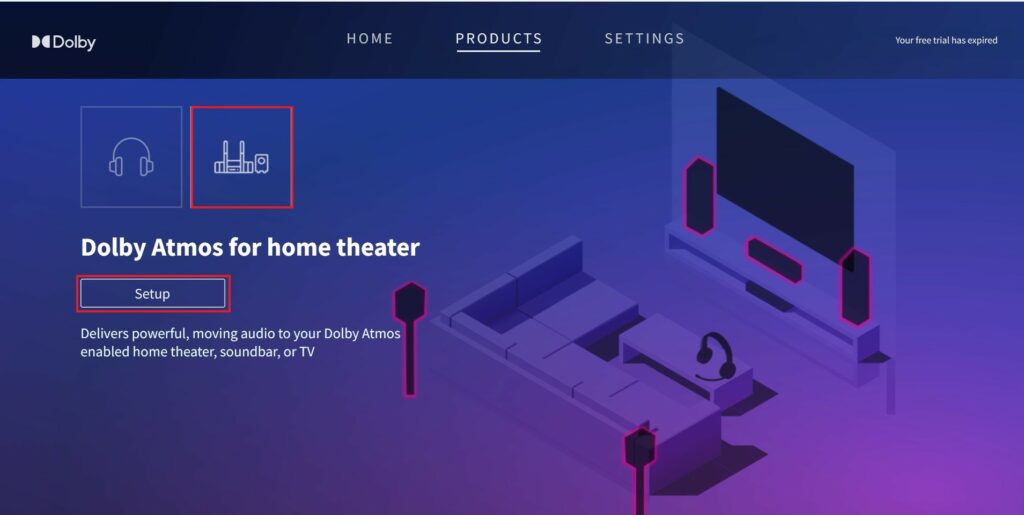
2. Now, click on the Dolby Atmos for Home Theater icon and then click on the Setup icon.
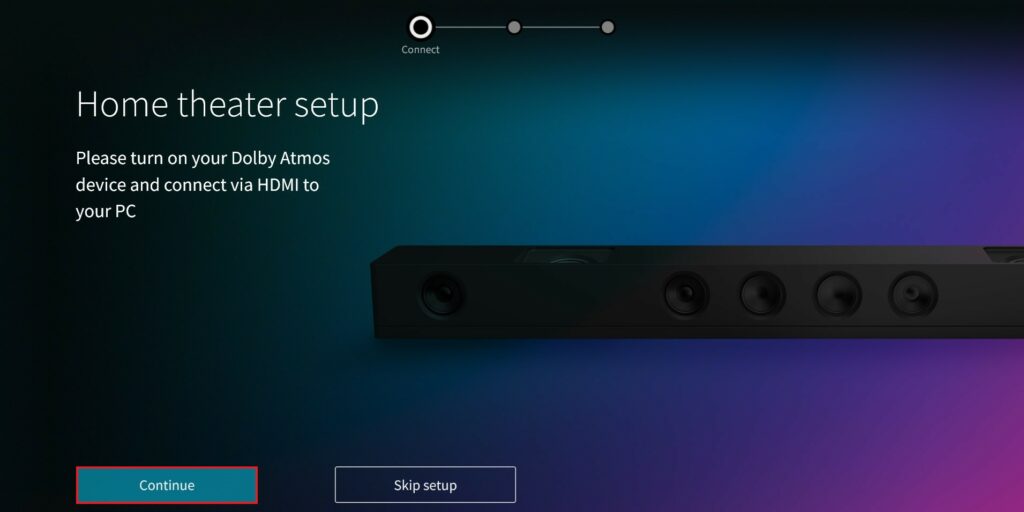
3. Connect a compatible Home Theater device via HDMI and click on the Continue button.
4. Then follow the on-screen instructions to complete the setup.
How to Activate Dolby Atmos on Windows 11
To activate Dolby Atmos on your default sound device follow these easy steps:
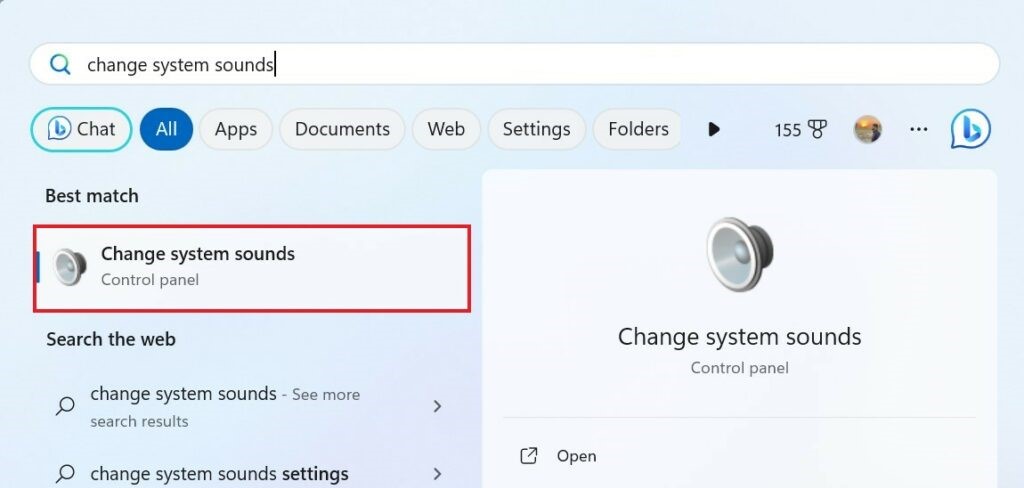
1. Press the Windows + S to open the search menu.
2. In the search bar, type change system sounds and open the same from search results.
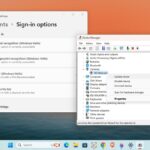
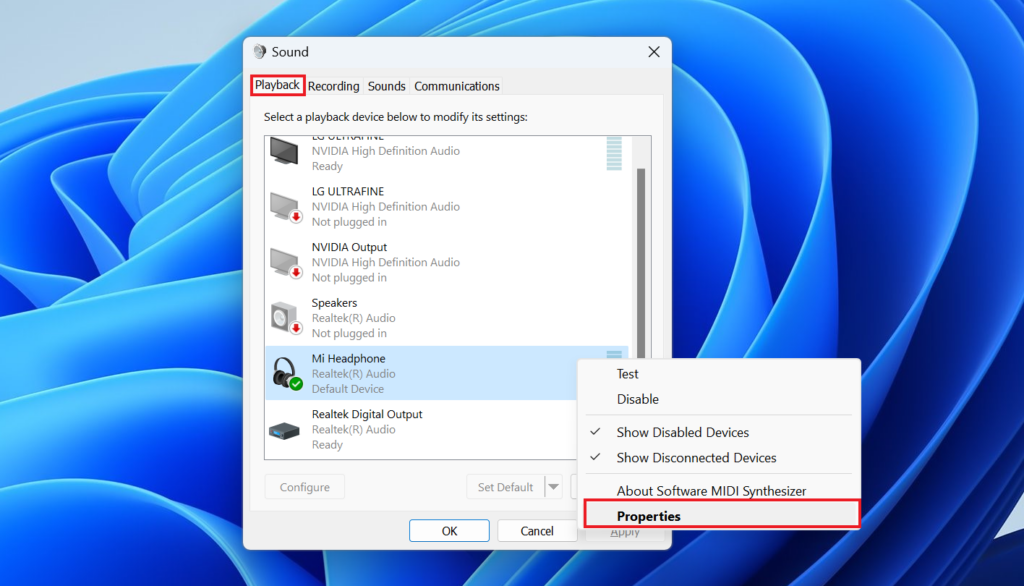
3. In the Sound settings window, click on the Playback tab.
4. Here, select your playback device where you want to activate the Dolby Atmos, right-click on it, and select the Properties option from the menu that appears.
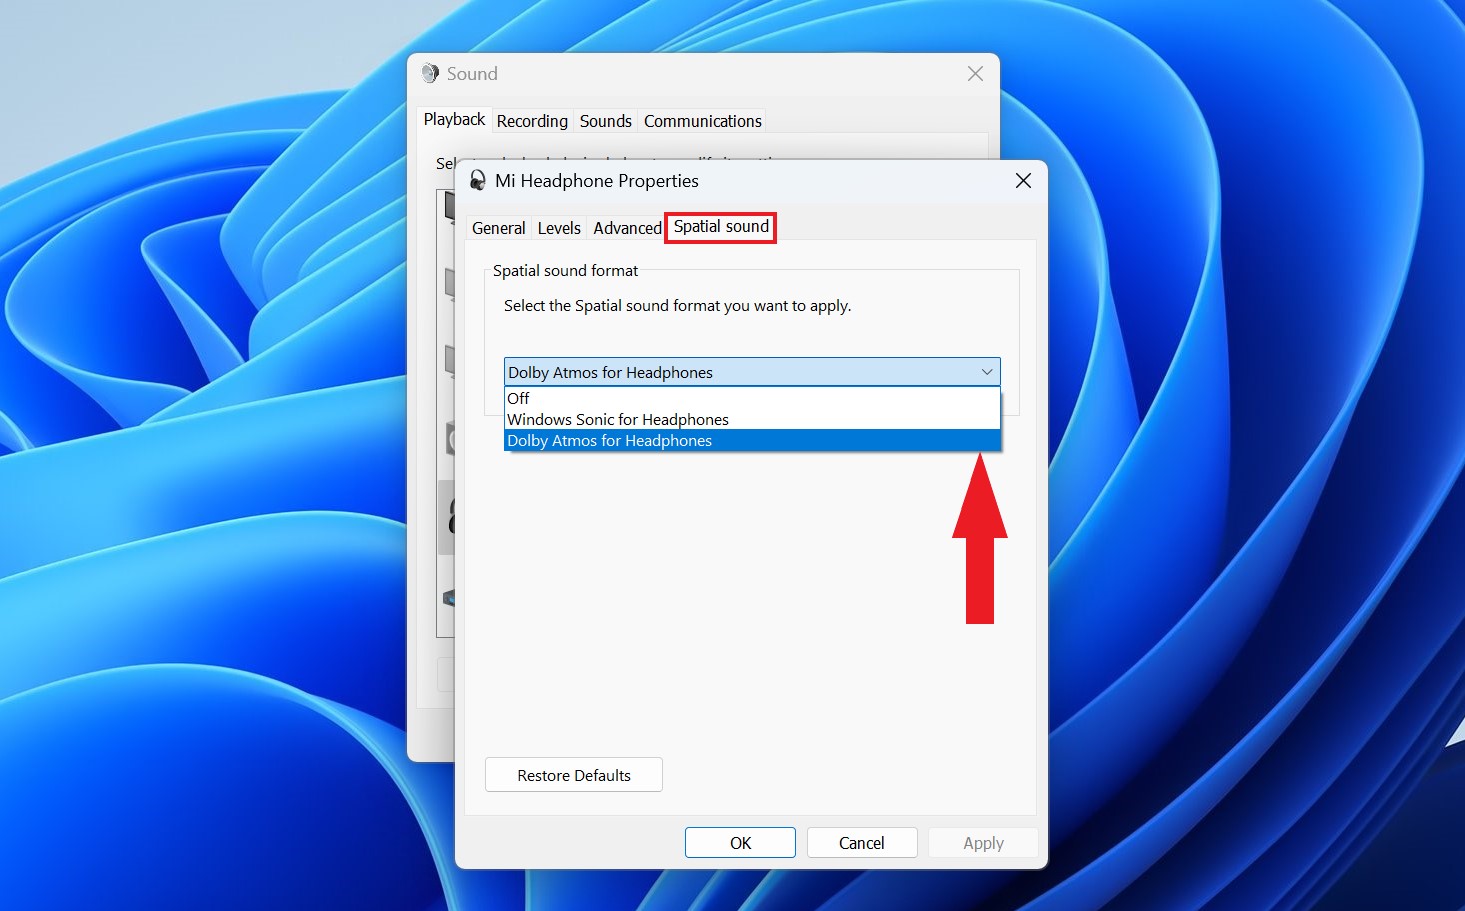
5. In the Speaker Properties, click on the Spatial Sound tab, and from the Spatial Sound format drop-down menu, select Dolby Atmos for Headphones.
6. Then, click the Apply and OK buttons to save the changes.
Conclusion
That’s it; this is how you can install and use Dolby Atmos on your Windows 11 operating system to enjoy a three-dimensional audio experience while watching movies, playing games, or listening to music.
However, if you are facing any issues related to Dolby Atmos, then you can check out our guide on how to fix Dolby Atmos not working on Windows 11.