Many of you already know how to take a screenshot in Windows. You can take partial or full-screen screenshots using the default shortcut or the snipping tool. However, the main problem arises when you want to capture a scrolling screenshot in Windows. Taking a scrolling screenshot is possible in Windows, but there’s no direct method. And not many users know about the methods available.
So if you are also looking for reliable ways to capture a scrolling screenshot in Windows, then no worries, we have got you covered. In this article, we’ll go over the best methods you can use to take a scrolling screenshot on your PC without any difficulties. We’ll cover how to do this in desktop applications as well as in web browsers. Keep reading until the end to learn more.
How to Take Scrolling Screenshots in Desktop Apps
Capturing screenshots is a common task for most Windows users. Fortunately, with the latest version of the Windows operating system, Windows 11, you don’t need to use any third-party tools to take screenshots of desktop apps. Windows 11 includes a built-in tool called Snipping Tool that you can use to capture screenshots easily.
Additionally, you can use some keyboard shortcuts to take screenshots, such as Windows key + Shift + S, Fn key + Windows key + Print Screen, or Windows key + Print Screen keys. These keyboard shortcuts are the default options for capturing screenshots.
However, there is a limitation with these default tools: they don’t allow you to capture scrolling screenshots. A scrolling screenshot is a screenshot in which the entire content of an active window is captured in a single image.
To take scrolling screenshots in desktop apps, you will need to use a third-party tool. Don’t worry, it’s not complicated. All you need to do is follow some simple steps.
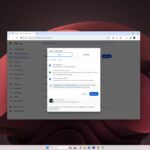
1. Download and install ShareX from its official website.
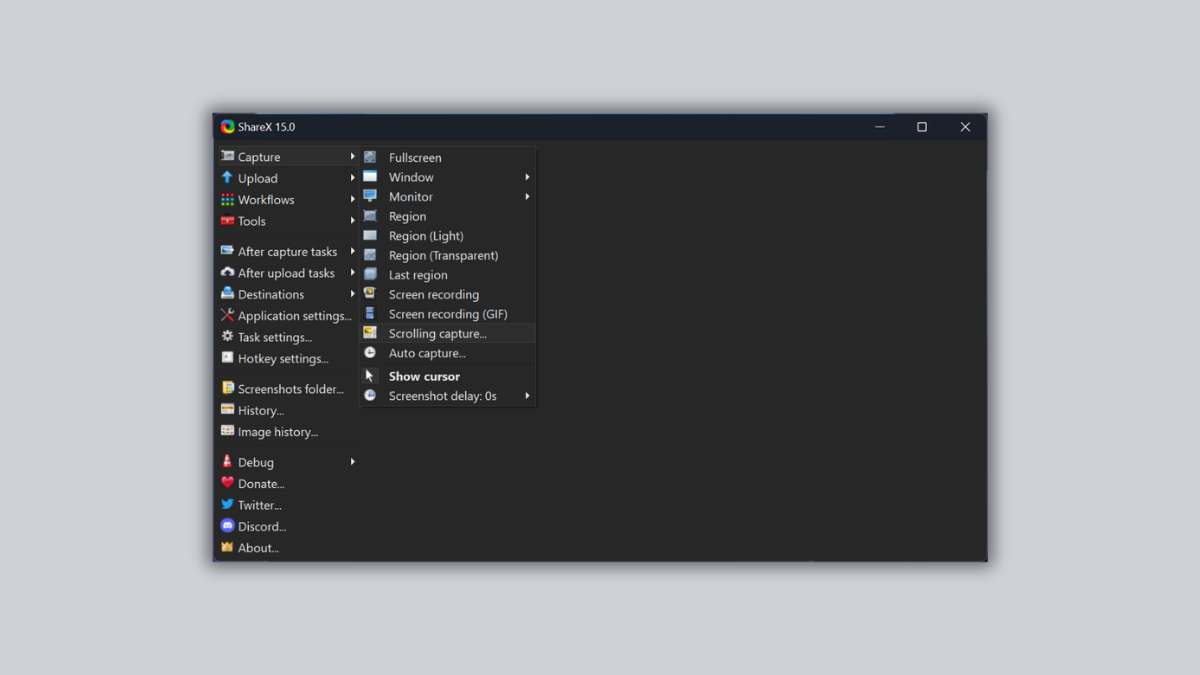
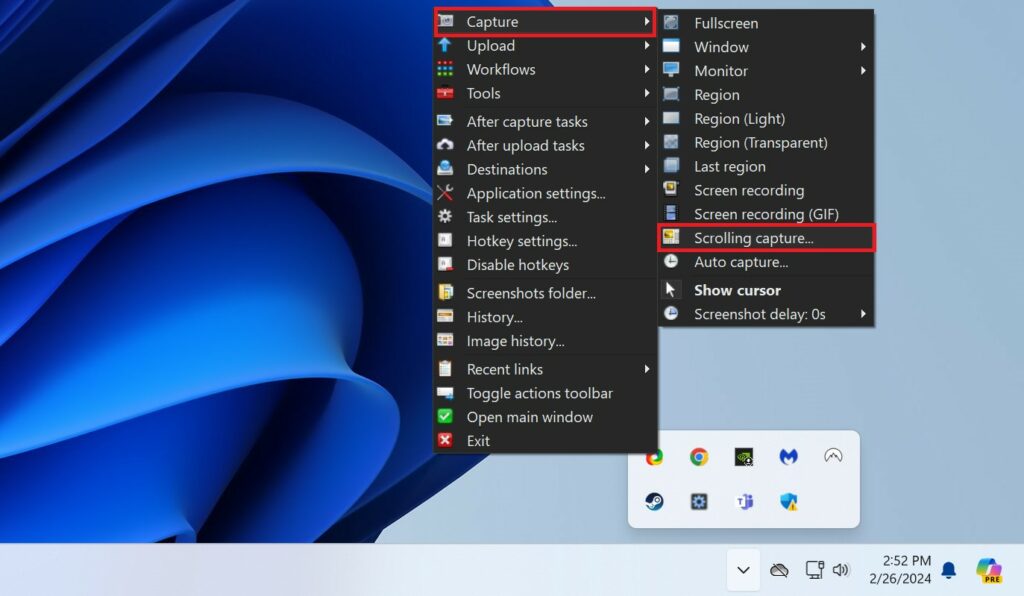
2. Once done, you will see the ShareX icon on the system tray. Right-click on it and select the Capture option.
3. Then, choose the Scrolling capture… option.
4. Select the area for which you want to take the scrolling screenshot.
Note
The desktop app you wish to capture the scrolling screenshot for must be open on your system.
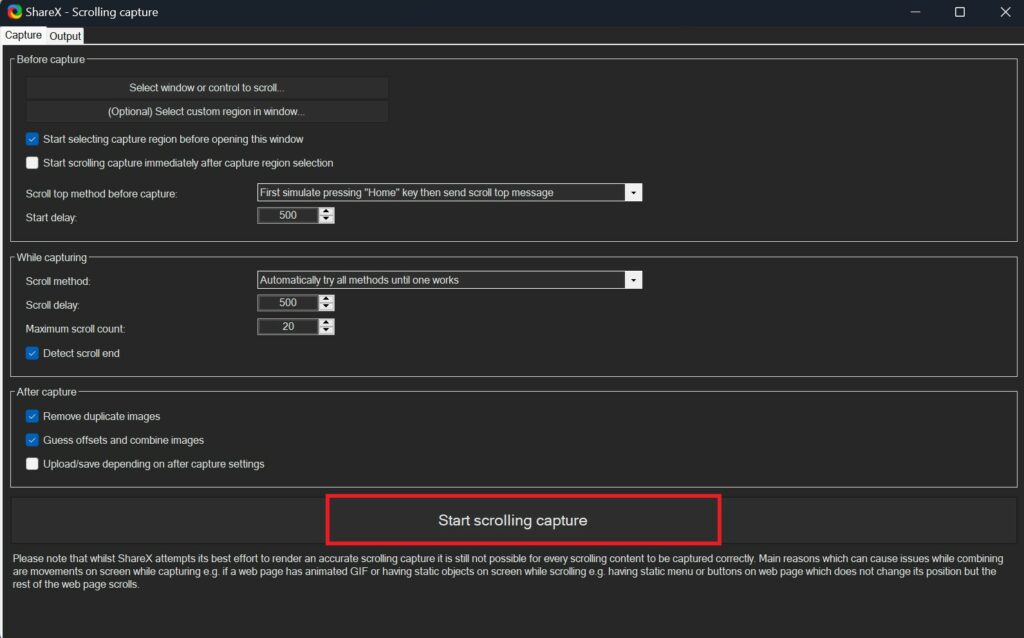
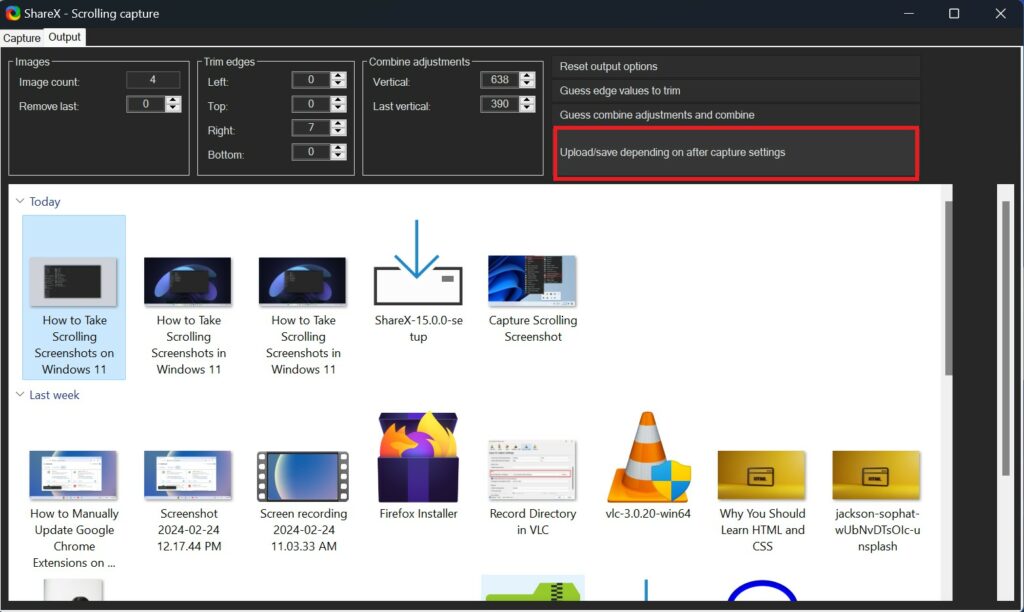
5. After that, the Scrolling capture dialog will appear, allowing you to configure Before capture and After capture preferences. The default options should work with most apps, though.
6. Click on the Start scrolling capture button, and the app will automatically scroll your windows and capture the screenshot.
6. After capturing, a preview will be shown where you can make edits and changes to the screenshot. Once you have made all the changes, save the screenshot. For that, click on the Upload/save depending on after settings option to do so.
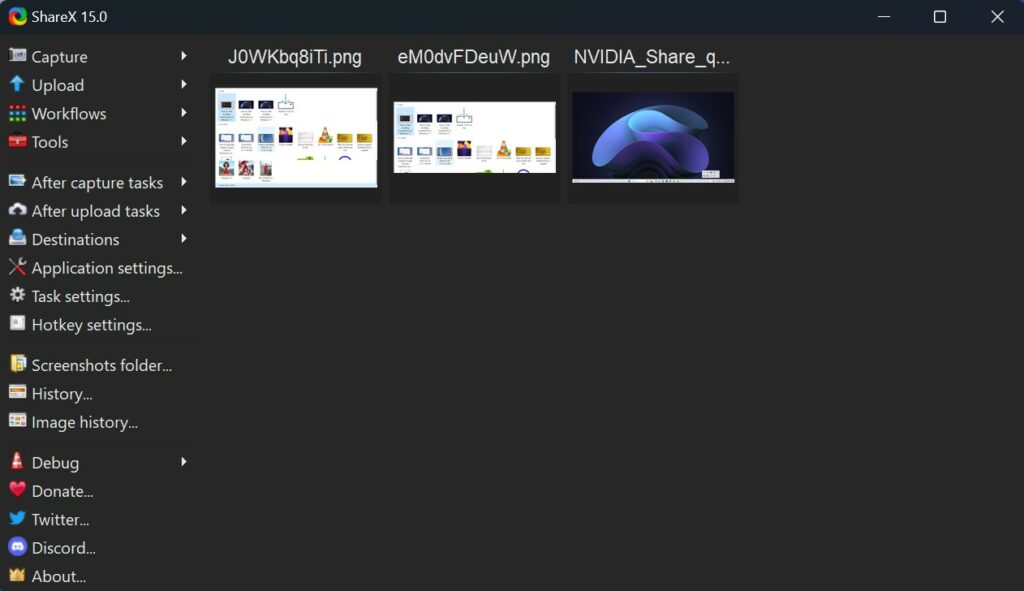
7. Now, you can access the captured scrolling screenshot from the ShareX > Screenshots location in the ShareX app’s folder or by navigating to the following location:
C:\Users\username\Documents\ShareX\Screenshots
You can use this tool if you want to capture a scrolling screenshot in the desktop application. However, the scrolling screenshot is mainly used to capture webpages. For that, you don’t need to use this tool; you can use the built-in feature of the browser.
How to Take Scrolling Screenshots in Browsers
As you may already be aware, a webpage comprises more than just what appears on our screens. There are hidden parts of a webpage that we cannot see, and if you want to capture the entire webpage in one screenshot, this is called a Scrolling Screenshot. This type of screenshot captures every part of the webpage in a single file.
While you might think that taking a screenshot of a webpage is easy with software like Snipping Tools, it’s important to note that these tools can only capture the visible parts of the webpage, not the scrolling parts.
So, to take scrolling screenshots on different browsers such as Microsoft Edge, Firefox, and Google Chrome, you can use the built-in feature. Each browser has its own way of capturing scrolling screenshots, but don’t worry, we have listed the procedures for each browser below.
1. In the Edge Browser
To take a scrolling screenshot in the Microsoft Edge browser, you first need to visit the webpage on which you want to take the screenshot. After that, follow these steps:
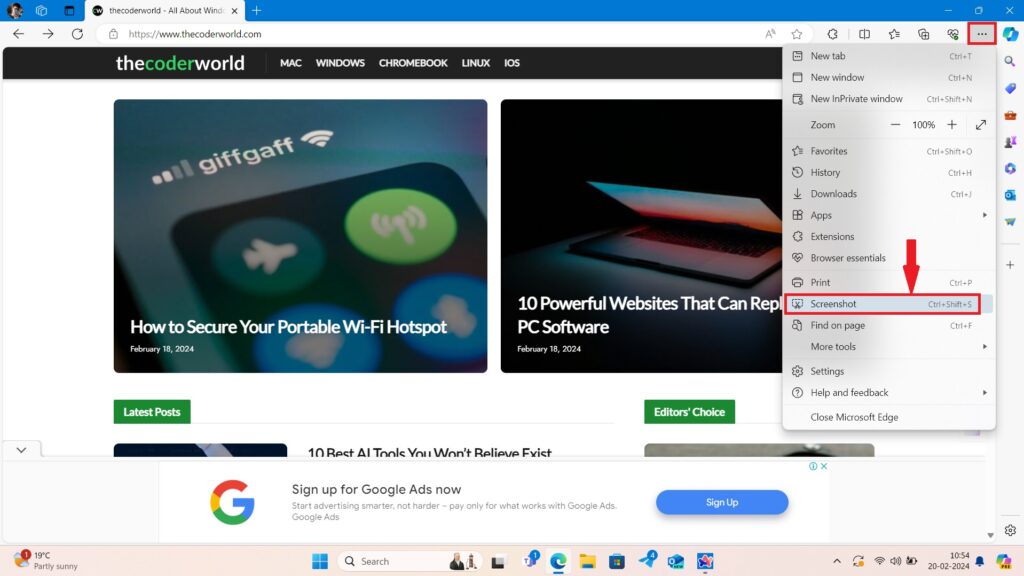
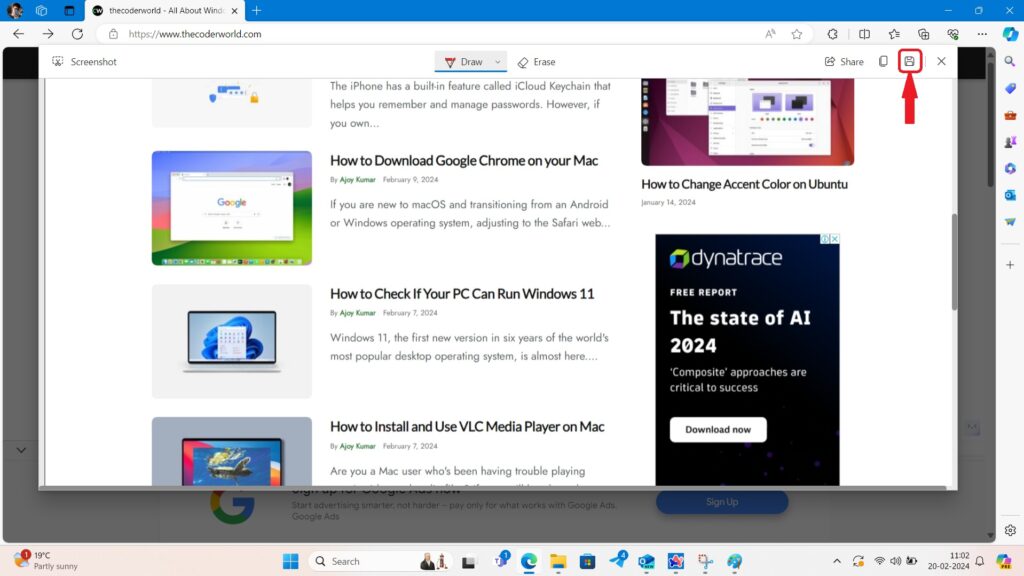
1. Click on the three-dot icon present on the top right-hand side corner of the screen.
2. Now click on the Screenshot text. Alternatively, you can also use the Ctrl + Shift + S shortcut key to directly navigate to this page.
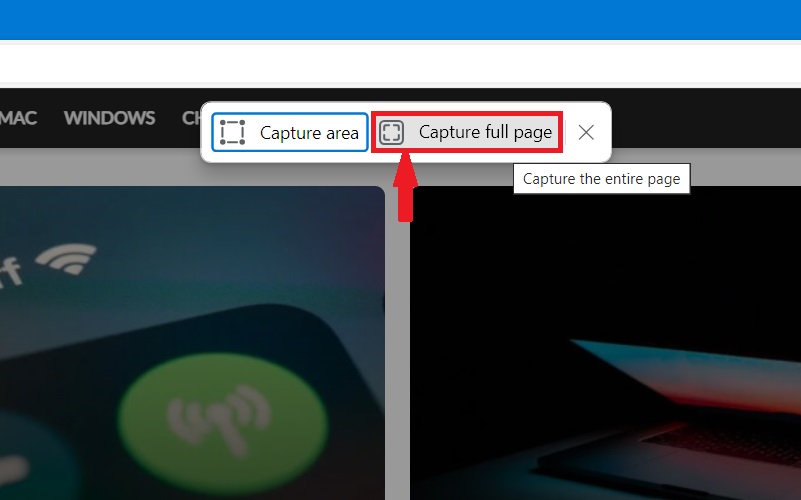
3. As soon as you click on it, a new prompt will open in front of you. Click on the Capture full page option.
4. This will now open a pop-up in front of you with a preview of your screenshot. You can either choose to annotate it, copy it, or simply save it.
5. To save it, click on the Save icon and it will save your scrolling screenshot in the Downloads folder.
2. In Firefox
Here’s how you can take a scrolling screenshot on the Firefox browser. It’s comparatively easier and straightforward compared to what we had seen with the Edge browser.
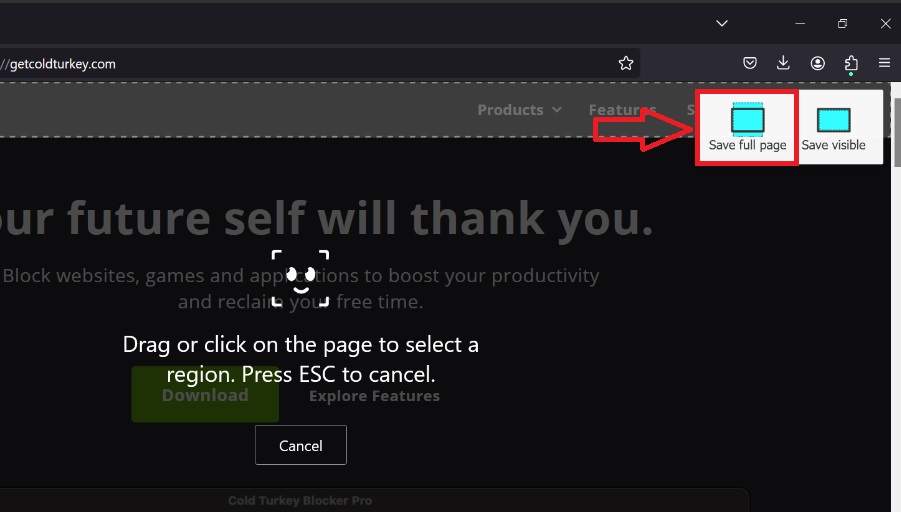
1. Visit the page, on which you want to take the screenshot.
2. Now right-click anywhere on the screen and then click on the Take Screenshot option.

3. After that, you will get two options; Save full page and Save visible. To capture the full webpage, click on the Save full page option.
4. Then, click on the Download button to save the screenshot in the Downloads folder.
3. In Google Chrome
Google Chrome is a widely used web browser. Unfortunately, there is no built-in option to take screenshots. However, Google Chrome allows us to install extensions to enhance the functionality of the browser.
To capture a scrolling screenshot on Chrome, we can use a browser extension. There are numerous browser extensions available that enable you to take scrolling screenshots.
However, for this guide, we are going to use the GoFullPage screenshot extension. You can download it from the Chrome Web Store. After downloading and installing, follow the steps below:
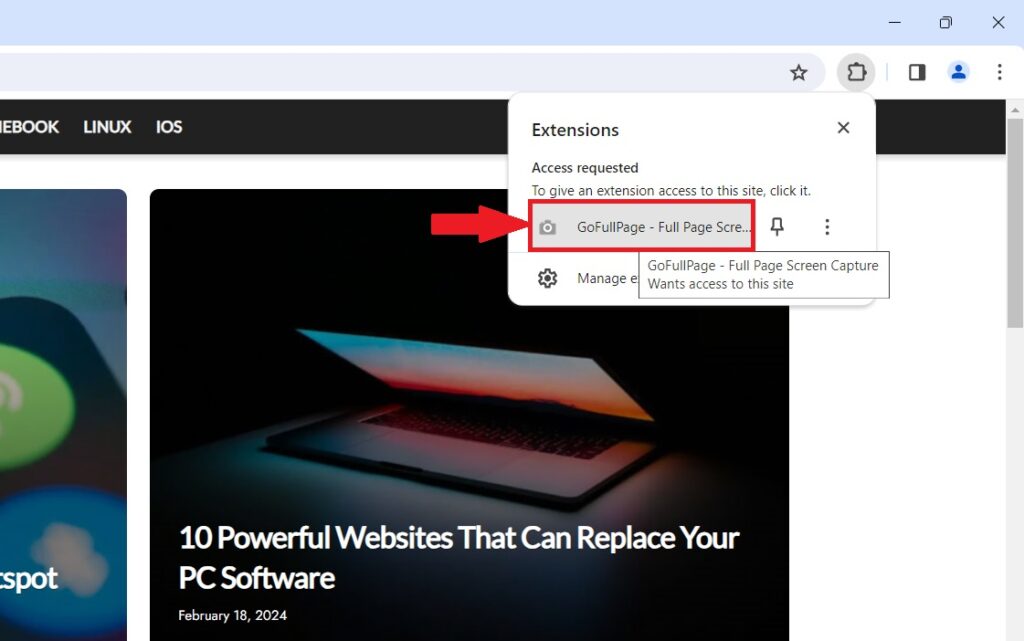
1. Visit the webpage you want to capture.
2. Click on the Extension button, and then click on the GoFullPage option.
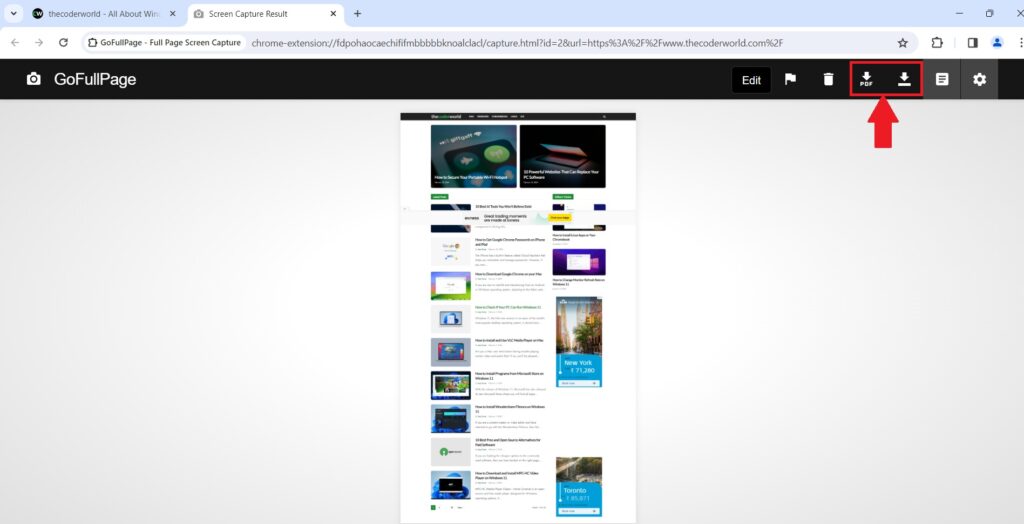
3. The extension will now take a few seconds to analyze the page. After it’s done, a new window will open in front of you with a preview of your scrolling screenshot.
4. You can now download it as a PDF or save it as a PNG.
Conclusion
That’s it; this is how you can take scrolling screenshots on Windows 11. These methods are ideal for you because they are versatile and can be used to store webpages, documents, or lengthy conversations. You can make use of built-in features or basic tools like extensions that come with your browser.
In addition to these methods, there are other advanced tools available for capturing scrolling screenshots, such as third-party software applications like ShareX. However, if you have any doubts or suggestions, don’t hesitate to leave them in the comment section. Your feedback helps us improve and provide even better content in the future.